

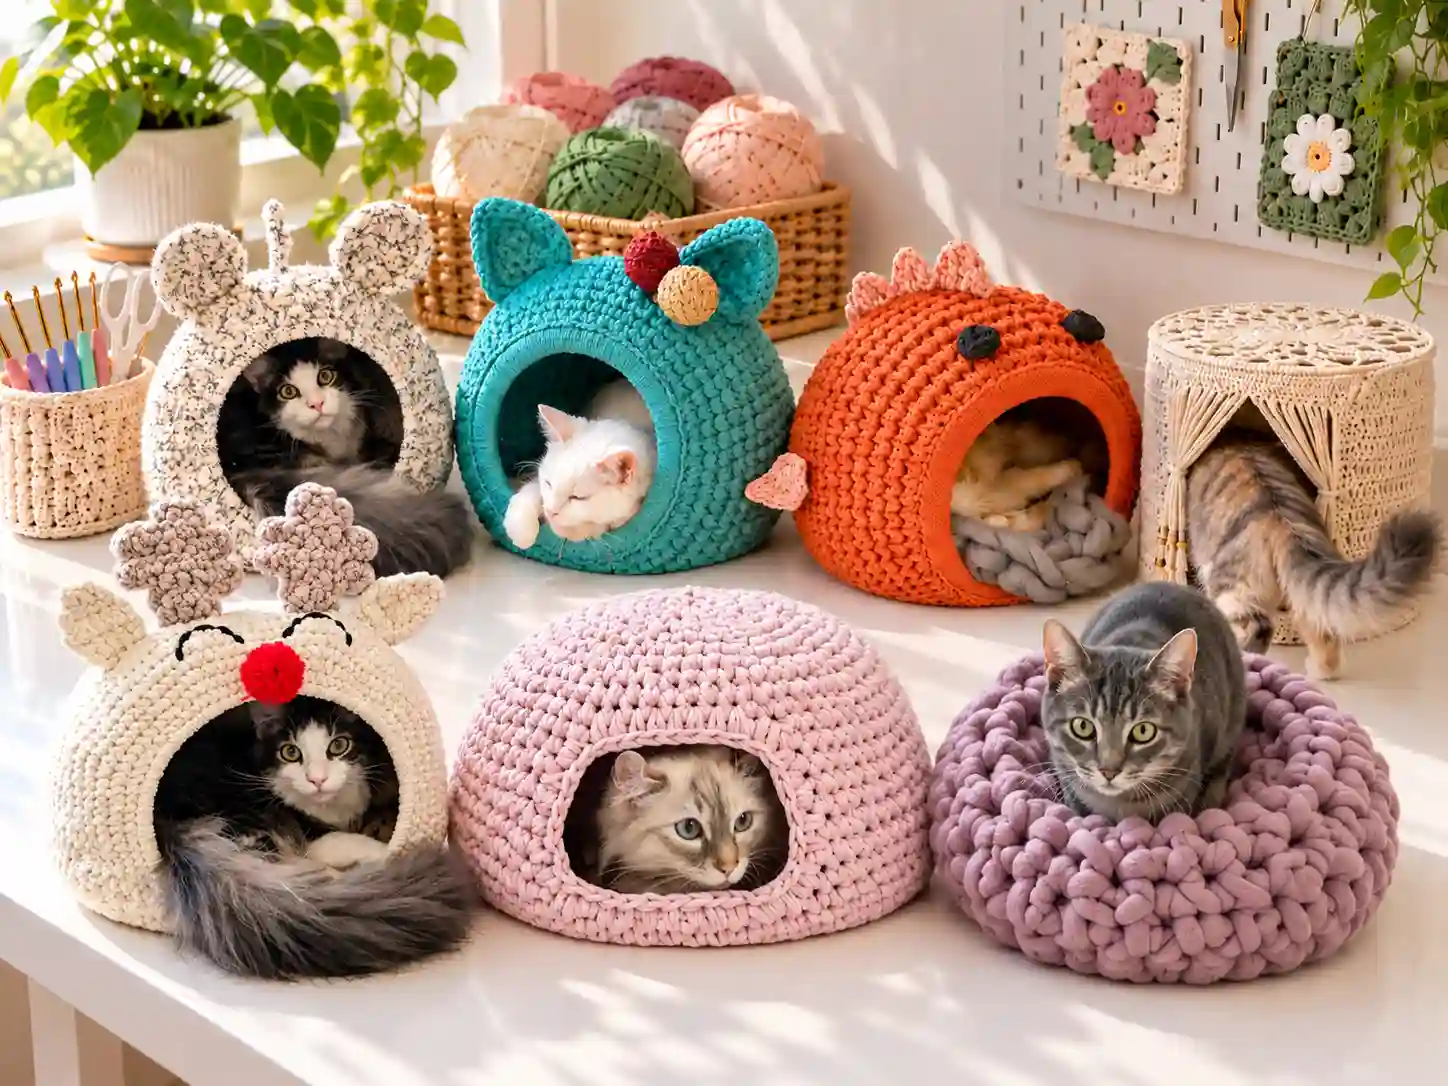
A crochet cat cave gives your cat a soft, enclosed spot to curl up, hide, and nap without taking over the whole sofa. These crochet cat cave free patterns range from simple round pods to playful themed hideaways, and most use sturdy stitches and thick yarn to create a structure that holds its shape.
Cats naturally seek small, sheltered spaces. A handmade cave can become a favorite resting place in a quiet corner, near a sunny window, or beside your own seating area. It also makes a thoughtful gift for a cat-loving friend, especially when made in colors that match their home.
Why You’ll Love This Crochet Project
- It creates a practical, cozy resting spot for cats and kittens.
- Thick yarn and dense stitches make a satisfyingly sturdy fabric.
- Most designs use basic crochet techniques, often centered on single crochet.
- You can customize the size, doorway shape, and color palette.
- T-shirt yarn, macramé cord, or multiple strands of worsted yarn can work well.
- It is one of the most useful crochet projects for pets because it combines décor with everyday function.
Finished Size
Finished measurements vary widely by design. One popular cozy cave pattern measures approximately 17 inches in diameter and 8.5 inches tall, while other pod-style designs are closer to 12 inches wide and 9 inches tall. Before starting, check the measurements in the specific pattern you choose and compare them with the size of your cat.
A good rule is to make the interior roomy enough for your cat to turn around comfortably. Kittens need less space than adult cats, but a slightly larger cave usually stays useful for longer.
Materials You’ll Need
Exact supplies depend on the pattern, but a sturdy cat cave generally calls for:
- Super bulky t-shirt yarn, chunky rope yarn, or another firm, thick yarn
- A large crochet hook suited to the yarn
- Stitch marker
- Scissors
- Tapestry or yarn needle
- Optional: plastic canvas, embroidery hoop, wooden ring, or other support if the pattern recommends added structure
Yarn Information
For a cat cave, yarn needs to do more than look pretty. It should create a dense, stable fabric that resists stretching and keeps the dome upright. Super bulky t-shirt yarn is a common choice because it is thick, smooth, and creates firm stitches. Jumbo yarn and chunky rope yarn can also work, though they change the final size and stiffness.
Cotton and cotton-blend yarns are practical for pet items because they feel firm and are generally easy to clean. Avoid loosely spun, fuzzy yarns if your cat tends to scratch or chew fabric, since loose fibers can pull apart more easily.
If you substitute yarn, choose a similar thickness and make a small test swatch first. A thinner yarn will produce a softer, smaller cave, while a thicker yarn will create a larger, firmer structure.
Crochet Hook
Hook size depends on the yarn and the desired fabric. Many t-shirt-yarn cat caves use hooks in the 8 to 10 mm range, while jumbo yarn designs may call for a 15 to 16 mm hook. One reindeer-themed cat pod pattern, for example, uses an 8.5 mm hook.
For a cave that stands up well, many crocheters prefer a hook slightly smaller than the yarn label suggests. This produces tighter stitches and a less floppy shell.
Crochet Abbreviations
These crochet patterns ideas commonly use US terminology. Abbreviations vary by design, but you may see:
- ch = chain
- sc = single crochet
- hdc = half double crochet
- dc = double crochet
- sl st = slip stitch
- st(s) = stitch(es)
- inc = increase
- dec = decrease
- rnd = round
- BLO = back loop only
Pattern Notes
Most cat caves begin with a flat circular base, then continue upward to form straight sides. After the walls reach the desired height, the pattern shapes an entrance, often by working back and forth in rows before returning to rounds to close the dome.
Keep your tension firm and even throughout. Loose stitches can make the cave slouch, while overly tight stitches can make the fabric difficult to work and less comfortable for your cat.
Use a stitch marker to mark the first stitch of every round. This is especially helpful when working with thick yarn, where stitches can be harder to see.
Crochet Pattern
Because cat cave designs differ in yarn, hook size, doorway style, and finished measurements, follow the round-by-round instructions for the specific free pattern you select. A typical construction sequence looks like this:
Part 1: Base
- Begin with a magic ring or a small chain circle.
- Work increasing rounds of single crochet until the base reaches the width needed for your cat.
- Keep the circle flat by following the increase placement exactly.
Part 2: Walls
- Work several rounds without increases to build the vertical sides.
- Maintain the same stitch count so the walls rise evenly.
- Some patterns use back-loop-only single crochet to create a subtle ridge and add structure.
Part 3: Entrance and Dome
- Shape the doorway by leaving stitches unworked or switching to turned rows, depending on the pattern.
- Chain across the opening when the instructions direct you to resume working in rounds.
- Continue with straight rounds, then decrease gradually to form the rounded top.
- Close the remaining opening at the crown with a tapestry needle.
Do not guess at stitch counts if you are using a pattern from another designer. Cat caves need balanced increases and decreases to keep the base flat, the walls upright, and the dome smooth.
Assembly
- Weave in the starting tail from the center of the base securely.
- Close any small gap at the top of the dome using the long remaining yarn tail.
- If your pattern includes an entrance edging, work it evenly around the doorway to tidy the edge.
- Add a removable cushion or folded blanket inside if the design allows.
- If the cave needs extra support, attach the recommended ring, hoop, or canvas piece before finishing.
Finishing Touches
Weave in every end carefully, especially around the entrance and base, where the fabric receives the most handling. With thick t-shirt yarn, use a large-eye tapestry needle and weave the tail through several stitches in different directions so it cannot work loose.
Shape the cave with your hands while the yarn is still slightly warm from crocheting. Smooth the dome, round the doorway, and press the base flat. Avoid heavy steaming unless your yarn label confirms that heat is safe.
Crochet Tips
- Use a smaller hook than usual for a firmer, more structured cave.
- Keep single crochet stitches compact; this is what gives the cave its strength.
- Check the base after every increase round. It should lie flat, not ripple or cup.
- Mark the beginning of each round to prevent accidental increases or decreases.
- Make the doorway large enough for your cat, but not so large that the roof loses support.
- If the cave slouches, try a smaller hook, tighter tension, or the support method suggested by the pattern.
Variations
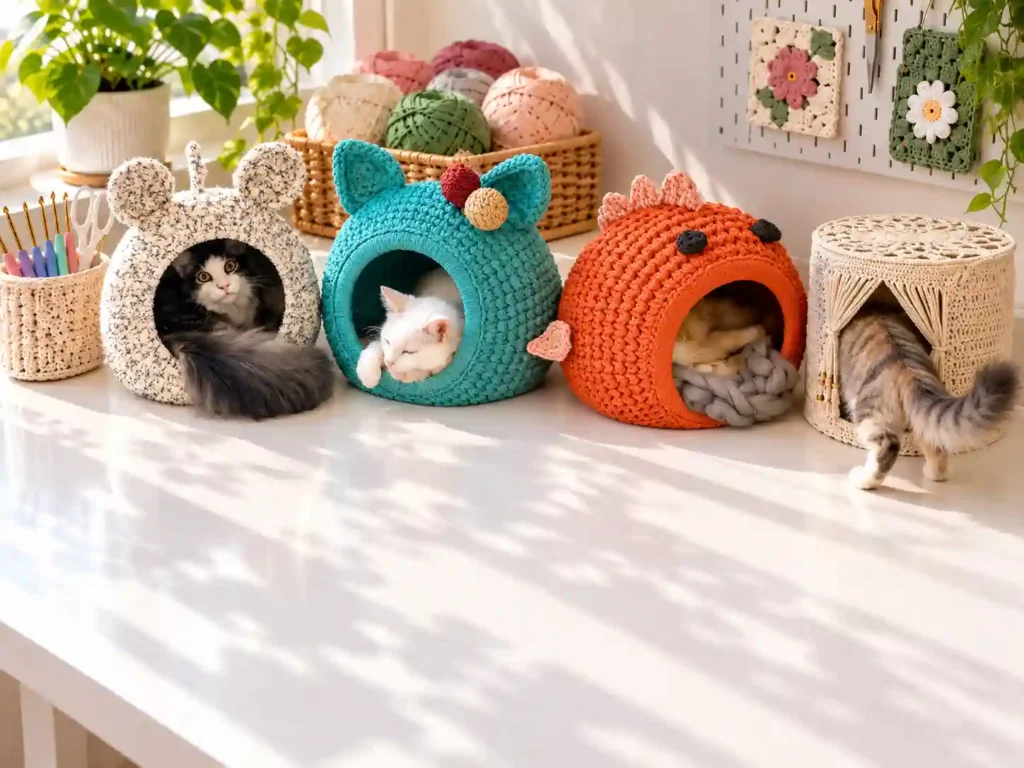
A neutral beige, gray, or cream cave blends easily into most homes. For a bolder look, try mustard, teal, dusty rose, or striped t-shirt yarn. Seasonal versions can use deep green and red for winter or soft pastels for spring.
You can also personalize the entrance with a contrasting edging, add small crochet ears to the roof, or make a kitten-sized version using a smaller base circle. Keep any embellishments securely attached and avoid small loose parts that a cat could pull off.
Common Problems and Troubleshooting
The base is rippling
This usually means there are too many increases. Check the round where the ripples began, remove your stitches back to that point if needed, and repeat the increase sequence exactly as written.
The cave will not stand up
Loose tension, a hook that is too large, or yarn that is too soft can cause slouching. Try a smaller hook, firmer stitches, or a sturdier yarn such as t-shirt yarn or chunky rope.
The entrance is too small
If your cat hesitates to enter, the opening may need to be wider. Follow a pattern with a larger doorway or adjust the entrance only if the designer provides guidance for resizing.
The stitch count is wrong
Stop at the end of the round and count carefully. Compare the total with the pattern, then locate the round where the count first changed. Fixing it early is much easier than adjusting a finished dome.
How to Use the Finished Crochet Project
Place the finished cave in a quiet, low-traffic area where your cat already likes to rest. A corner near a window, a cozy spot beside a bookshelf, or a calm bedroom corner can all work well.
These cat crochet accessories also make lovely gifts for new pet owners. Pair one with a small blanket or a cat toy for a practical, handmade present.
Care Instructions
Follow the care guidance for your specific yarn. Cotton and t-shirt yarn items can often be hand washed or machine washed on a gentle cycle, but always check the label first. Reshape the cave while damp and let it air-dry completely before your cat uses it again.
Vacuum loose hair regularly and spot-clean small messes promptly. If the cave loses its shape after washing, press it gently back into form while it dries.
Frequently Asked Questions
Can a beginner make a crochet cat cave?
Yes. Many designs use single crochet and simple increases, though the thick yarn can make the project physically more demanding than a small accessory.
What yarn works best for a cat cave?
Super bulky t-shirt yarn, chunky rope, or firm cotton-blend yarn are good choices because they create a dense, stable fabric.
Can I use a different hook size?
You can, but it will change the size and firmness. A smaller hook creates tighter fabric; a larger hook creates a softer, looser cave.
How do I make the cave larger?
Use a thicker yarn, a larger hook, or follow a pattern that includes extra increase rounds for the base. Always keep the increases balanced so the base remains flat.
How do I stop the cave from slouching?
Work tightly, choose a sturdy yarn, and use a smaller hook than the yarn label recommends. Some patterns also suggest adding a ring, hoop, or plastic canvas for support.
Is a crochet cat cave safe for cats?
A well-made cave with secure ends and no loose embellishments is generally suitable for supervised use. Check it regularly for pulled stitches, loose threads, or damage.
How should I wash a crochet cat cave?
Follow the yarn label. When washing is appropriate, use a gentle cycle or hand wash, reshape while damp, and air-dry thoroughly.
Conclusion
Crochet cat cave free patterns are a wonderful way to turn simple stitches into something your cat can enjoy every day. Choose a sturdy yarn, keep your tension firm, and pick a design that suits both your skill level and your cat’s size. With a little patience, you can create a cozy crochet cat holder that looks charming in your home and gives your feline a private place to relax.


