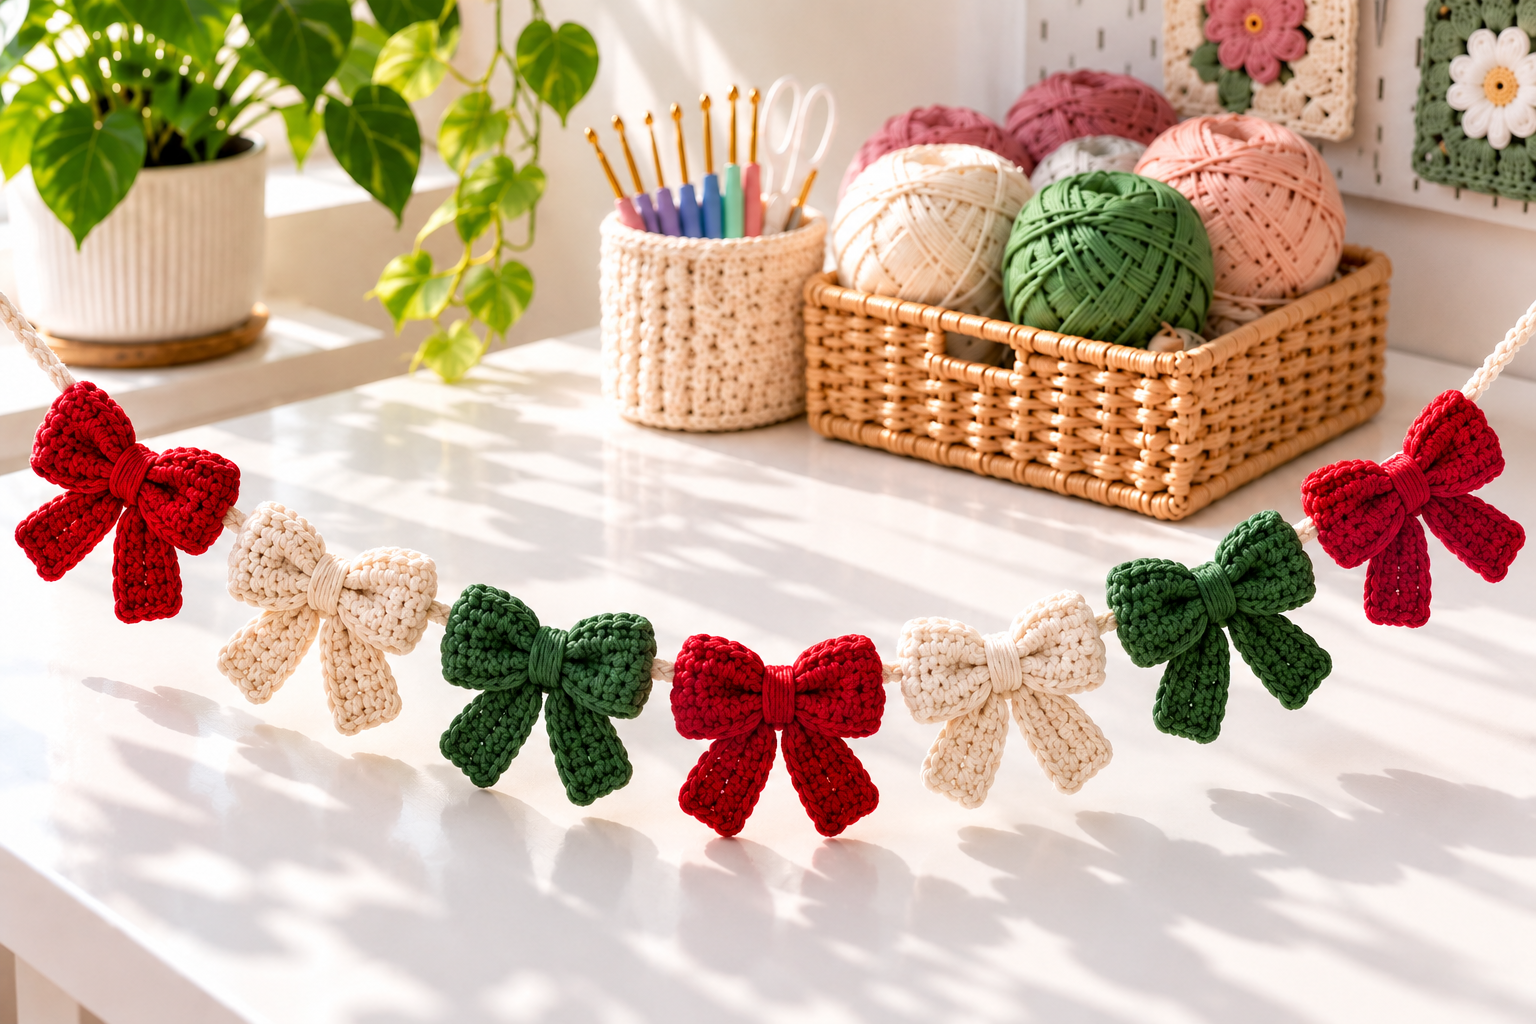
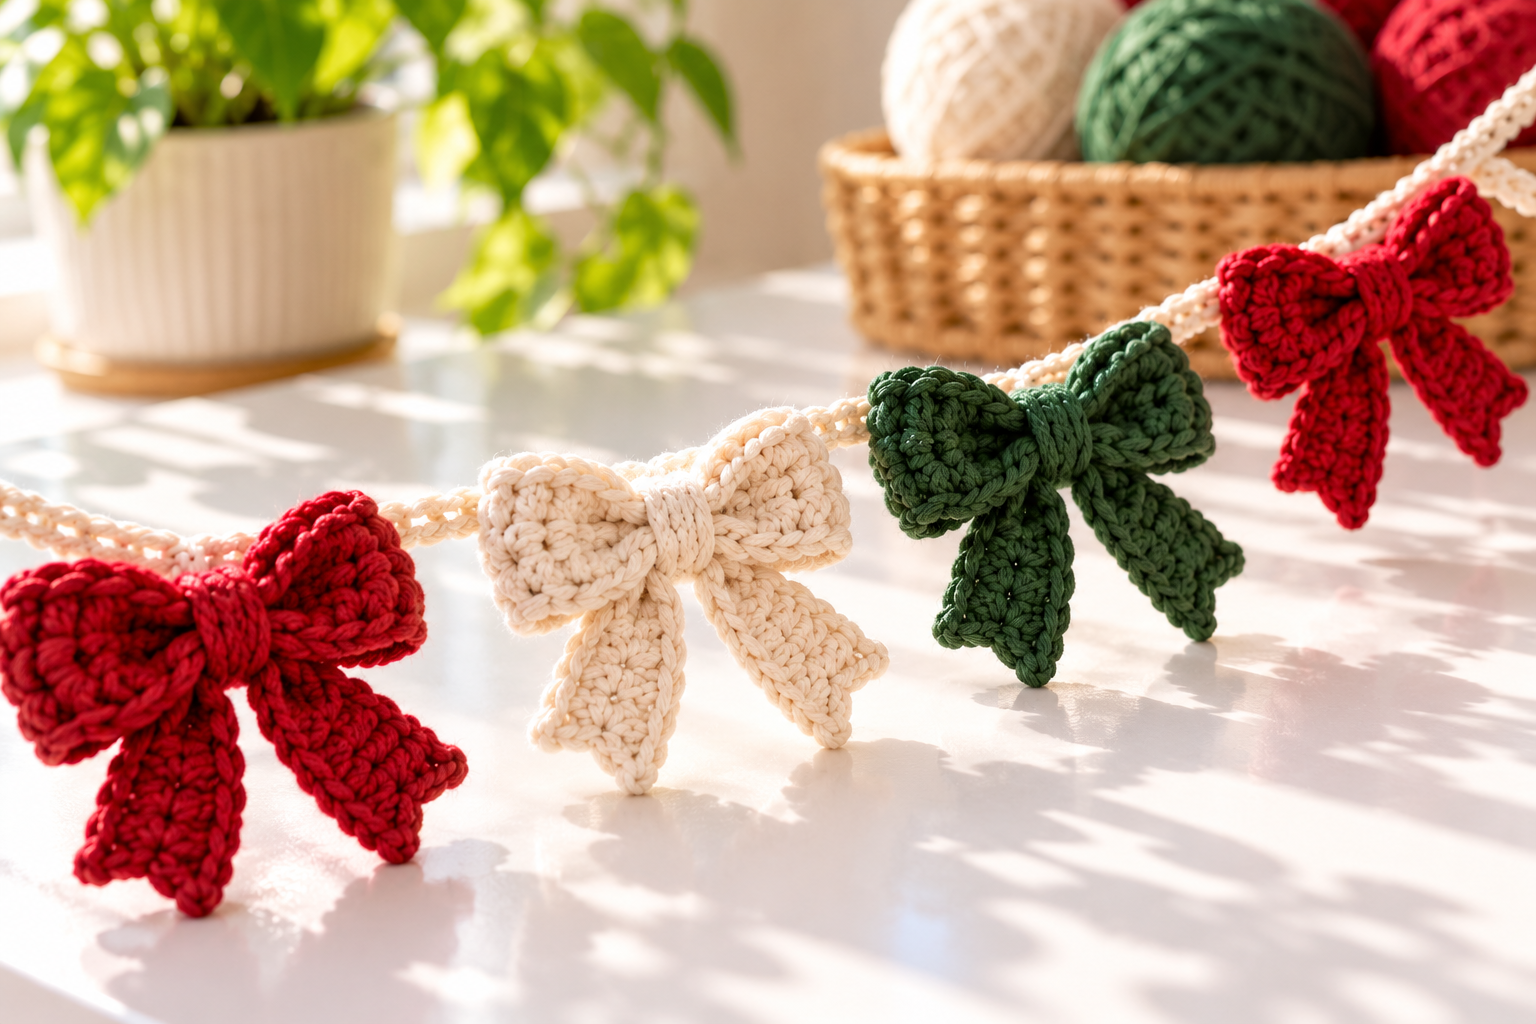
This free Christmas garland crochet pattern turns simple rectangles into cheerful little bows. The finished garland looks festive across a mantel, shelf, doorway, or Christmas tree, yet every part uses basic stitches. If you can chain and make a single crochet, you can complete this project.
Red, cream, and forest green create a classic holiday palette, but the design is easy to personalize. Use leftover yarn, match your existing decorations, or make every bow a different color. It is a relaxing choice for anyone searching for beginner Christmas crochet that still looks polished.
Free Christmas Garland Crochet Pattern
Each bow is made from a small crochet rectangle plus a narrow tail strip. The rectangle is folded, pinched, and wrapped in the center to create two full loops. The tail strip sits behind it in a soft V shape. Once you have made enough bows, attach them evenly to a simple crocheted cord.
Skill level: Beginner
Finished bow: Approximately 3.5 inches (9 cm) wide
Garland length: Customizable; sample is about 60 inches (152 cm)
Terminology: US crochet terms
Materials
- Worsted-weight yarn in red, cream, and forest green
- 4 mm (G-6) crochet hook
- Yarn needle
- Scissors
- Measuring tape
- Stitch markers or pins, optional
Gauge is not critical. Choose a hook that makes a neat, flexible fabric without large gaps. Cotton yarn creates crisp bows, while acrylic yarn produces a softer drape. This is also a useful stash-busting project because each bow needs only a small amount of yarn.
Abbreviations
- ch – chain
- sc – single crochet
- sl st – slip stitch
- st(s) – stitch(es)
Pattern Notes
- The turning chain does not count as a stitch.
- Work with a comfortable, even tension so the bow folds easily.
- Leave long yarn tails where instructed; they are used for shaping and assembly.
- Make as many bows as needed for your preferred garland length.
How to Crochet a Christmas Bow
Main Bow Rectangle
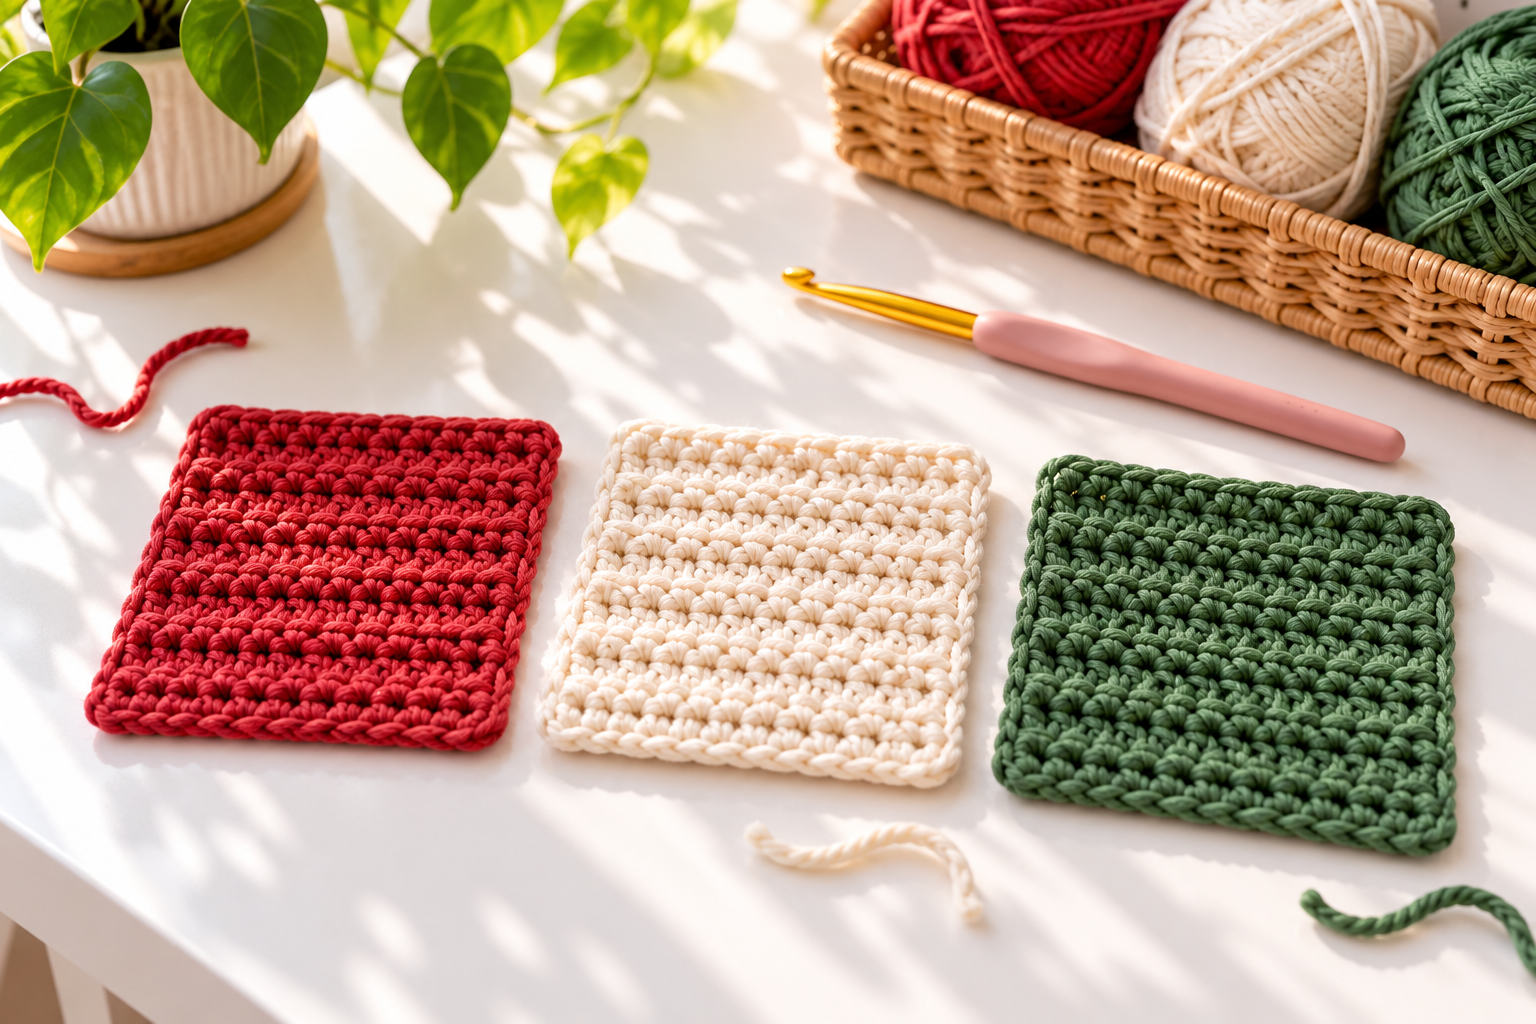
Foundation: Ch 13.
Row 1: Sc in the second ch from the hook and in each ch across. Ch 1 and turn. (12 sts)
Rows 2–6: Sc in each st across. Ch 1 and turn after Rows 2–5. At the end of Row 6, fasten off and leave a 20-inch (50 cm) tail.
The piece should look like a small, tidy rectangle. A slight curl is fine because it disappears when the bow is shaped. Repeat these rows for every bow in your garland.
Bow Tail Strip
Ch 16. Sc in the second ch from the hook and in each ch across. (15 sts) Fasten off and weave in both short ends. Fold the strip in half to make a soft upside-down V. The fold will sit behind the center of the bow.
Shape the Bow
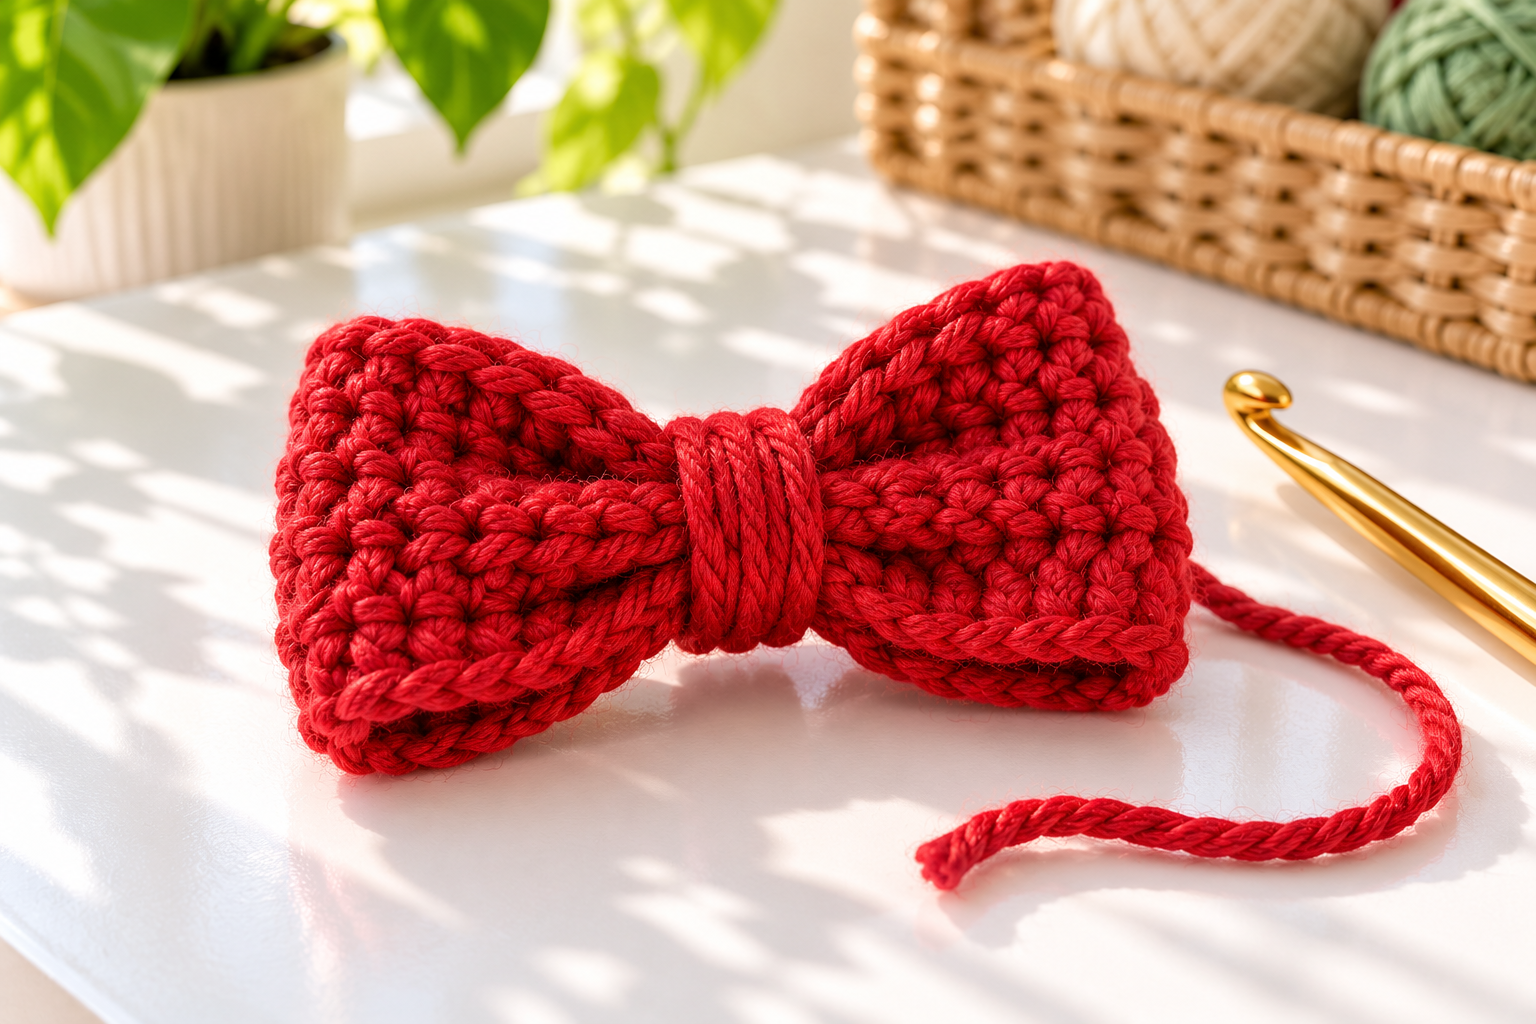
- Lay the main rectangle horizontally with the wrong side facing up.
- Bring the two short ends toward the center and overlap them by about half an inch.
- Pinch the rectangle through the middle to form two even loops.
- Place the folded tail strip behind the pinched rectangle.
- Use the long yarn tail to wrap around the center eight to ten times.
- Thread the tail onto a yarn needle, secure it through the back wraps, and hide the end.
Adjust both loops and tails with your fingers. The center wrap should be snug enough to hold the layers but not so tight that it bends the bow. This easy Christmas bow crochet method creates a full shape without complicated increases or decreases.
Make the Garland Cord
With cream yarn, chain until the cord measures about 60 inches (152 cm), or your desired length. Add 12 extra chains at each end if you want hanging loops. For a thicker cord, sl st back through every chain before fastening off.
Lay the cord flat and arrange the bows before attaching them. Space the bows about 5–6 inches (13–15 cm) apart. Alternate red, cream, and green, or create your own repeating sequence.
Use a matching yarn tail to sew the back center of each bow around the cord. Make two or three secure stitches, knot on the back, and weave the end into the bow. Check that every bow faces forward before moving to the next one.
Color and Styling Ideas
These crochet Christmas bows can match almost any decorating style. Try cream and gold for a neutral mantel, red and pink for a playful look, or deep green and burgundy for traditional decor. A strand made entirely in white looks charming against greenery.
For more crochet holiday decorations, sew an individual bow to a wreath, gift bag, stocking, or reusable present wrap. A small hanging loop turns one bow into a tree ornament. You can also attach bows to a longer chain for stair rails or party tables.
This pattern works especially well when you need quick crochet Christmas gifts. Make several rectangles in one sitting, then shape all the bows together. The assembly-line approach is fast and helps the finished pieces stay consistent.
Tips for a Neat Bow Garland
- Count every row: Matching rectangles produce evenly sized bows.
- Use firm center wraps: This gives each bow a defined shape.
- Arrange before sewing: Test the color order and spacing on a flat surface.
- Steam lightly: Gentle blocking can smooth acrylic bows, but keep heat away from the fibers.
- Store flat: Place the garland loosely in a box so the loops are not crushed.
Frequently Asked Questions
Can I make the bows smaller?
Yes. Start with fewer chains and work fewer rows. For a mini bow, try 9 stitches across and four rows. Make the tail strip shorter to keep the proportions balanced.
Can I use bulky yarn?
Bulky yarn creates large statement bows. Use the hook size recommended on the label and make a shorter foundation chain. Because the bows will be heavier, choose a sturdy cord and sew them securely.
How many bows do I need?
For a 60-inch garland with bows spaced about 6 inches apart, make nine to ten bows. Add more for a fuller bow garland crochet design or fewer for a lighter, minimal style.
A Simple Handmade Holiday Decoration
This crochet Christmas garland pattern is easy to adjust, quick to repeat, and perfect for using festive yarn scraps. It offers plenty of holiday crochet ideas from one basic design, whether you display the full garland or use individual bows on gifts and ornaments.
If you enjoy easy Christmas crochet ideas, keep this pattern ready for relaxed evenings and last-minute decorating. Make your first bow, choose a favorite color sequence, and build a handmade garland that can return every holiday season.