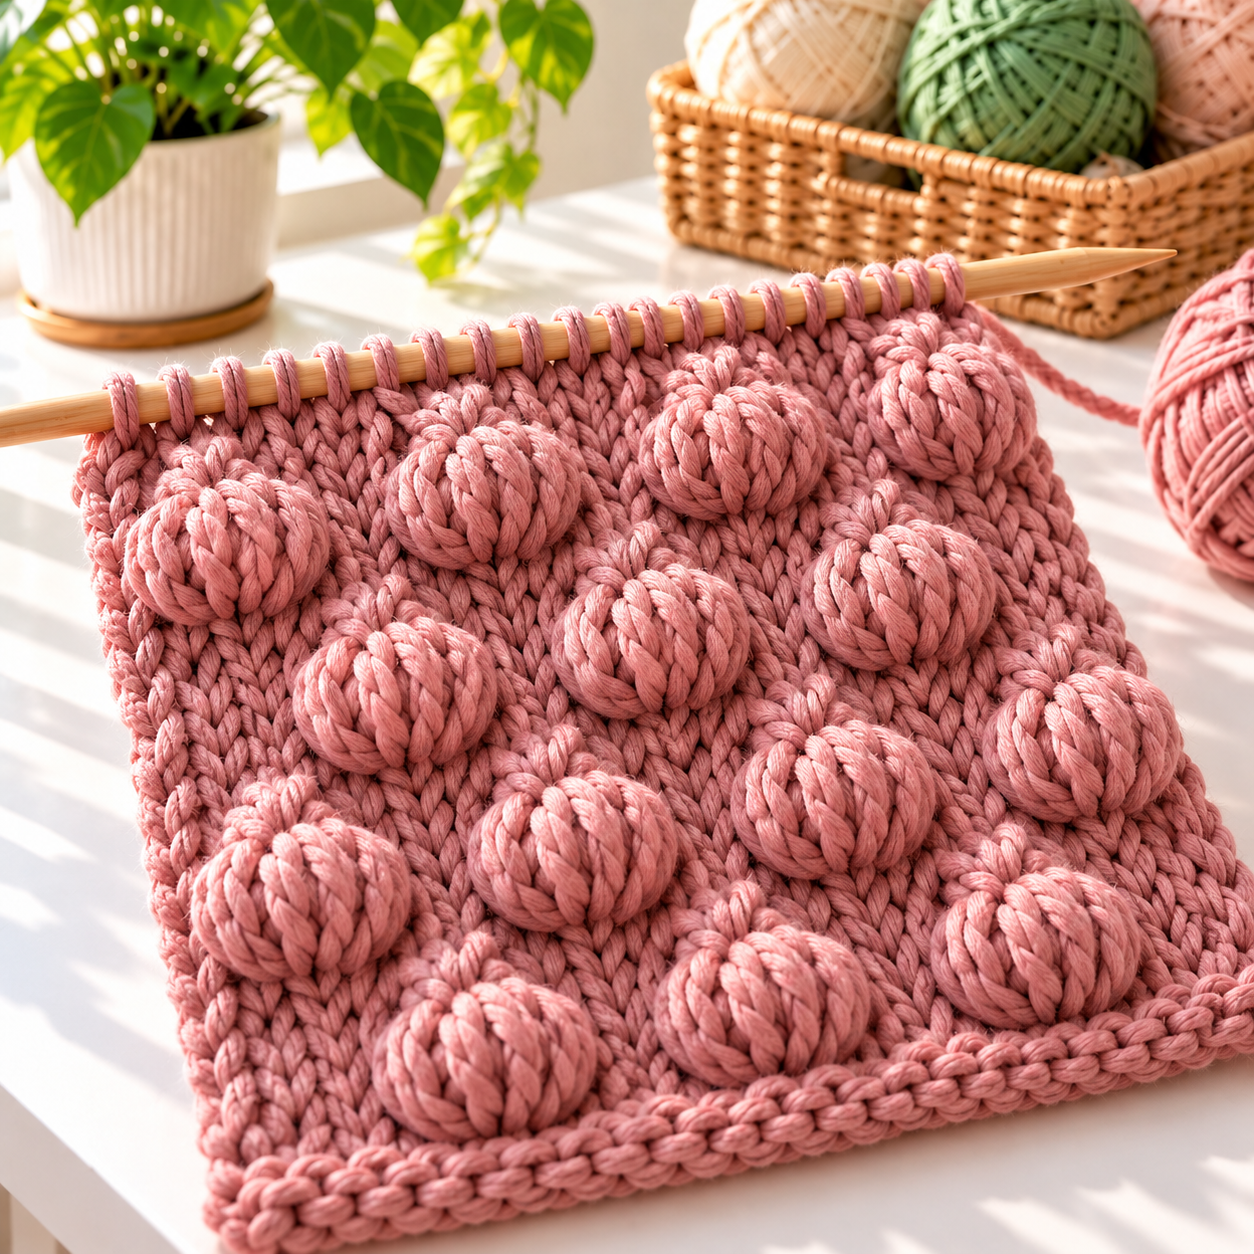
If you want fabric that looks sculptural without cables or complicated colorwork, try this Knitting Stitch To Make Voluminous Patterns. The Soft Bubble Stitch creates rounded clusters on a smooth stockinette background. It is warm, cushioned, and surprisingly approachable once you learn how to knit into a stitch several rows below.
This original written tutorial uses a 12-row repeat with staggered bubbles. Practice it as a swatch before adding it to a scarf, cushion, cardigan panel, or blanket. The texture looks elaborate, but most rows are plain knit or purl, making it a useful Fancy Knitting Pattern For Beginners who are ready for one new technique.
Materials for the Soft Bubble Stitch
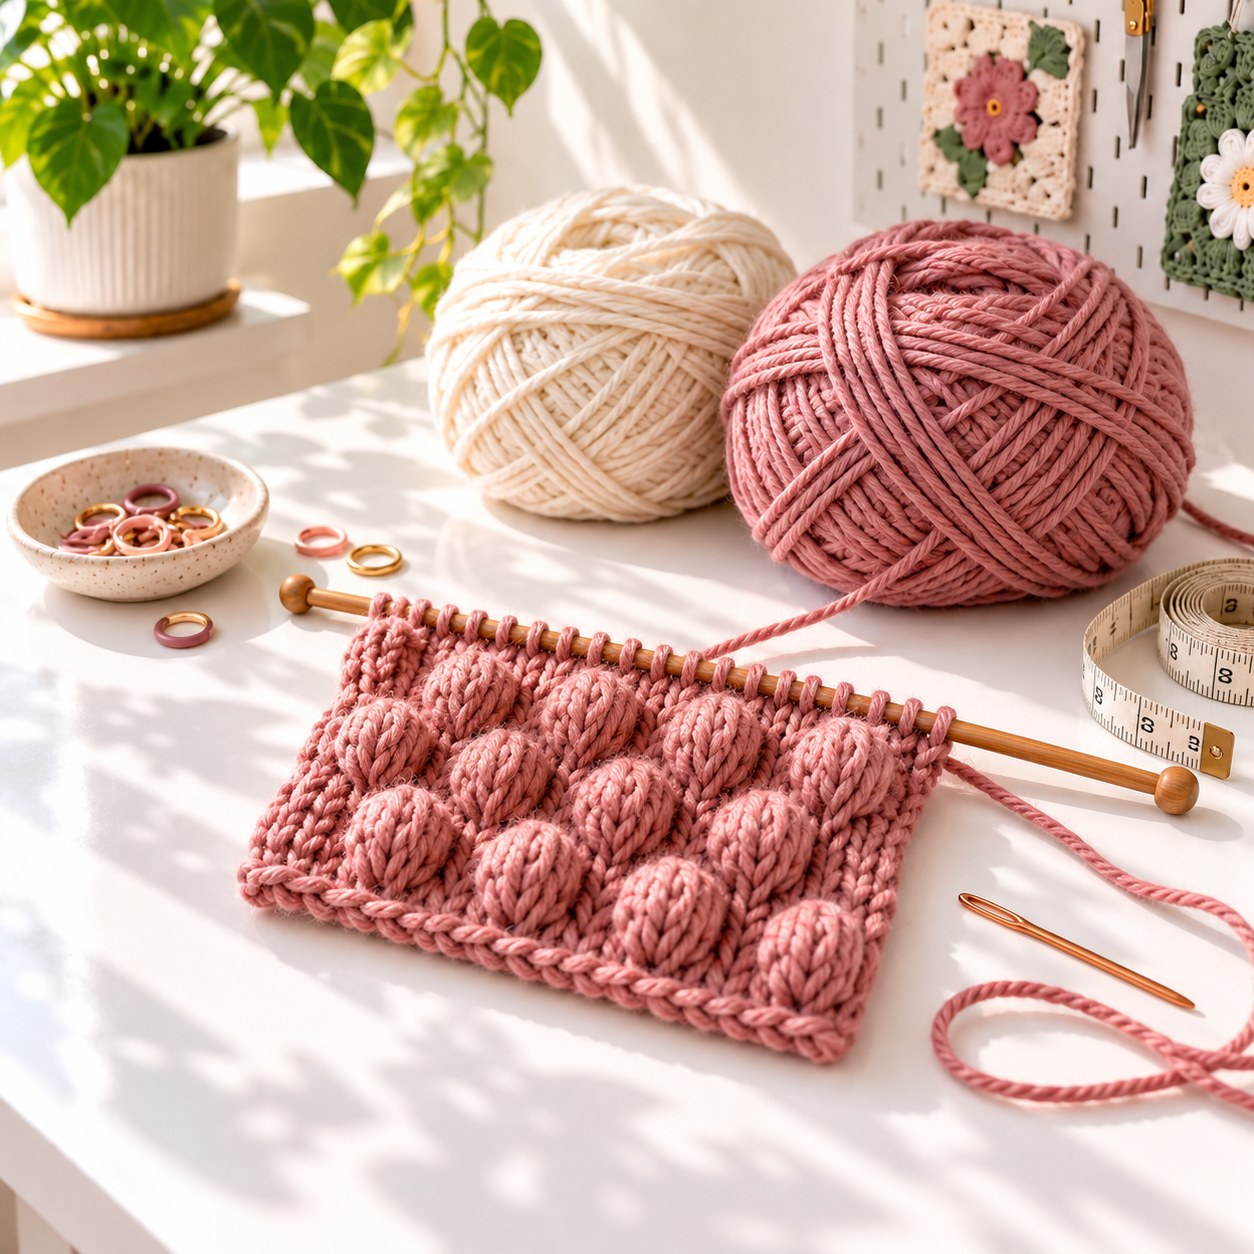
- Medium-weight smooth yarn in a light or medium solid color
- Knitting needles recommended on the yarn label; 4.5–5 mm is a good starting point
- Stitch markers, scissors, yarn needle, and tape measure
- An optional lifeline in a contrasting strand
A plied wool or wool-acrylic blend has enough bounce to make the bubbles stand out. Cotton produces crisp definition but feels heavier. Avoid fuzzy novelty yarn for the first sample because it can hide the lower stitch you need to find. This is a needle-knitting texture—not a Macrame Knitting Stitch—so ordinary straight or circular knitting needles are all you need.
Abbreviations and Pattern Multiple
- k: knit
- p: purl
- RS: right side
- WS: wrong side
- k4b: knit into the stitch four rows below
Cast on a multiple of 4 plus 5 stitches. This includes one edge stitch at each side. For the practice swatch, cast on 29 stitches: 24 + 5. Keep the first and last stitch in stockinette as neat selvage stitches. If you want a wider border, add an even number of extra stitches and work them in garter stitch.
How to Work K4B
The k4b creates the volume. When the pattern says k4b, identify the next stitch on the left needle and follow its vertical column down four rows. Insert the right needle from front to back through the center of that lower stitch. Wrap the yarn and pull a new loop through, just as for a knit stitch.
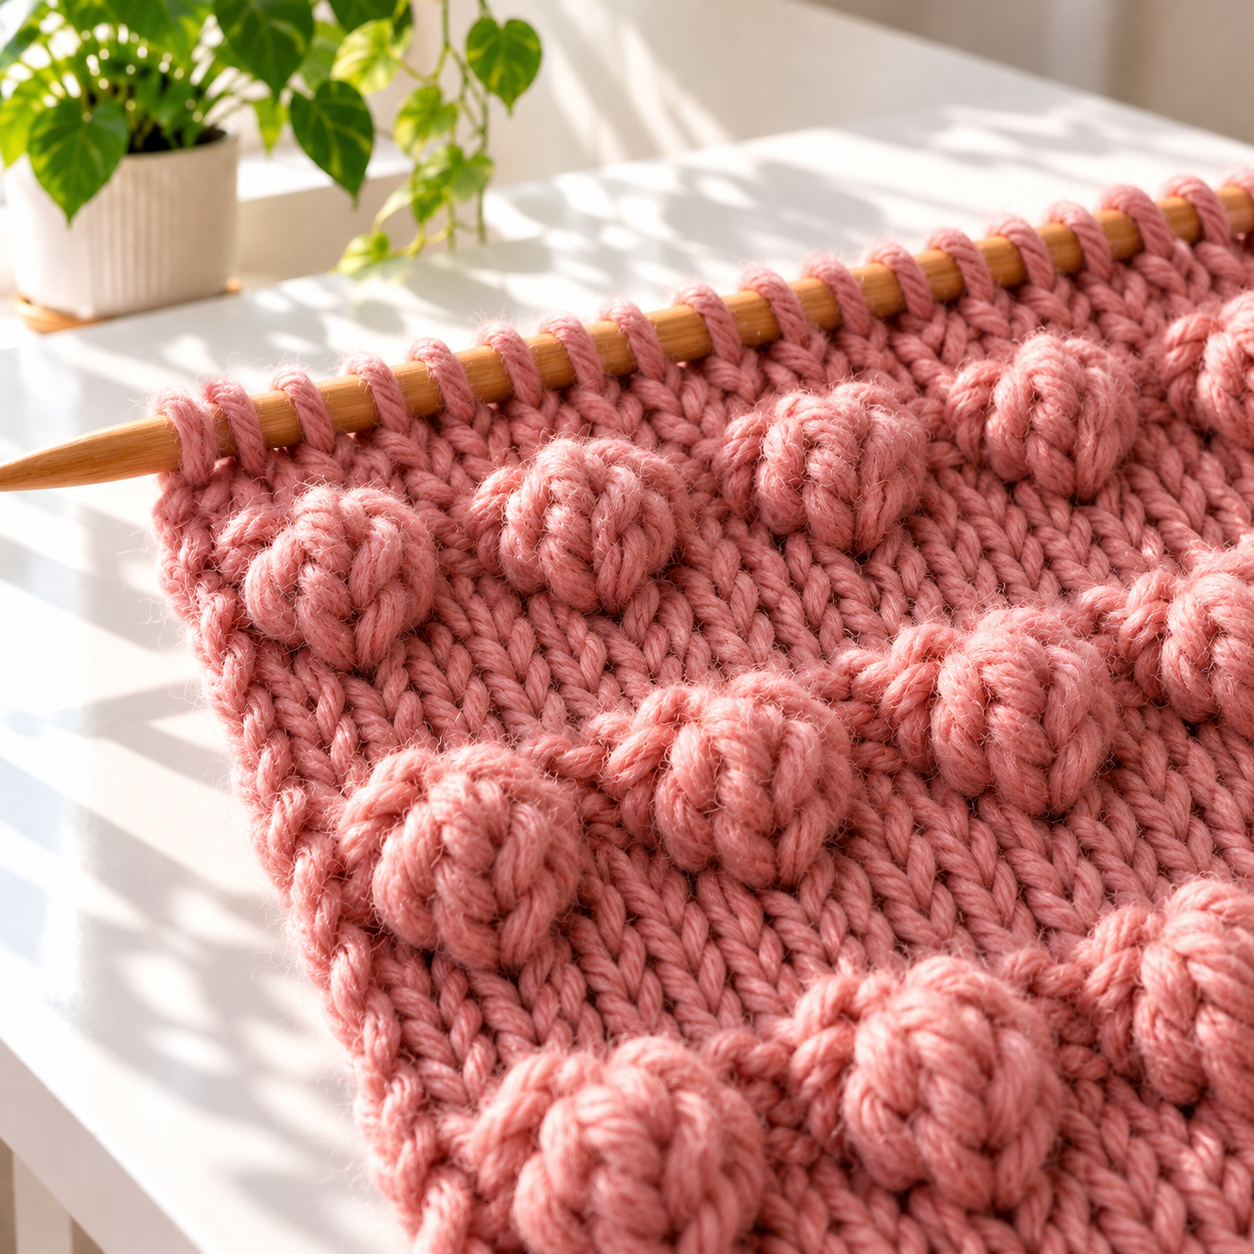
Now slide the original stitch off the left needle and allow the four bars above the lower stitch to unravel. Do not pull them out sideways. The new loop catches the released strands and gathers them into one rounded bubble on the front of the work. Tug the working yarn gently until the cluster is tidy, but do not tighten it excessively.
Simple Knitting Pattern Tutorial
Cast on 29 stitches, or your chosen multiple of 4 plus 5. Knit one set-up row and purl one set-up row, then begin the repeat.
- Row 1 (RS): Knit every stitch.
- Row 2 (WS): Purl every stitch.
- Row 3: Knit every stitch.
- Row 4: Purl every stitch.
- Row 5: K1 edge, k3, then repeat (k4b, k3) until one stitch remains; k1 edge.
- Row 6: Purl every stitch.
- Row 7: Knit every stitch.
- Row 8: Purl every stitch.
- Row 9: Knit every stitch.
- Row 10: Purl every stitch.
- Row 11: K1 edge, k1, then repeat (k4b, k3) until three stitches remain; k2, k1 edge.
- Row 12: Purl every stitch.
Repeat Rows 1–12 until the fabric reaches the desired length. Rows 5 and 11 offset the bubble positions, creating an even field instead of vertical columns. Bind off loosely after a wrong-side row. This Simple Knit Pattern Tutorial is easier to follow if you place a removable marker in the first stitch of every 12-row repeat.
Reading and Adjusting the Texture
Viewed from the front, each bubble sits above a small gathered point. The plain rows between bubble rows give the cluster room to expand. Viewed from the back, the fabric is mostly purl bumps with narrow gathered areas. For a reversible scarf, surround the textured center with a generous garter or seed-stitch border.
To make the design more open, work five plain stockinette rows between bubble rows. To make it denser, keep the six-row spacing from this tutorial. Do not place bubbles closer than four stitches apart; crowded clusters lose their rounded shape and can pull the fabric out of alignment.
Common Problems and Easy Fixes
The Bubble Does Not Pop Forward
Push the released strands toward the right side before working the next stitch. A gentle pinch at the base helps. After washing, shape each bubble with your fingers while the swatch is damp.
You Cannot Find the Correct Lower Stitch
Follow the V-shaped column directly beneath the next live stitch and count four complete V stitches downward. Good lighting and a blunt spare needle help separate the rows. Insert a lifeline through a plain row if you are worried about dropping too far.
The Swatch Pulls In
Textured knitting uses more yarn and naturally contracts. Knit a large washed gauge swatch before calculating a garment. If the fabric feels stiff, move up one needle size for the textured section rather than stretching the bubbles during blocking.
Project Ideas for Voluminous Knitting
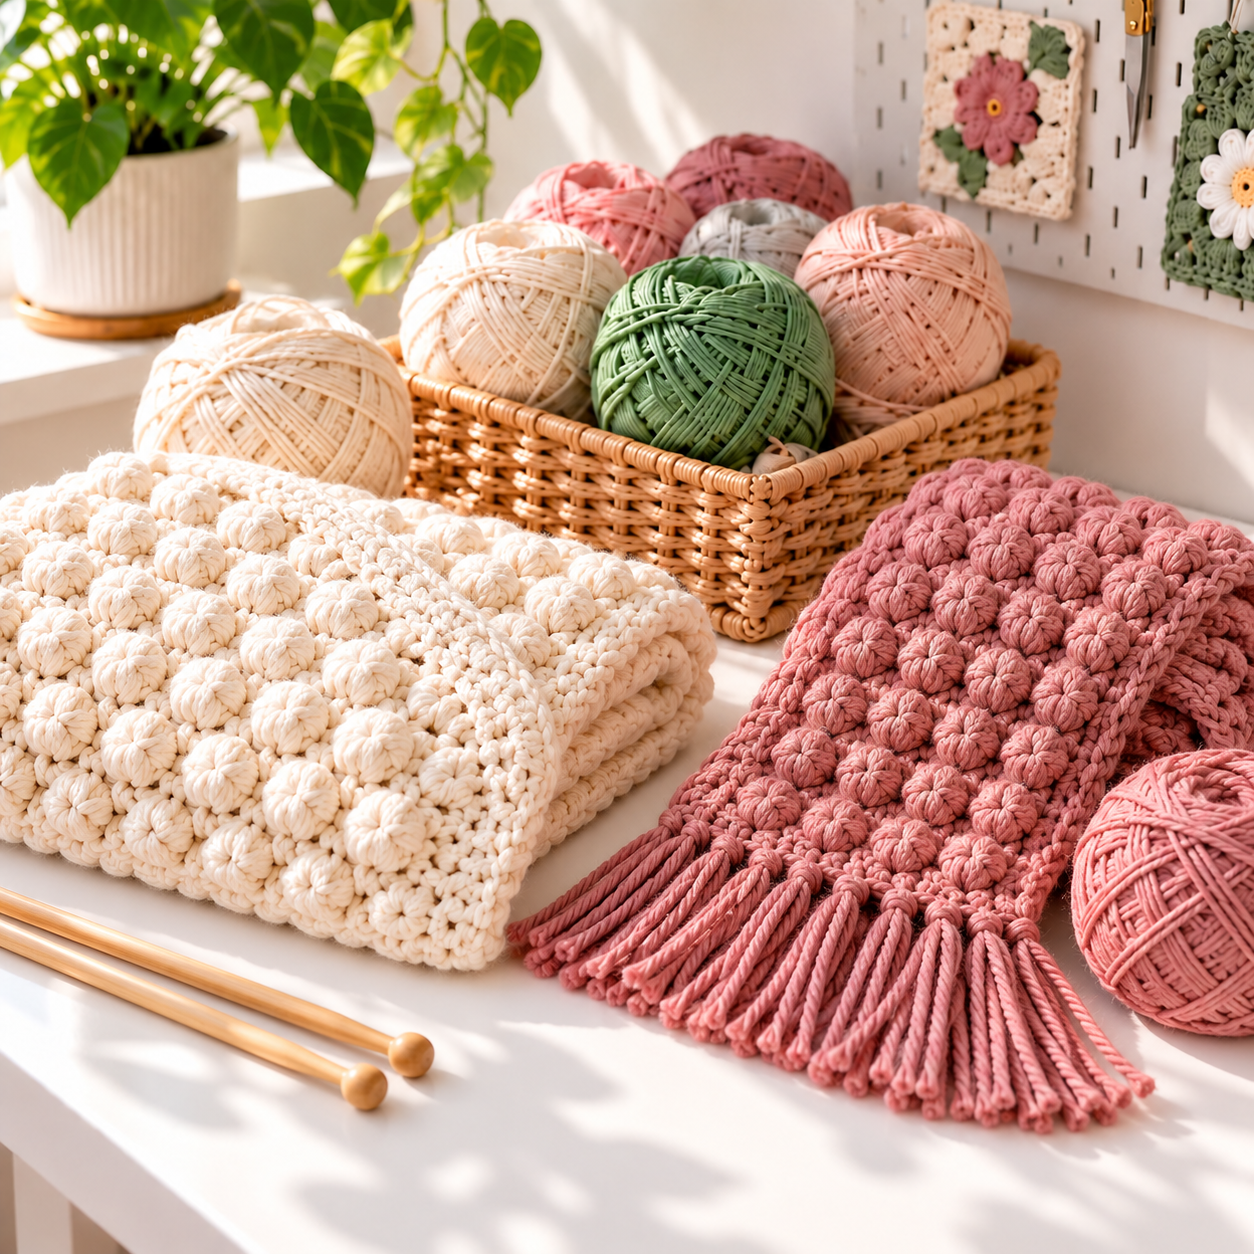
This Knitting Pattern On Needles is especially attractive when texture is the main feature. Try it for:
- A statement scarf with six garter stitches at each edge
- A baby blanket with a wide seed-stitch border
- The front panel of a cushion cover
- A sweater yoke or cardigan pocket
- A warm hat band worked flat and seamed
Because each bubble requires extra yarn, buy approximately 20–30 percent more than you would for plain stockinette of the same measurements. For clothing, use the pattern selectively on a front panel or sleeve. That keeps the garment light while still answering the question of How To Knit Elegant Patterns with strong visual impact.
Blocking and Finishing
Soak the knitting in cool water with gentle wool wash. Support the fabric as you lift it, press out water in a towel, and lay it flat. Pin only the edges to the required measurements. Do not flatten the bubbles with an iron or heavy blocking board. Reshape every cluster with your fingertips and let the piece dry completely.
Beginners searching for Beautiful Knitting Patterns Easy enough to memorize will appreciate the rhythm: stockinette rows, one bubble row, more stockinette, and an offset bubble row. Once the k4b movement feels natural, the 12-row repeat becomes relaxing.
Save this Simple Knitting Pattern Tutorial as a swatch reference and experiment with yarn weight, spacing, and borders. The Knitting Stitch To Make Voluminous Patterns turns basic knit and purl fabric into a warm three-dimensional surface that looks polished in both small accessories and larger home projects.