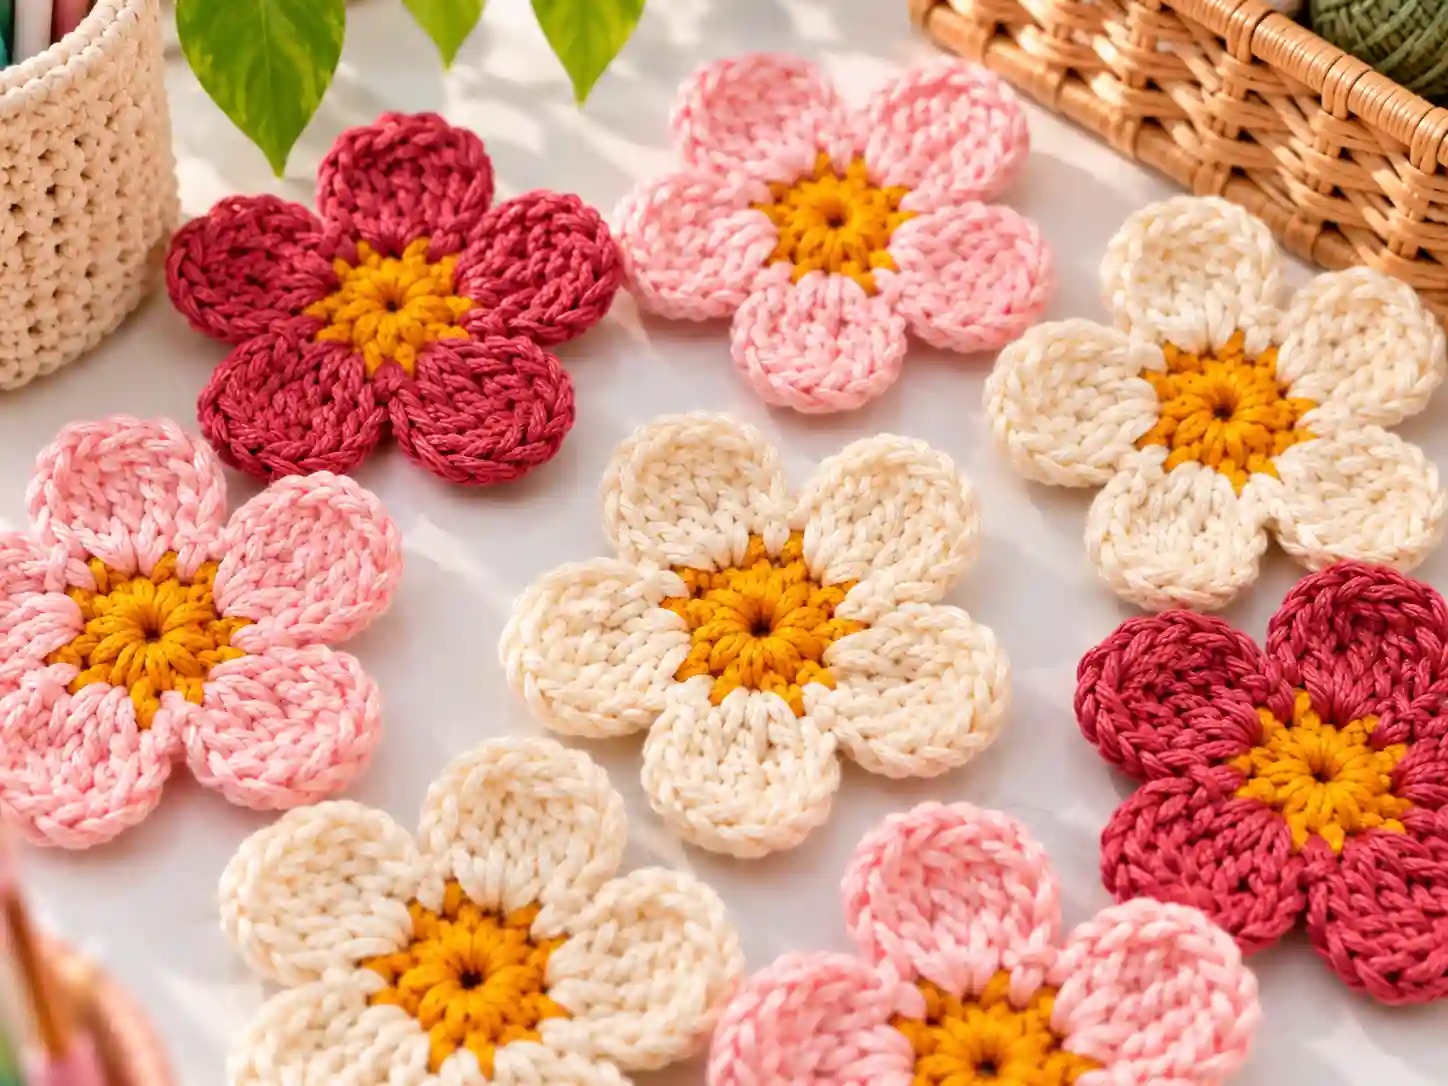
Crocheting a flower is one of those satisfying little projects that feels like a win even on a busy day. This easy crochet flower pattern walks you through each round with a clear written pattern, so you can focus on the rhythm of the stitches instead of guessing what comes next. Whether you want to make a tiny flower crochet pattern for embellishments or a slightly larger bloom for a bouquet, the steps are the same and very beginner friendly.
Why You’ll Love This Crochet Flower
- Quick to make in under 15 minutes
- Uses basic stitches: chain, single crochet, double crochet, slip stitch
- Perfect for scrap yarn and small cotton crochet projects
- Great for easy kids crochet projects and easy baby crochet ideas
- Customizable in any color combo
- Works as an appliqué, gift topper, or part of a larger DIY crochet flower arrangement
Finished Size
With worsted weight yarn and a 4 mm hook, the finished flower measures about 2 to 2.5 inches across. Changing yarn weight or hook size will change the final size.
Materials You’ll Need
- Worsted weight yarn (cotton or acrylic blend works well)
- 4 mm crochet hook
- Tapestry needle
- Scissors
- Stitch marker (optional, for marking the first stitch of a round)
- Floral wire or a safety pin (optional, if attaching to hair clips or bags)
Yarn Information
This pattern uses medium weight (4) yarn. Cotton gives a crisp petal shape, while acrylic is softer and more flexible. You only need a small amount, so it is ideal for small cotton crochet projects and using up scraps. Switching to a lighter yarn with a smaller hook will create a little crochet flower, while bulky yarn with a larger hook makes a bigger statement bloom.
Crochet Hook
A 4 mm hook pairs well with worsted weight yarn for this design. If your tension is tight, try a 4.5 mm hook. If it is loose, a 3.5 mm hook can help keep the petals neat.
Crochet Abbreviations (US Terminology)
- ch: chain
- sc: single crochet
- dc: double crochet
- sl st: slip stitch
- st: stitch
- sp: space
- MR: magic ring (or magic circle)
- rep: repeat
- sk: skip
This pattern is written in US crochet terminology.
Pattern Notes
- Worked in joined rounds from the right side.
- The starting chain at the beginning of a round counts as a stitch unless noted.
- Join each round with a slip stitch to the first stitch of the round.
- Weave in ends on the back of the flower for a clean finish.
- If the flower curls, lightly block it by dampening and pinning flat to dry.
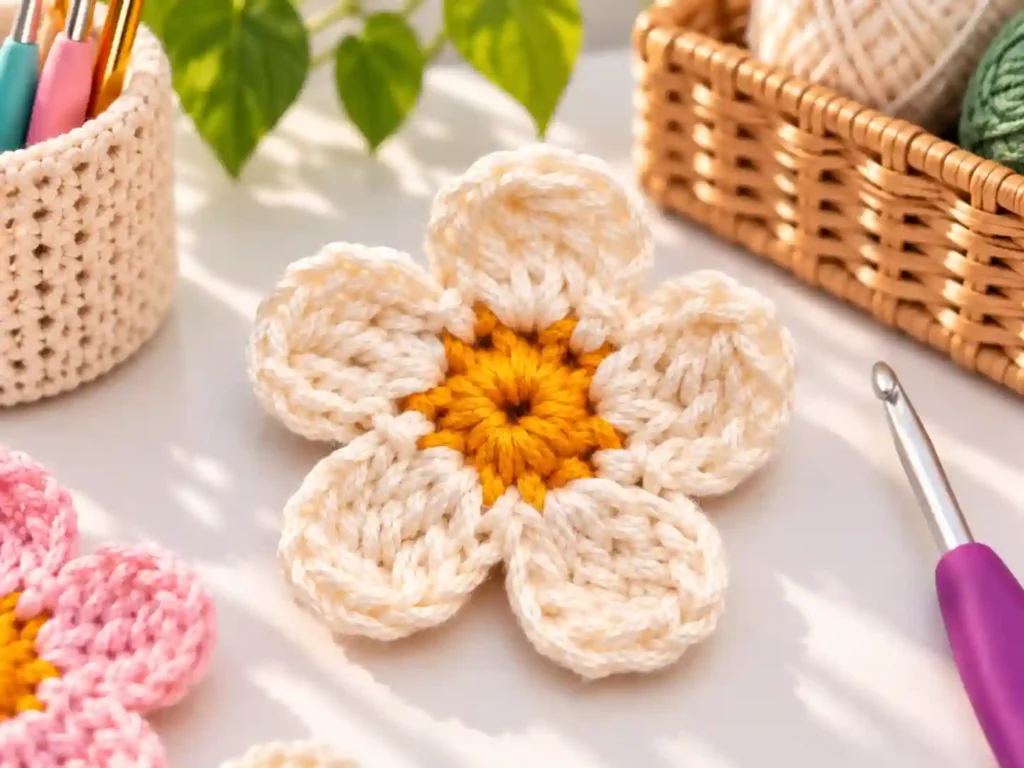
Crochet Pattern: Easy 5-Petal Flower
Round 1: Center Ring
- Make a magic ring (MR).
- Ch 1 (does not count as a stitch), work 10 sc into the MR.
- Pull the tail to close the ring tightly.
- Sl st to the first sc to join. (10 sc)
Round 2: Petal Base
- Ch 3 (counts as first dc).
- Work 1 dc into the same st as the join.
- Ch 2, skip 2 sc, work 2 dc into the next sc.
- Rep from * to * four more times.
- Ch 2, sl st to the top of the beginning ch-3 to join.
You now have 5 petal bases, each made of 2 dc with a ch-2 space between them. (10 dc, 5 ch-2 sps)
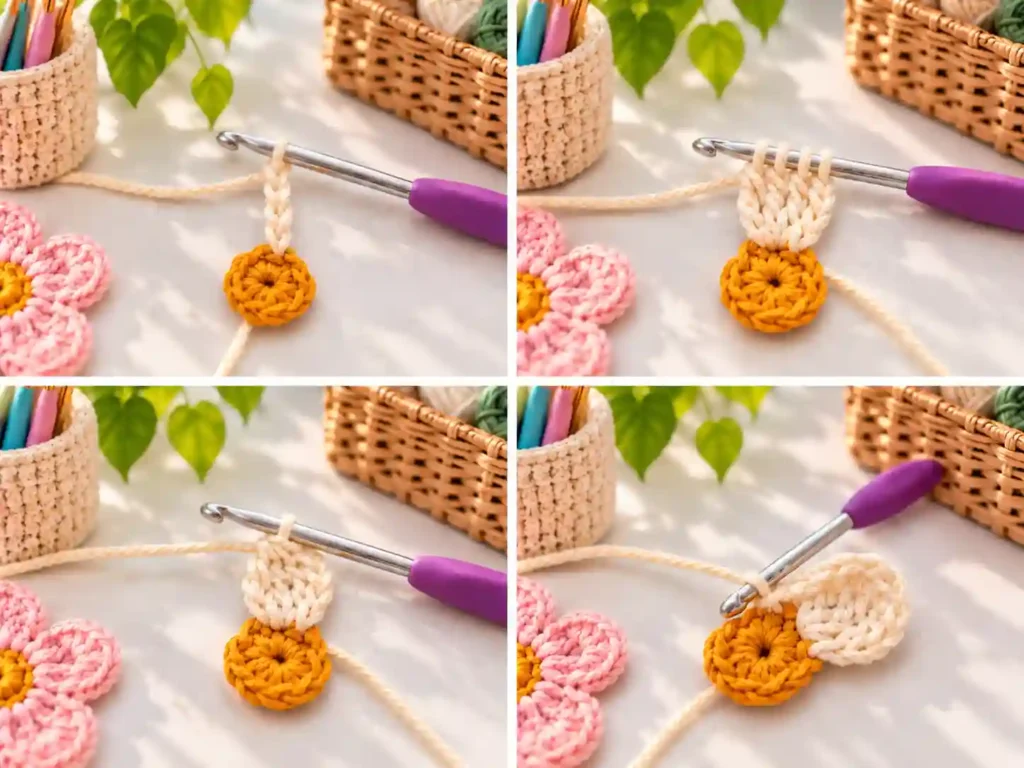
Round 3: Petal Formation
- Sl st into the first ch-2 space.
- Ch 3 (counts as first dc).
- In the same ch-2 space, work: dc, hdc, sc, hdc, dc. (This forms one full petal with 5 stitches.)
- Ch 2, sl st into the next ch-2 space.
- Rep steps 2–4 in each of the remaining 4 ch-2 spaces.
- Sl st to the top of the beginning ch-3 to join. (5 petals, each with 5 stitches)
Round 4: Optional Petal Edging (for a fuller look)
- Sl st to the side of the first petal (not the top).
- Ch 1.
- Work sc evenly along the petal edge: 2 sc along the dc/hdc slopes, 1 sc at the sc peak, 2 sc down the other side (about 5 sc per petal).
- Sl st to the next petal base and repeat for all 5 petals.
- Join with a sl st to the first sc of this round. (Approx. 25 sc)
Fasten off, leaving a 6-inch tail for sewing or attaching.
Assembly
If you are using the flower as an appliqué:
- Thread the yarn tail onto a tapestry needle.
- Position the flower on your project (hat, bag, blanket corner).
- Sew through the back loops of the center ring and petal bases to secure.
- Weave in all ends on the wrong side.
For a 3D layered bloom, make two flowers in different sizes and stitch one on top of the other, offsetting the petals slightly.
Finishing Touches
- Weave in all loose ends neatly on the back.
- If the petals curl, lightly mist with water, pin flat, and air dry.
- For extra stiffness (for ornaments or brooches), brush the back with a thin layer of fabric stiffener and let dry.
Crochet Tips for Success
- Keep your tension even in Round 1 so the center does not gap.
- Count your stitches at the end of each round to stay on track.
- If the magic ring feels tricky, you can chain 4 and sl st to form a ring instead.
- Use a stitch marker to mark the first stitch of each round until you get comfortable.
- For tiny flower crochet patterns, try sport weight yarn and a 3 mm hook.
Variations to Try
- Change colors between rounds for a two-tone bloom.
- Use variegated yarn for a naturally multicolored flower.
- Make a cluster of 3–5 flowers and attach them to a hair clip or headband for easy kids crochet projects.
- Add a bead or button to the center before weaving in the final tail.
- Create a mini bouquet by wiring several flowers together with floral tape.
Common Problems and Troubleshooting
Problem: The center ring has a hole.
Solution: Pull the magic ring tail firmly after completing Round 1. If needed, stitch the gap closed with your yarn tail.
Problem: The petals look uneven.
Solution: Check that you are working the same number of stitches into each ch-2 space. Count as you go.
Problem: The flower is curling too much.
Solution: Lightly block it by dampening and pinning flat. You can also add the optional edging round to weigh the petals down slightly.
Problem: The stitch count is off in Round 2 or 3.
Solution: Unpick to the start of the round and recount. Each petal base should have exactly 2 dc, and each petal should have 5 stitches in Round 3.
How to Use Your Finished Crochet Flower
- Sew onto hats, scarves, or baby blankets for easy baby crochet ideas.
- Attach to hair clips, headbands, or barrettes.
- Use as gift toppers instead of bows.
- Make a garland by stringing several flowers on twine.
- Create a small bouquet for home décor or party decorations.
Care Instructions
- Hand wash gently in cool water with mild detergent.
- Lay flat to dry to maintain shape.
- Avoid wringing or twisting the petals.
- Store flat or lightly rolled in a breathable bag.
Frequently Asked Questions
Can a beginner make this crochet flower?
Yes. This pattern uses only basic stitches and is labeled as confident beginner level.
What yarn works best for this flower?
Worsted weight cotton or acrylic blend gives good stitch definition and holds the petal shape well.
Can I use a different hook size?
You can. A larger hook will make a bigger, looser flower; a smaller hook will create a tighter, smaller bloom.
How do I make the flower larger or smaller?
Use a heavier yarn and larger hook for a bigger flower, or lighter yarn and smaller hook for a tiny flower crochet pattern. You can also add more petals by increasing the number of petal bases in Round 2.
Can I make this without a magic ring?
Yes. Chain 4, sl st to the first chain to form a ring, then work your single crochets into the center of that ring.
How should I wash the finished flower?
Hand wash gently in cool water and lay flat to dry. Avoid high heat or aggressive washing.
Can I use this flower for easy kids crochet projects?
Absolutely. These flowers are quick, colorful, and safe to sew onto kids’ items when ends are securely woven in.
Conclusion
Once you know how to crochet a flower using this written pattern, you will find yourself making them in every color. They are perfect for scrap yarn, quick gifts, and adding a handmade touch to almost anything. Try a few variations, play with color combos, and soon you will have a whole garden of little blooms ready to share.