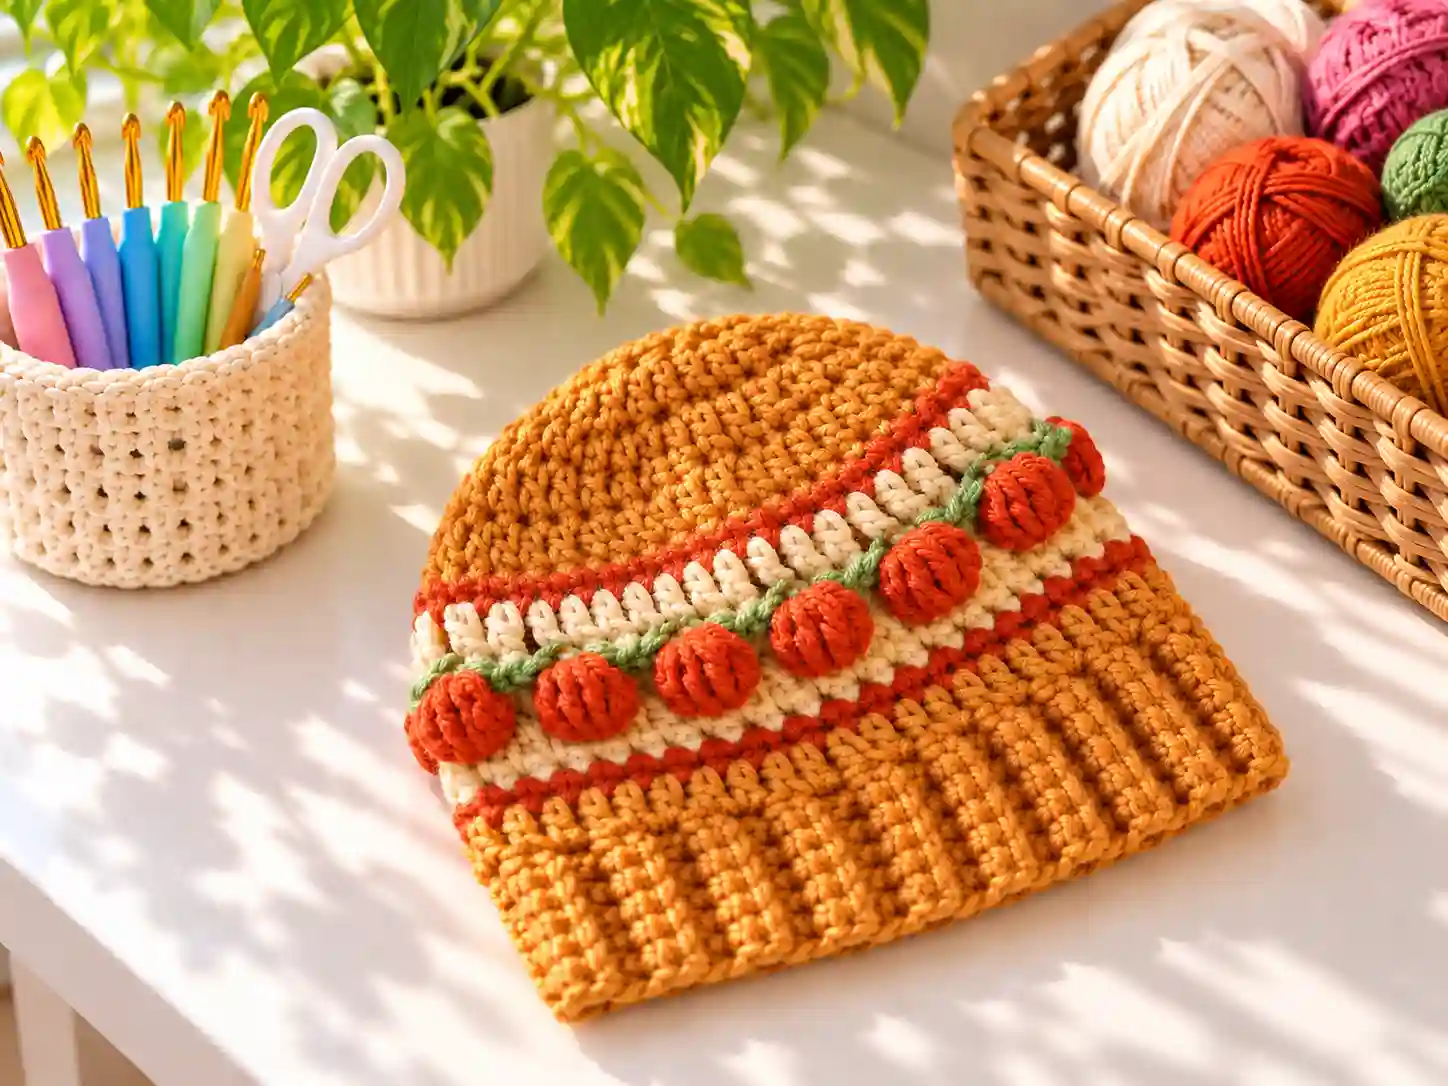
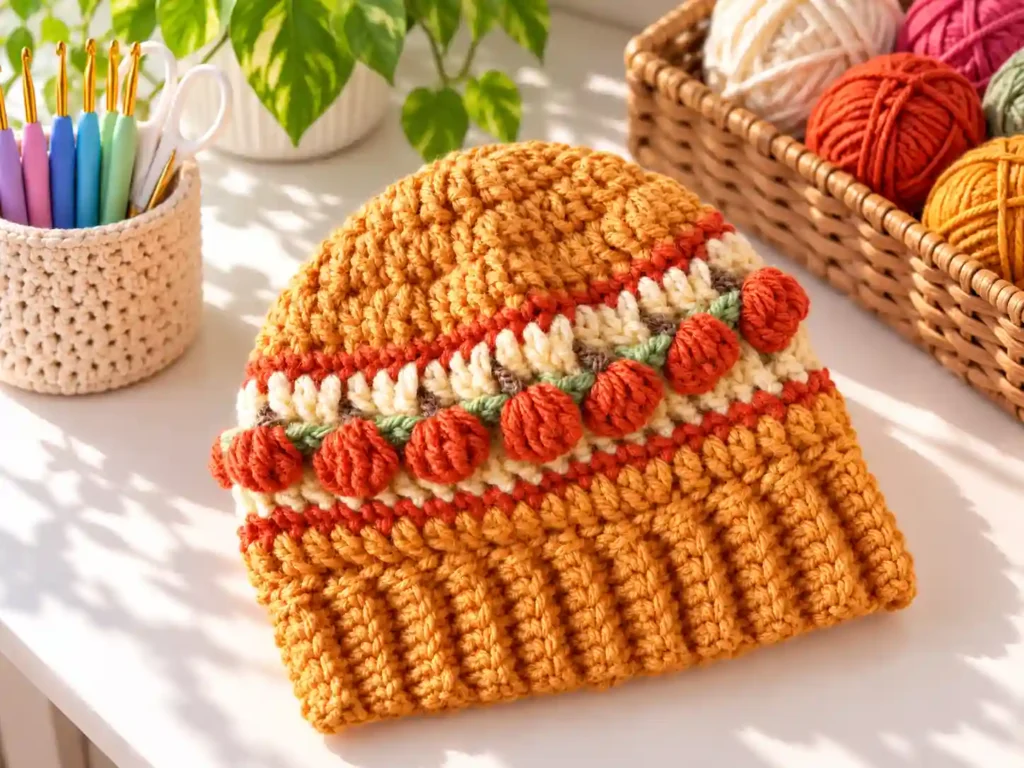
There is something undeniably charming about a handmade pumpkin hat as the leaves start to turn. This Free Crochet Pumpkin Hat Pattern brings together cozy warmth and festive fall style in a project that works up quickly and looks adorable on everyone. Whether you are making it for yourself, as a gift, or to match the whole family, this hat delivers that perfect autumn vibe without complicated shaping or advanced techniques.
The pumpkin look comes from simple textured stitches that create vertical ridges, mimicking the segments of a real pumpkin. A ribbed brim adds stretch and comfort, while the construction stays beginner-friendly throughout. You will work from the bottom up in continuous rounds, making it easy to keep track of your progress.
Why You’ll Love This Crochet Project
This Free Crochet Pumpkin Hat Pattern checks all the boxes for a satisfying fall make.
- Beginner-friendly construction with straightforward rounds
- Quick project using worsted weight yarn
- Customizable colors for classic orange or creative variations
- Scrap-yarn friendly if you want to experiment with shades
- Useful for gifts, photo props, or personal wear
- Wearable and practical for crisp autumn days
- Portable enough to work on while commuting or watching TV
Finished Size
This pattern is designed to be easily adjustable for different head sizes by changing hook size or yarn weight. For a standard adult size, expect a finished circumference of approximately 20 to 22 inches and a height of about 9 to 10 inches before the brim is folded. Always check your gauge if precise sizing matters for your project.
Materials You’ll Need
Gather these supplies before you begin your Free Crochet Pumpkin Hat Pattern.
- Worsted weight yarn in your chosen pumpkin color (approximately 150 to 200 yards)
- Crochet hook size H (5.0 mm) or size needed to obtain gauge
- Tapestry needle for weaving in ends
- Scissors
- Stitch marker to mark the beginning of rounds
- Optional: contrasting yarn or felt for a stem or leaf embellishment
Yarn Information
Worsted weight yarn (category 4) works beautifully for this Free Crochet Pumpkin Hat Pattern. Acrylic, wool, or wool-blend yarns all perform well. Acrylic offers easy care and affordability, while wool provides extra warmth and stitch definition. One standard skein is typically sufficient for an adult hat.
Changing yarn weight will affect the finished size. Bulky yarn creates a larger, thicker hat, while DK weight produces a lighter, smaller version. Adjust your hook size accordingly to maintain comfortable fabric density.
Crochet Hook
A 5.0 mm (H) hook is recommended for worsted weight yarn to achieve a balanced fabric that is neither too stiff nor too loose. If your stitches tend to be tight, consider going up one hook size. For a denser, warmer hat, stay with the suggested size or go down slightly.
Crochet Abbreviations
This Free Crochet Pumpkin Hat Pattern uses US crochet terminology.
- ch: chain
- sl st: slip stitch
- sc: single crochet
- hdc: half double crochet
- dc: double crochet
- st: stitch
- sts: stitches
- BLO: back loop only
- FLO: front loop only
Pattern Notes
- Worked in continuous rounds from the brim up
- The brim uses alternating front post and back post stitches for ribbing
- The body features textured vertical ridges created by working in the back loop only
- Use a stitch marker to track the first stitch of each round
- Join each round with a slip stitch unless otherwise noted
- Chain does not count as a stitch in this pattern
- Color changes can be made at the end of any round if desired
Crochet Pattern
Part 1: Ribbed Brim
Round 1: Ch 2, work 12 hdc into the second chain from hook. Join with a sl st. (12 sts)
Round 2: Ch 1, work 2 hdc in each st around. Join with a sl st. (24 sts)
Round 3: Ch 1, 1 hdc in next st, 2 hdc in next st; repeat from around. Join with a sl st. (36 sts)
Round 4: Ch 1, 1 hdc in next 2 sts, 2 hdc in next st; repeat from around. Join with a sl st. (48 sts)
Round 5: Ch 1, 1 hdc in next 3 sts, 2 hdc in next st; repeat from around. Join with a sl st. (60 sts)
Round 6: Ch 1, 1 hdc in next 4 sts, 2 hdc in next st; repeat from around. Join with a sl st. (72 sts)
Round 7: Ch 1, 1 hdc in next 5 sts, 2 hdc in next st; repeat from around. Join with a sl st. (84 sts)
Round 8: Ch 1, 1 front post hdc around next st, 1 back post hdc around next st; repeat from around. Join with a sl st. (84 sts)
Rounds 9 to 12: Repeat Round 8 four more times for a total of 5 ribbed rounds.
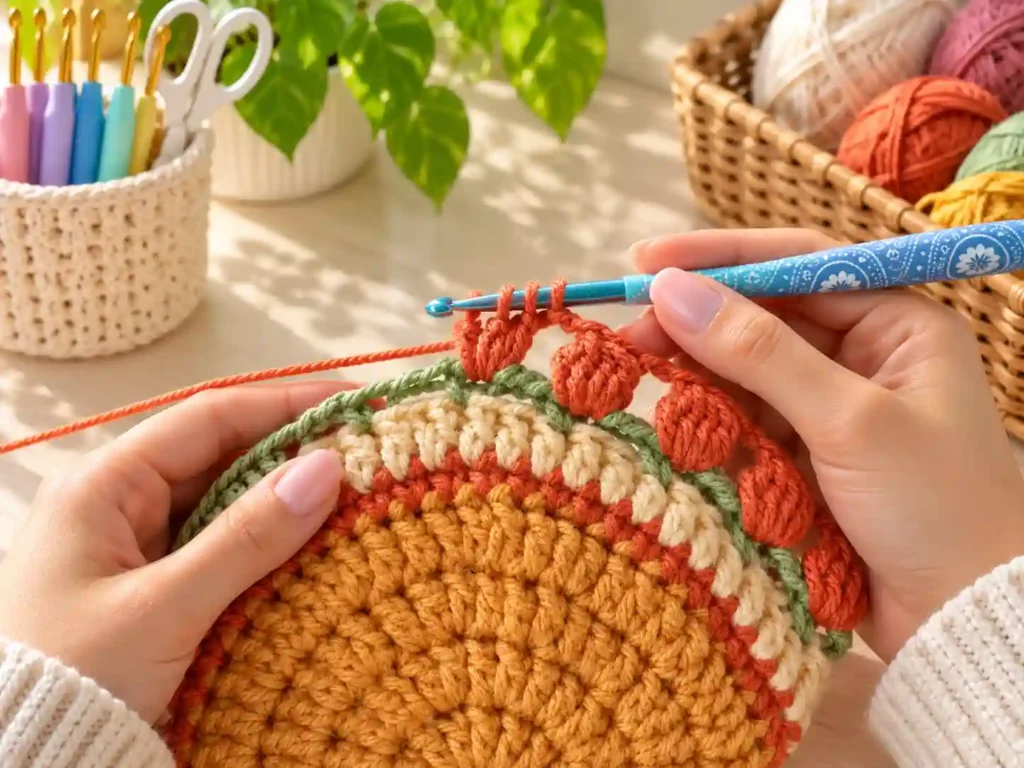
Part 2: Pumpkin Body
Round 13: Ch 1, work 1 hdc in BLO of each st around. Join with a sl st. (84 sts)
Round 14: Ch 1, work 1 hdc in BLO of each st around. Join with a sl st. (84 sts)
Round 15: Ch 1, 1 hdc in next 5 sts, hdc2tog over next 2 sts; repeat from around. Join with a sl st. (72 sts)
Round 16: Ch 1, work 1 hdc in BLO of each st around. Join with a sl st. (72 sts)
Round 17: Ch 1, 1 hdc in next 4 sts, hdc2tog over next 2 sts; repeat from around. Join with a sl st. (60 sts)
Round 18: Ch 1, work 1 hdc in BLO of each st around. Join with a sl st. (60 sts)
Round 19: Ch 1, 1 hdc in next 3 sts, hdc2tog over next 2 sts; repeat from around. Join with a sl st. (48 sts)
Round 20: Ch 1, work 1 hdc in BLO of each st around. Join with a sl st. (48 sts)
Round 21: Ch 1, 1 hdc in next 2 sts, hdc2tog over next 2 sts; repeat from around. Join with a sl st. (36 sts)
Round 22: Ch 1, work 1 hdc in BLO of each st around. Join with a sl st. (36 sts)
Round 23: Ch 1, 1 hdc in next st, hdc2tog over next 2 sts; repeat from around. Join with a sl st. (24 sts)
Round 24: Ch 1, work 1 hdc in BLO of each st around. Join with a sl st. (24 sts)
Round 25: Ch 1, hdc2tog over next 2 sts; repeat from around. Join with a sl st. (12 sts)
Round 26: Ch 1, hdc2tog over next 2 sts; repeat from around. Join with a sl st. (6 sts)
Fasten off, leaving a long tail. Thread the tail through a tapestry needle and weave through the remaining 6 sts. Pull tight to close the top and secure.
Assembly
- Weave in all loose ends securely on the inside of the hat.
- If adding a stem, cut a small rectangle of felt or crochet a small tube, stuff lightly, and sew to the center top.
- Optional: Add a crocheted or felt leaf near the stem for extra detail.
- Block the hat lightly if needed to even out the stitches and shape the brim.
Finishing Touches
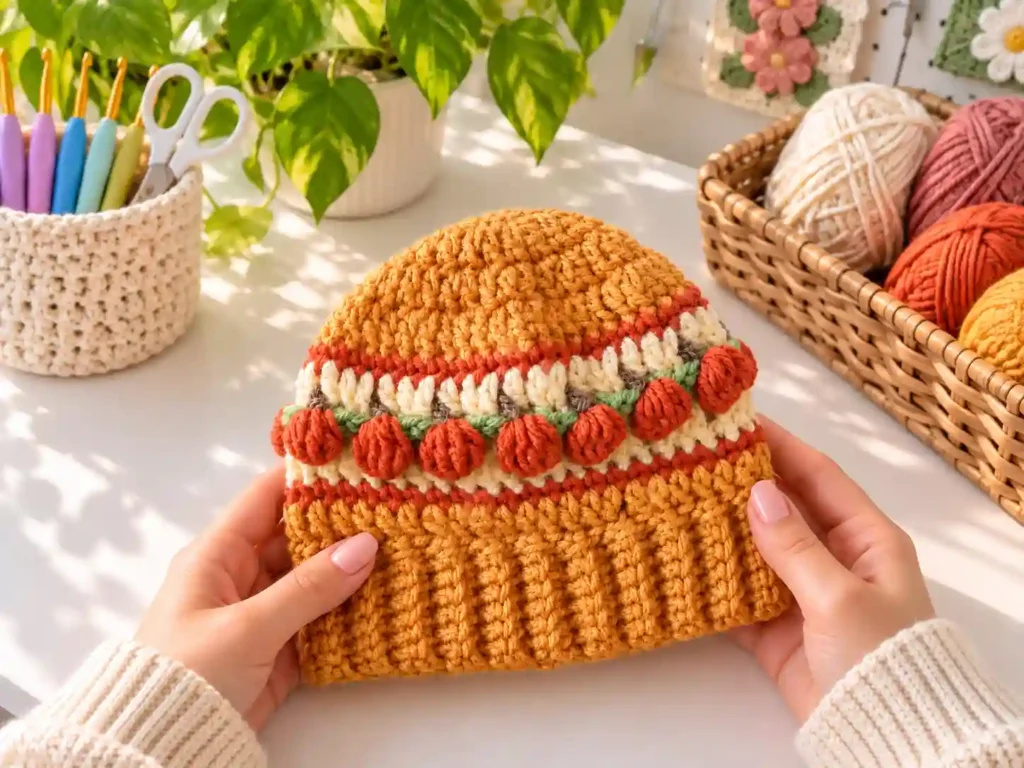
Take time to weave in ends neatly to prevent unraveling. Light blocking can help the ribbed brim lie flat and the pumpkin ridges become more defined. If you used acrylic yarn, steam blocking works well. For wool, wet blocking is effective.
Crochet Tips
- Maintain even tension throughout the brim for consistent ribbing.
- Count stitches at the end of each decrease round to avoid accidental increases or drops.
- Work the back loop only stitches carefully to keep the pumpkin ridges uniform.
- If the hat feels too tight, try a larger hook or looser tension on the brim rounds.
- Use a contrasting stitch marker that is easy to see against your yarn color.
Variations
Experiment with this Free Crochet Pumpkin Hat Pattern to suit different tastes.
- Try classic orange, burnt sienna, or cream for traditional pumpkin tones.
- Use variegated fall yarn for automatic color interest.
- Make a mini version with DK yarn and a smaller hook for babies or dolls.
- Add embroidered facial features for a playful character hat.
- Create a matching set with simple pumpkin coasters or a small amigurumi pumpkin.
Common Problems and Troubleshooting
Problem: The brim is too tight and does not stretch comfortably.
Solution: Use a larger hook for the brim rounds only, or work the post stitches more loosely.
Problem: The pumpkin ridges look uneven or wavy.
Solution: Ensure you are consistently working in the back loop only and maintaining even tension.
Problem: The hat is taller or shorter than expected.
Solution: Add or remove rounds in the body section before beginning decreases to adjust height.
Problem: The top does not close neatly.
Solution: Leave a longer tail for weaving through the final stitches and pull firmly while securing.
How to Use the Finished Crochet Project
This Free Crochet Pumpkin Hat Pattern produces a versatile accessory for many occasions.
- Wear it for fall festivals, pumpkin patches, or Halloween events.
- Gift it to friends and family as a handmade seasonal present.
- Use it as a photo prop for autumn family portraits.
- Make matching hats for the whole family in different sizes.
- Donate to charity drives or craft fairs during the fall season.
Care Instructions
Hand wash in cool water with mild detergent to preserve the shape and texture. Lay flat to dry, reshaping the brim and body as needed. Avoid high heat in dryers, especially for acrylic yarns, to prevent stretching or distortion. Store folded or rolled in a dry place during off-season months.
Frequently Asked Questions
Can a beginner make this Free Crochet Pumpkin Hat Pattern?
Yes, the pattern uses basic stitches and clear round-by-round instructions suitable for beginners.
What yarn works best for this hat?
Worsted weight acrylic or wool-blend yarn provides warmth, durability, and easy care.
Can I use a different hook size?
Absolutely. A larger hook creates a looser fabric, while a smaller hook makes a denser hat.
Can I make the project larger or smaller?
Yes, adjust by changing yarn weight, hook size, or the number of increase and decrease rounds.
Can I use a different yarn weight?
You can, but expect changes in finished size and yardage requirements.
How do I prevent the piece from curling?
Work the brim ribbing firmly and block the finished hat to set the shape.
How should I wash the finished project?
Hand wash in cool water and lay flat to dry for best results.
Conclusion
This Free Crochet Pumpkin Hat Pattern delivers cozy fall style with straightforward construction and charming texture. Grab your favorite autumn yarn, settle in with a cup of something warm, and crochet a hat that celebrates the season. Once you finish one, you will likely want to make more in different colors for everyone on your list.