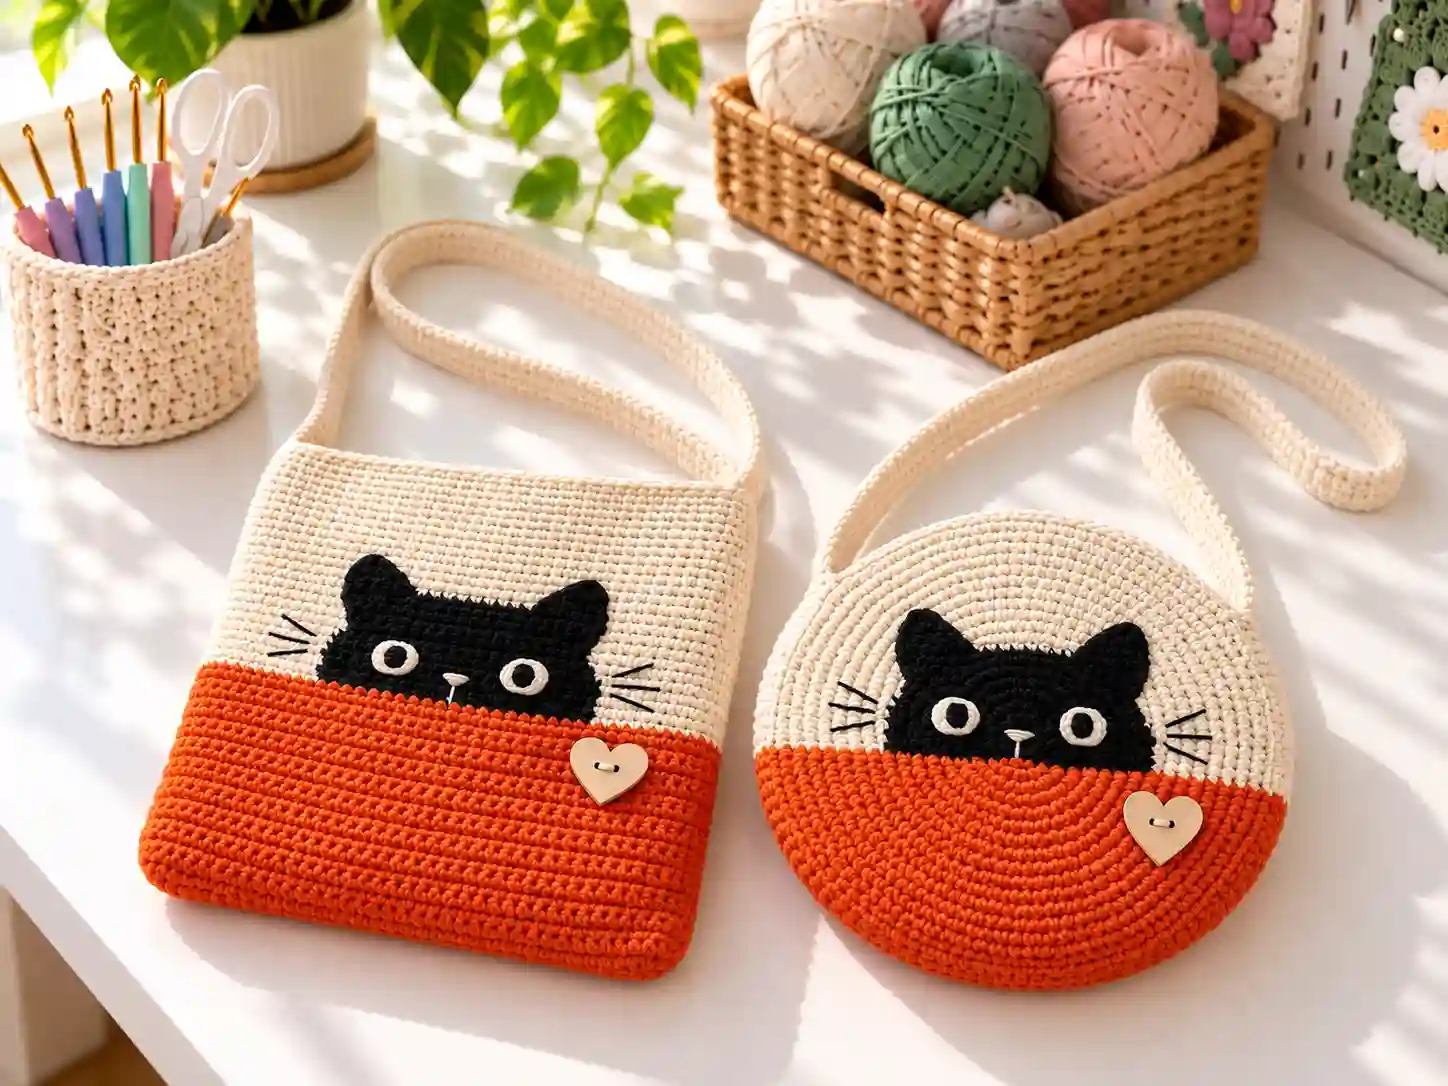
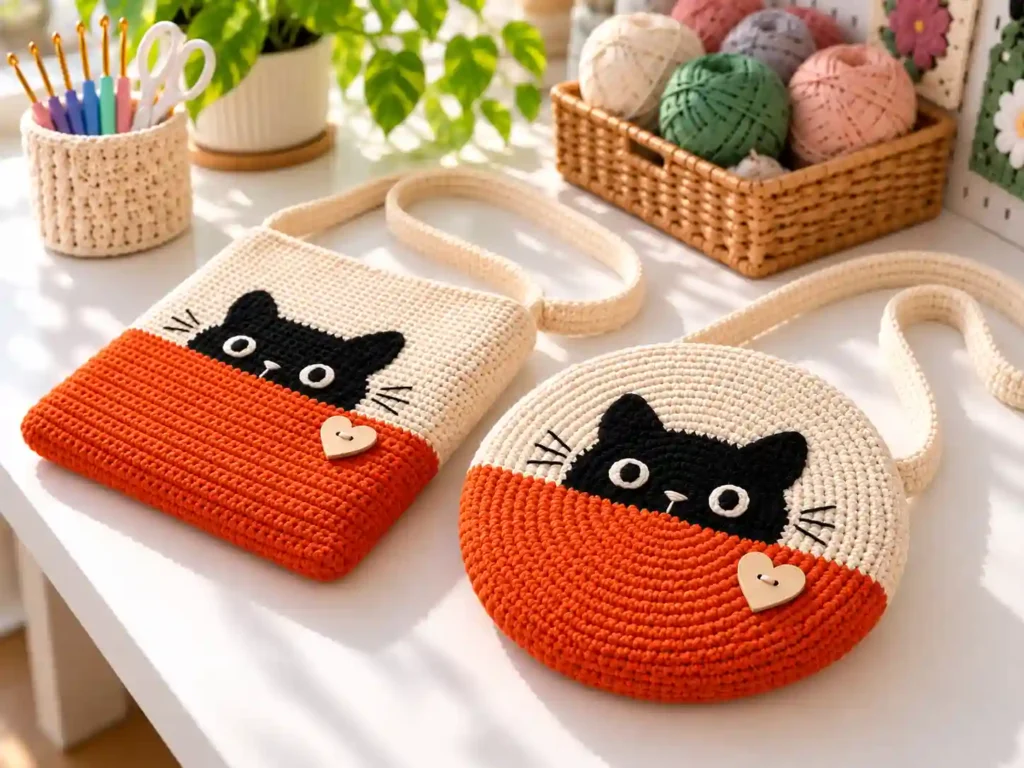
A DIY crochet cat bag pattern is one of those projects that looks much more complicated than it actually is. The rounded body, sweet face, little ears, and shoulder strap come together from familiar stitches, color changes, and simple hand-sewing. The result is a playful cat-shaped purse that works beautifully for everyday outings, gifts, or a fun addition to a handmade accessory collection.
This design uses a circular base that gradually expands into a roomy bag, then finishes with a long crocheted shoulder strap. The face is built from separate crocheted eyes, ears, a nose, and a small flower, so you can customize the personality of your cat bag without changing the main construction.
Why You’ll Love This Crochet Project
- The bag body uses repeatable increase rounds, making the shaping easy to follow.
- It is a great project for using a favorite gray yarn or adapting the palette to another cat color.
- The separate facial pieces let you create a cheerful, expressive finished bag.
- A shoulder strap makes it practical for casual wear, markets, walks, or children’s dress-up.
- The design suits crocheters who enjoy amigurumi-style details as well as useful crochet projects.
Finished Size
Exact finished measurements were not provided in the verified pattern information supplied for this project. Your final size will depend on yarn weight, hook size, and personal tension. For the closest result, use the same yarn and hook combination throughout and check that the circular base lies flat before continuing upward.
Materials You’ll Need
- Yarn in gray for the bag body, strap, and ears
- Contrasting yarn for the eyes, nose, flower, and embroidered mouth
- Crochet hook
- Yarn or tapestry needle
- Scissors
- Stitch markers, helpful for marking the beginning of rounds
- Safety eyes, if you prefer them over crocheted eye pieces
Yarn Information
The verified pattern calls for gray yarn as the main color. Choose a smooth, sturdy yarn with good stitch definition so the increases in the round base remain easy to see. A cotton or cotton-blend yarn is a sensible choice for a bag because it tends to hold its shape well, though the original yarn weight and quantity were not specified.
If you substitute yarn, keep in mind that a thicker yarn will create a larger bag, while a lighter yarn will make it smaller. Use a hook size that gives you a firm fabric; a bag with loose stitches may stretch more than you expect once it is filled.
Crochet Hook
No hook size was provided in the verified pattern information. Select a hook that suits your chosen yarn and produces a dense, even fabric. If your stitches look gappy, go down a hook size. If the fabric feels stiff and difficult to work, try going up one size.
Crochet Abbreviations
This pattern uses US crochet terminology.
- ch = chain
- dc = double crochet
- sc = single crochet
- sl st = slip stitch
- inc = increase, two stitches in the same stitch
- BLO = back loop only
- MR = magic ring
- rnd = round
- st(s) = stitch(es)
Pattern Notes
- The bag is worked from the center outward in joined rounds.
- The beginning chain in each round does not count as a stitch unless your pattern specifically states otherwise.
- Round 10 is worked in the back loops only, which helps create a defined edge where the sides of the bag begin.
- Keep your increases evenly spaced so the circular base stays smooth rather than developing points.
- The strap is worked directly onto the bag, then secured to the opposite side.
- The ears, eyes, nose, and flower are made separately and attached during assembly.
- Weave in ends securely, especially around the strap joins and facial details.
DIY Crochet Cat Bag Pattern
The instructions below cover the verified portions of the bag body and shoulder strap. The original source also includes separate pieces for the ears, crocheted eyes, nose, and flower, but the complete round-by-round instructions for those components were not supplied, so they are not invented here.
Part 1: Bag Body
Use gray yarn.
- Rnd 1: Work 11 dc into a magic ring. Join with a sl st. (11 sts)
- Rnd 2: Sl st, ch 2, work 11 inc around. Join. (22 sts)
- Rnd 3: Ch 2, dc, inc; repeat from the dc around. Join. (33 sts)
- Rnd 4: Ch 2, 2 dc, inc; repeat around. Join. (44 sts)
- Rnd 5: Ch 2, 3 dc, inc; repeat around. Join. (55 sts)
- Rnd 6: Ch 2, 4 dc, inc; repeat around. Join. (66 sts)
- Rnd 7: Ch 2, 5 dc, inc; repeat around. Join. (77 sts)
- Rnd 8: Ch 2, 6 dc, inc; repeat around. Join. (88 sts)
- Rnd 9: Ch 2, 7 dc, inc; repeat around. Join. (99 sts)
- Rnd 10: Working in BLO, ch 2, dc in each st around. Join. (99 sts)
- Rnd 11: Ch 2, sc in each st around. Join. (99 sts)
After Round 10, the back-loop texture creates a subtle ridge at the transition from the flat circular base to the upright sides of the bag. This is a useful visual checkpoint: if the circle looks wavy or pointed, pause and check the spacing of your increases before moving on.
Part 2: Shoulder Strap
Use gray yarn.
- Insert your hook into the side of the bag, one or two rounds below the opening at Round 12, and work 10 sc into the bag.
- Work 90 rows of 10 dc.
- Attach the opposite end of the strap to the other side of the base of the bag with 10 sc.
Before fastening off, try the bag on or hold it up to check the strap length. The long strip of double crochet will have a little natural stretch, so secure both ends firmly before weaving in the tails.
Assembly
- Attach the crocheted ears, eyes, nose, and flower to the bag, following the placement shown in your chosen design reference.
- If using crocheted eye pieces, add safety eyes according to the design and your preferred placement.
- Embroider the mouth after the facial pieces are attached, using a contrasting yarn and a tapestry needle.
- Secure every sewn piece from the inside where possible, then weave in all yarn tails carefully.
Pin the facial features in place before sewing them down. Small adjustments at this stage make a big difference in the final expression of the cat bag. Symmetrical ear placement and evenly spaced eyes will give the finished purse a polished, intentional look.
Finishing Touches
Once all pieces are attached, gently shape the bag with your hands. Smooth the base, straighten the sides, and make sure the strap lies flat without twisting. Trim any stray fibers, then weave in the remaining ends along the inside of the bag or behind the facial appliqués.
If your yarn benefits from blocking, lightly shape the finished bag and allow it to dry flat. Avoid aggressive steaming on synthetic yarn, since heat can distort the fibers.
Crochet Tips
- Use a stitch marker at the start of every round to prevent losing count during the increase rounds.
- Keep your tension consistent, especially in Rounds 2 through 9, where the circle expands quickly.
- Count after each increase round; catching an error early is much easier than unraveling several rounds later.
- Work the strap with relaxed but even tension so it does not pull the bag out of shape.
- Sew facial pieces with small, secure stitches and matching yarn where possible.
Variations
- Make a black cat version with green or gold eyes for a bold, classic look.
- Use cream, beige, or orange yarn for a softer, warmer cat-inspired palette.
- Add a small bow, button, or extra flower to personalize the front.
- Embroider whiskers in white for contrast on darker bag colors.
- Use a shorter strap length for a handheld purse style, testing the fit before securing the second end.
Common Problems and Troubleshooting
Problem: The circular base is curling or rippling. Too many increases can cause ripples, while too few can make the circle cup inward. Recount the current round and compare it with the stitch total before continuing.
Problem: The bag looks too small. This usually comes from tight tension, a smaller hook, or lighter yarn than intended. Check your fabric after several rounds and adjust the hook size if needed.
Problem: The stitch count is wrong. Stop at the end of the round and count carefully. Identify whether an increase was missed or added, then undo only the affected portion rather than the entire project.
How to Use the Finished Crochet Project
This cat-shaped bag is charming as a casual shoulder purse, but it also makes a delightful gift for cat lovers. Use it for small essentials, craft supplies, children’s treasures, or as a decorative piece in a crochet-themed room. The playful face and flower detail also make it a lovely handmade accessory for photos, markets, and everyday wear.
Care Instructions
Hand wash the finished bag gently in cool water with a mild detergent, then press out excess water with a towel. Reshape it and let it air dry flat. Avoid wringing or twisting the strap, and store the bag stuffed lightly with tissue paper if you want it to keep its rounded shape.
Frequently Asked Questions
Can a beginner make this crochet cat bag?
A confident beginner can make the bag body and strap, since they rely on double crochet, single crochet, increases, and basic joining. The separate facial details add some sewing and finishing work, so take that part slowly.
What yarn works best for a cat bag?
A smooth, durable yarn with good stitch definition is ideal. Cotton or a cotton blend is a practical option for a bag because it creates a firm fabric and helps the shape hold up with use.
Can I use a different hook size?
Yes, but change the hook only if your fabric is too loose or too tight. A denser fabric will help the bag keep its structure.
Can I make the bag larger or smaller?
You can adjust the size by changing yarn weight or hook size. For the most reliable result, make a small swatch first and see how the fabric behaves before starting the full bag.
Why is Round 10 worked in the back loops only?
Working in the back loops creates a visible ridge that marks the transition from the flat base to the upright sides of the bag. It also adds a subtle textural detail to the finished purse.
How do I stop the strap from twisting?
Keep the same side of the strap facing outward as you work, and lay it flat before attaching the final end. Check the orientation before fastening off.
How should I wash the finished bag?
Hand wash it gently, reshape it while damp, and dry it flat. This helps protect the embroidered details and keeps the bag from losing its shape.
Conclusion
This DIY crochet cat bag pattern turns simple stitches into a cheerful, wearable accessory with plenty of personality. Experiment with gray, black, cream, or pastel yarns, adjust the facial details, and make each cat bag feel like its own little character. Once the base, sides, strap, and sweet face come together, you will have a handmade purse that is as fun to carry as it was to create.