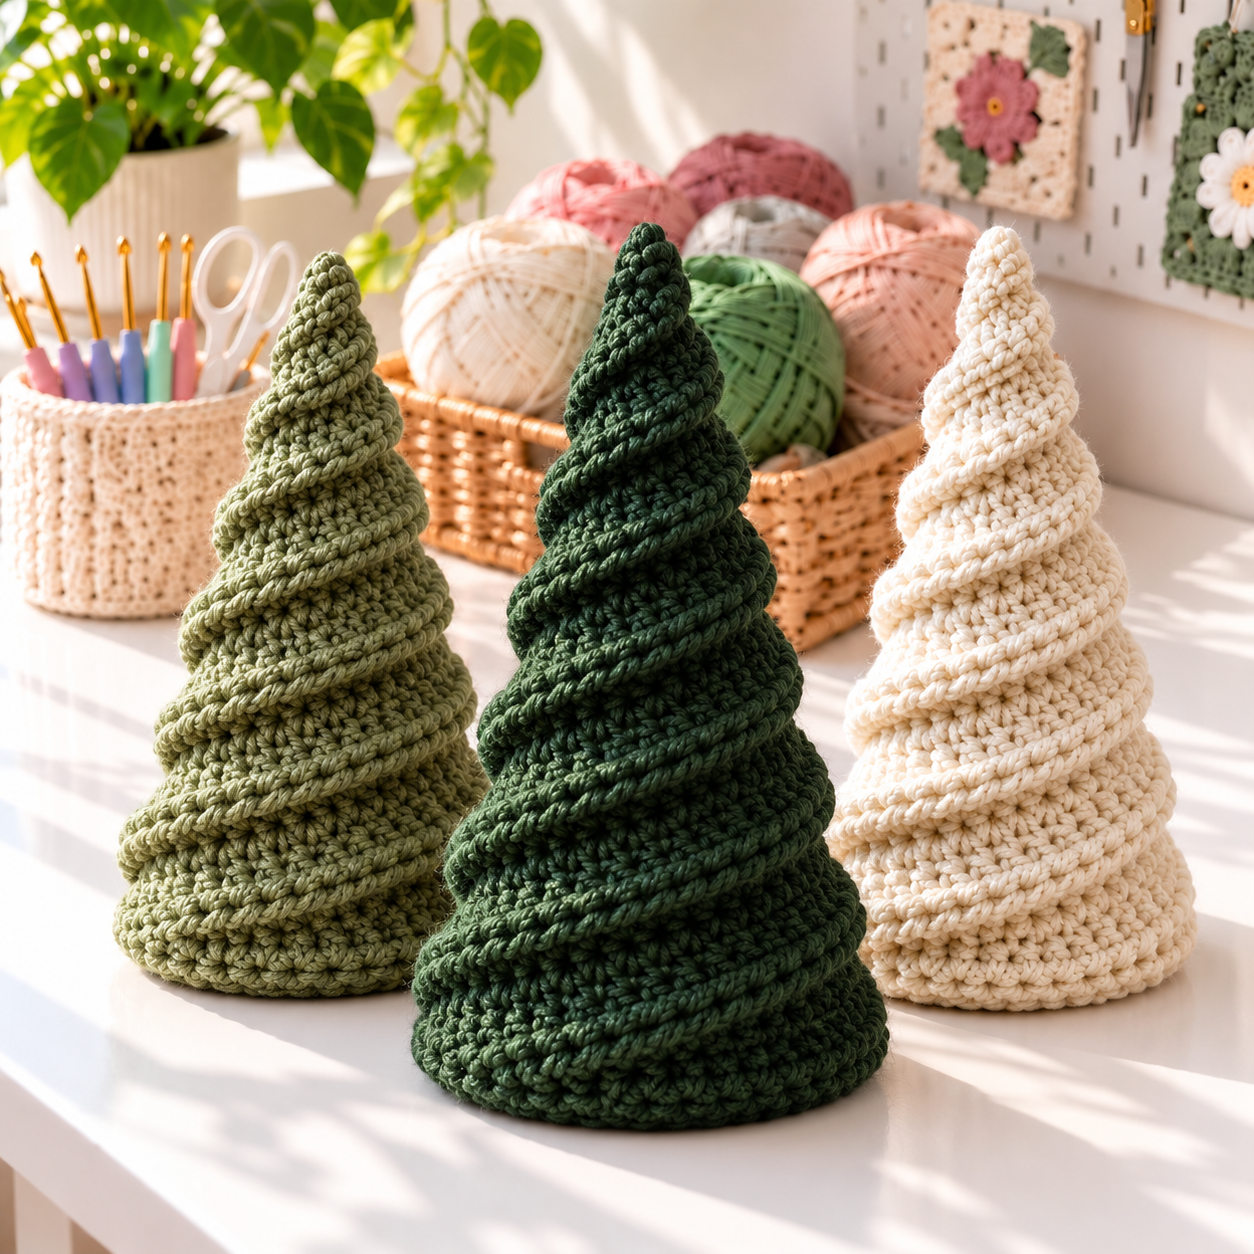
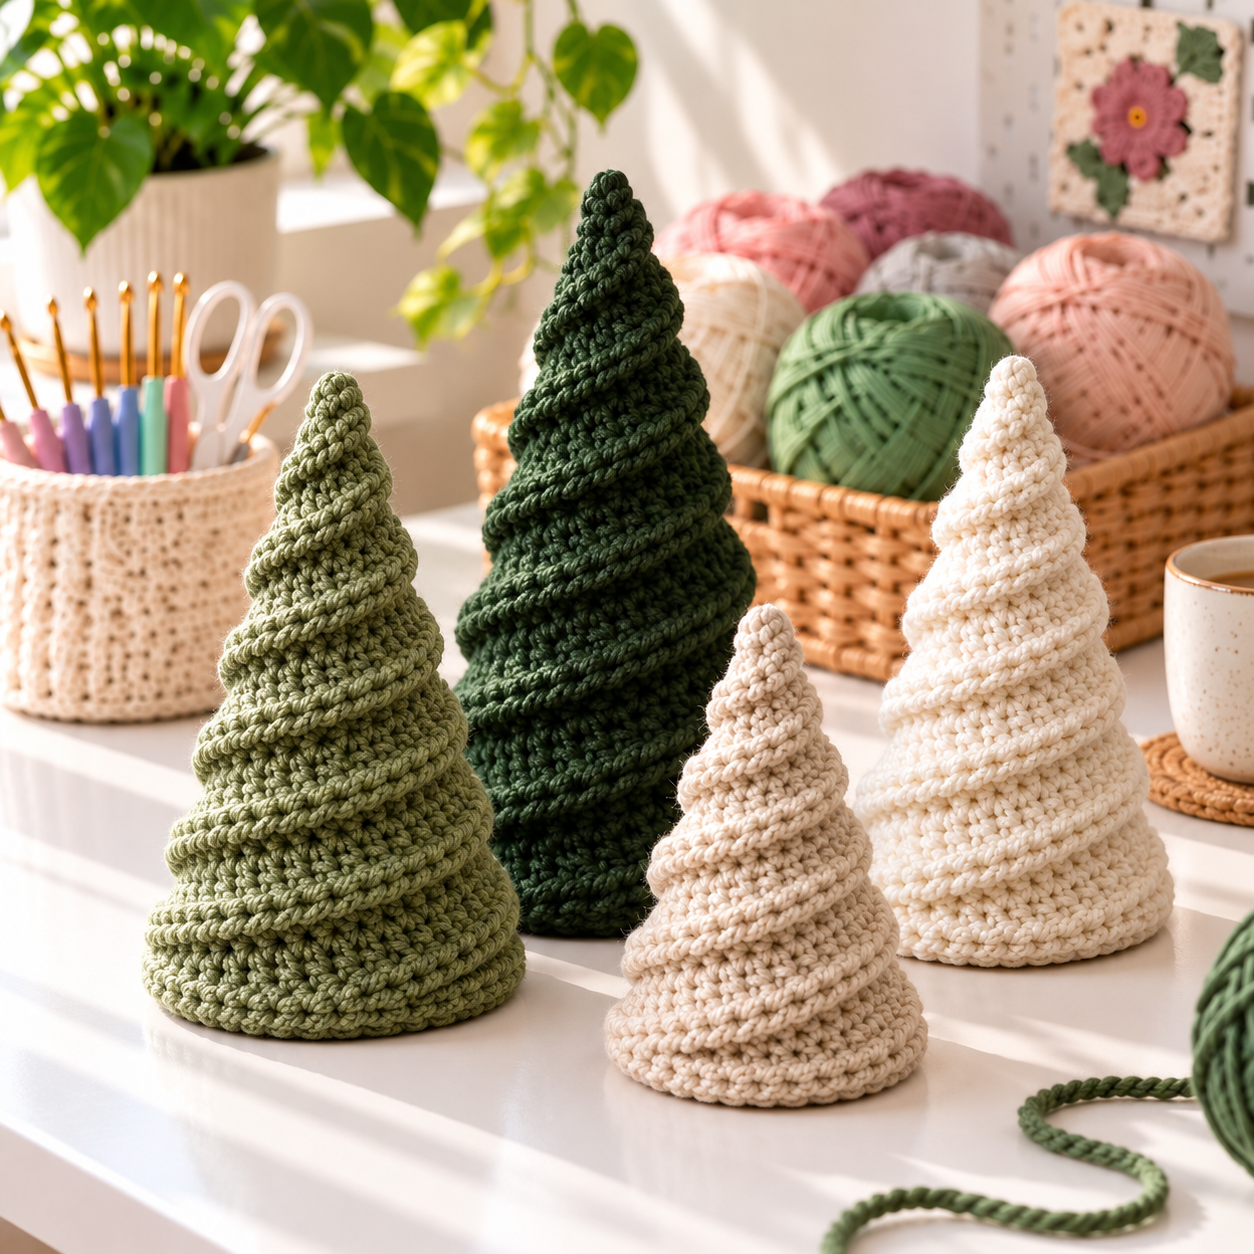
This Rustic Alpine Spiral Christmas Tree Free Crochet Pattern turns simple stitches into a sculptural little tree with a raised ridge that winds from the base to the tip. The finished tree is soft, freestanding, and wonderfully textured—perfect for a mantel, dining table, winter shelf, or handmade holiday gift.
The body is worked in continuous rounds. By crocheting through the back loops, you leave a visible track of front loops on the outside. A final round of half double crochet follows that track and creates the bold alpine spiral. It looks detailed, but the construction is approachable for a confident beginner.
Finished Size and Skill Level
Using worsted-weight yarn and a 3.75 mm hook, one tree measures approximately 5½ inches (14 cm) tall with a 2½-inch (6.5 cm) base. Gauge is not critical, but the fabric must be firm enough to hold the stuffing without gaps.
- Skill level: Easy to adventurous beginner
- Construction: Continuous rounds, bottom up
- Time: About 2–3 hours
- US terminology: Used throughout
Materials
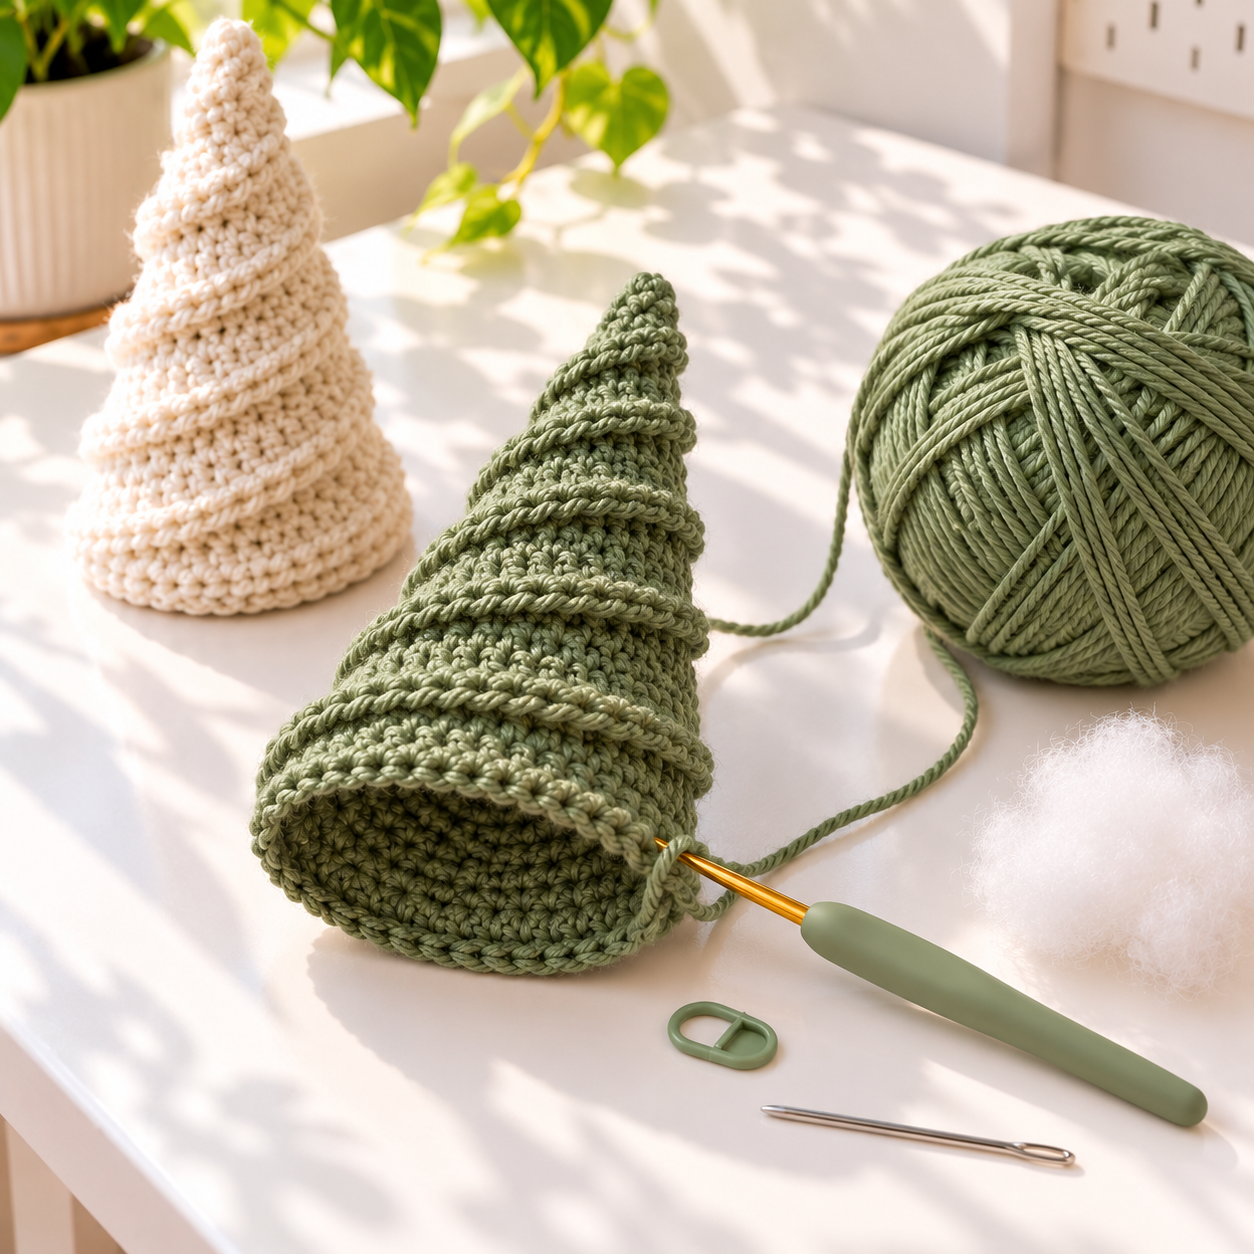
- 70–85 yards of worsted-weight (#4) yarn
- 3.75 mm (US F/5) crochet hook
- Polyester fiberfill
- Locking stitch marker
- Tapestry needle and scissors
- Optional: a small fabric pouch filled with craft pellets for weight
Choose a yarn with clear stitch definition. Forest green creates a traditional Spiral Christmas Tree, sage feels rustic and modern, while cream resembles a snowy alpine tree. Avoid very fuzzy or loosely spun yarn because it can hide the ridge.
Abbreviations
- MR: magic ring
- ch: chain
- sc: single crochet
- hdc: half double crochet
- inc: 2 single crochet in one stitch
- dec: single crochet two stitches together
- BLO: back loop only
- FLO: front loop only
- sl st: slip stitch
- st(s): stitch(es)
Before You Begin
Work in a continuous spiral without joining at the end of each round. Place the marker in the first stitch and move it up as you work. From Round 7 onward, crochet in the back loop only. The unused front loops will form one continuous pathway around the cone; do not crochet over or hide them.
Tree Base and Cone
Round 1: Make 6 sc in an MR. (6)
Round 2: Inc in every st around. (12)
Round 3: (Sc in next st, inc in next st) 6 times. (18)
Round 4: (Sc in next 2 sts, inc in next st) 6 times. (24)
Round 5: (Sc in next 3 sts, inc in next st) 6 times. (30)
Round 6: (Sc in next 4 sts, inc in next st) 6 times. (36)
The circle should lie flat. If it cups, loosen your tension slightly; if it ripples, use a smaller hook or firmer tension.
Round 7: BLO sc in every st. (36)
Rounds 8–9: BLO sc around. (36)
Round 10: BLO (sc in next 4 sts, dec) 6 times. (30)
Rounds 11–13: BLO sc around. (30)
Round 14: BLO (sc in next 3 sts, dec) 6 times. (24)
Rounds 15–17: BLO sc around. (24)
Round 18: BLO (sc in next 2 sts, dec) 6 times. (18)
Rounds 19–21: BLO sc around. (18)
Round 22: BLO (sc in next st, dec) 6 times. (12)
Rounds 23–25: BLO sc around. (12)
Add fiberfill gradually. Keep the base flat and fill the middle firmly, but do not stretch the stitches. If using a weighted pouch, center it over the base before adding the remaining stuffing.
Round 26: BLO dec around. (6)
Round 27: BLO sc around. (6)
Finish stuffing the tip. Fasten off with a long tail, thread it through the front loops of the final six stitches, pull closed, and weave the tail inside.
Create the Raised Spiral
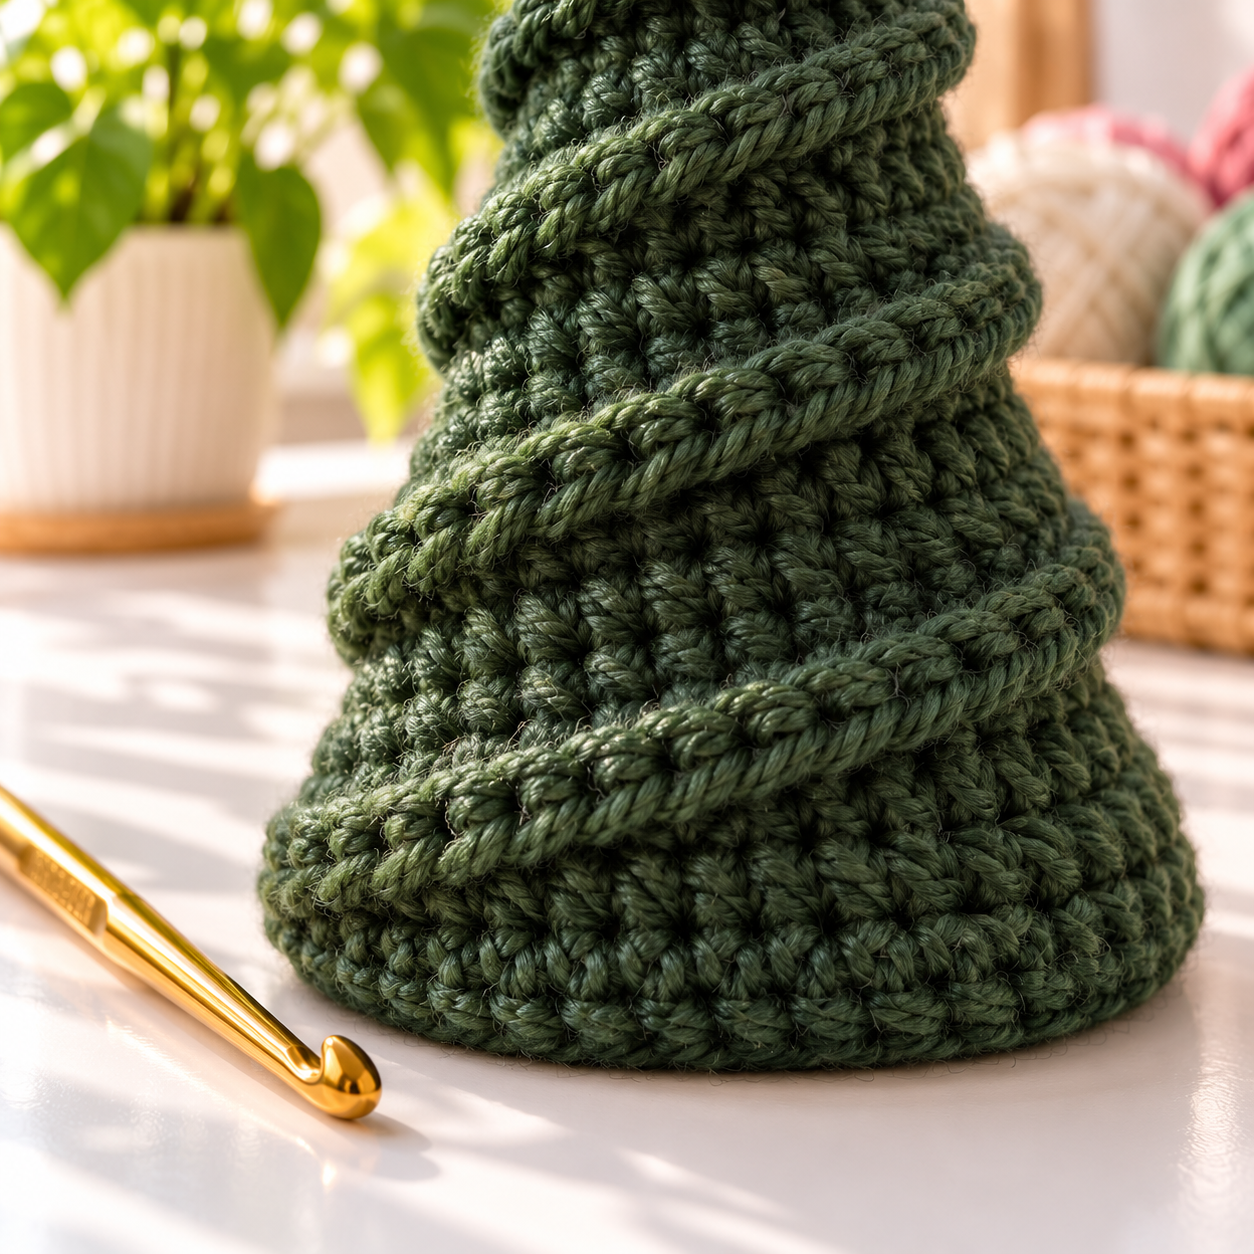
Place the tree upright and find the first unused front loop near the lower edge of Round 7. Join the same yarn with a slip stitch. Chain 1, then work 1 hdc into that loop and into every exposed front loop, following the pathway continuously upward.
Keep the hdc stitches relaxed and allow the ridge to angle slightly downward like layered evergreen branches. At the tip, slip stitch into the final available loop and fasten off. Hide the tail inside the tree, then use your fingertips to open and shape the ridge.
Helpful Tips for a Neat Spiral Crochet Pattern
- Mark every round: A missed beginning stitch changes the position of the decreases.
- Use an invisible decrease: Working through the front loops of the next two body stitches keeps the cone smooth.
- Stuff in small pieces: Small tufts distribute more evenly than one large clump.
- Check the loop track: Before adding the ridge, follow it visually from bottom to top and free any trapped loops.
- Do not overfill: Excess stuffing makes the base round instead of stable.
Easy Size and Color Variations
This is one of those Easy Crochet Projects that becomes especially effective as a group. Make a graduated forest by changing yarn weight rather than rewriting the pattern. Sport-weight yarn with a smaller hook creates an ornament-size tree, while bulky yarn with a suitable hook makes a larger centerpiece.
For two-tone Crochet Christmas Trees, crochet the cone in dark green and add the ridge in cream for a snowy effect. Try oatmeal with a metallic gold ridge for elegant Crochet Home Decor, or combine several muted greens for a natural alpine display. A wooden bead or tiny crocheted star can be secured at the peak, provided it is kept away from young children.
Finishing and Display Ideas
Roll the completed tree gently between your palms to even out the filling. Press the bottom against the table and shape the tip with your fingers. Steam lightly from a safe distance only if the yarn label permits it; never press a hot iron directly onto acrylic yarn.
Arrange three trees on a wooden tray, tuck them beside a candle lantern, or use one at each place setting. They also make charming teacher gifts and reusable package toppers. For a coordinated Holiday Crochet display, repeat the same palette in coasters, garlands, and small ornaments.
Common Questions
Why is my spiral ridge too flat?
Your hdc tension may be tight. Use a hook one size larger only for the surface ridge, or work two hdc into every sixth exposed loop for slightly more fullness.
Why does the tree lean?
Check that the decreases are evenly spaced and that the stuffing is centered. Remove a little filling, reshape the core, and press the base flat before closing.
Can I turn it into an ornament?
Yes. Make the pattern in sport-weight yarn and sew a hanging loop securely through the top. Use light stuffing and omit the weighted base.
A Cozy Crochet DIY Tutorial for Christmas
The raised pathway is the star of this design: a practical back-loop technique becomes a bold decorative feature with no separate branches to sew. Once you understand the construction, you can finish a whole handmade forest in your favorite winter colors. Save this Rustic Alpine Spiral Christmas Tree Free Crochet Pattern for an easy seasonal project that looks polished on any holiday shelf.