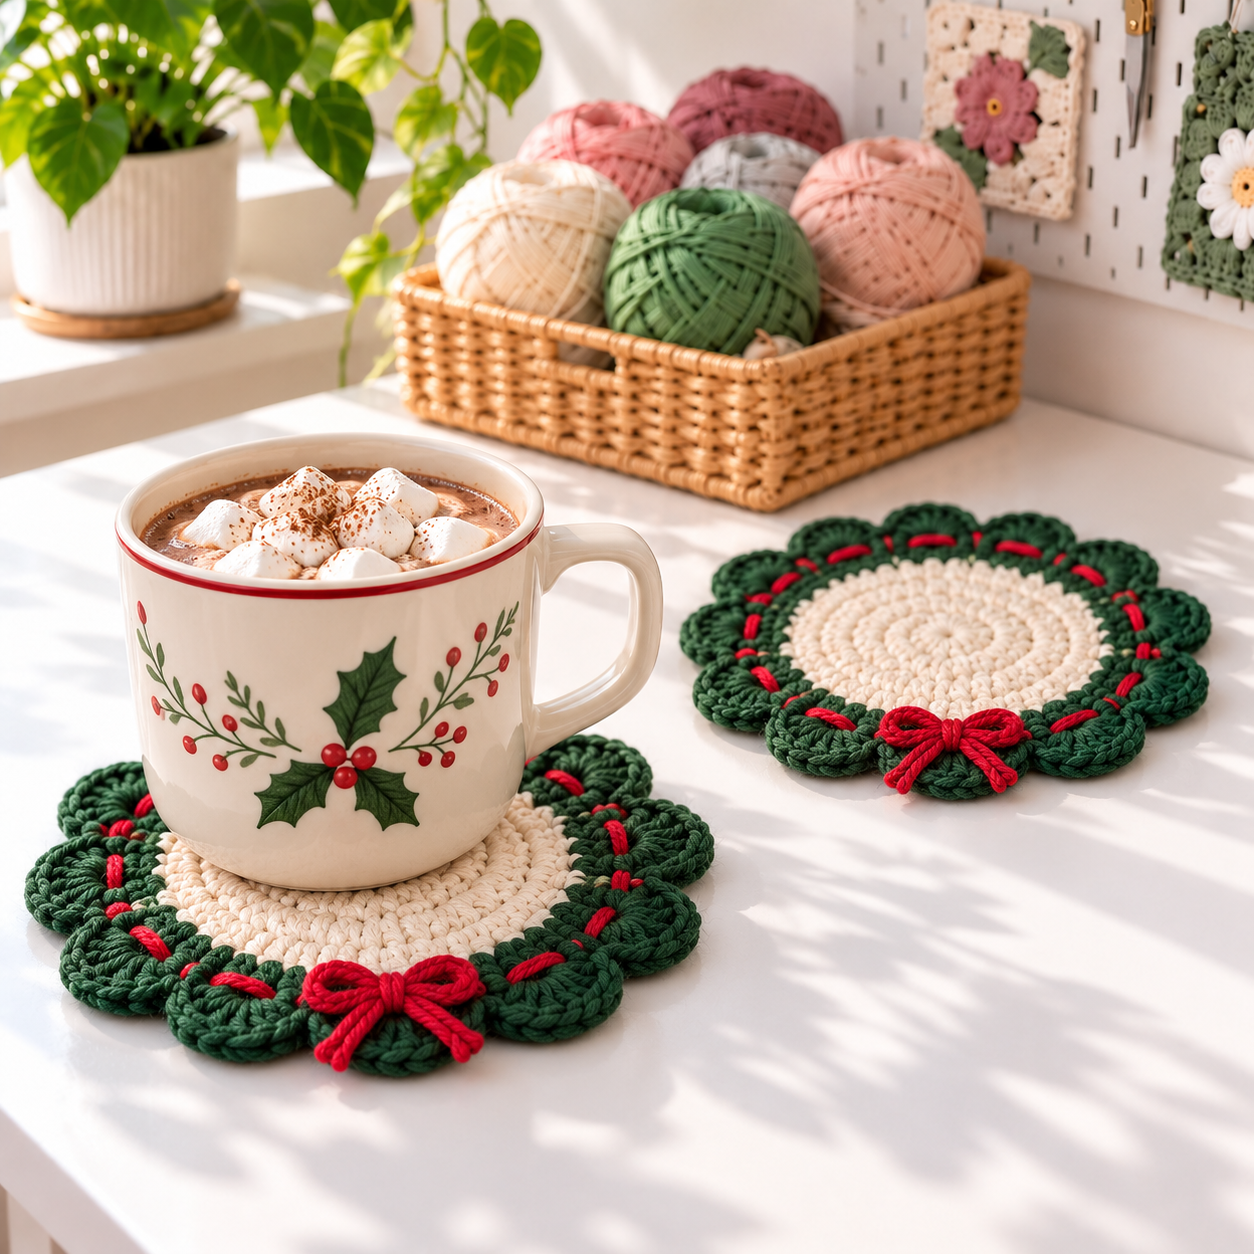
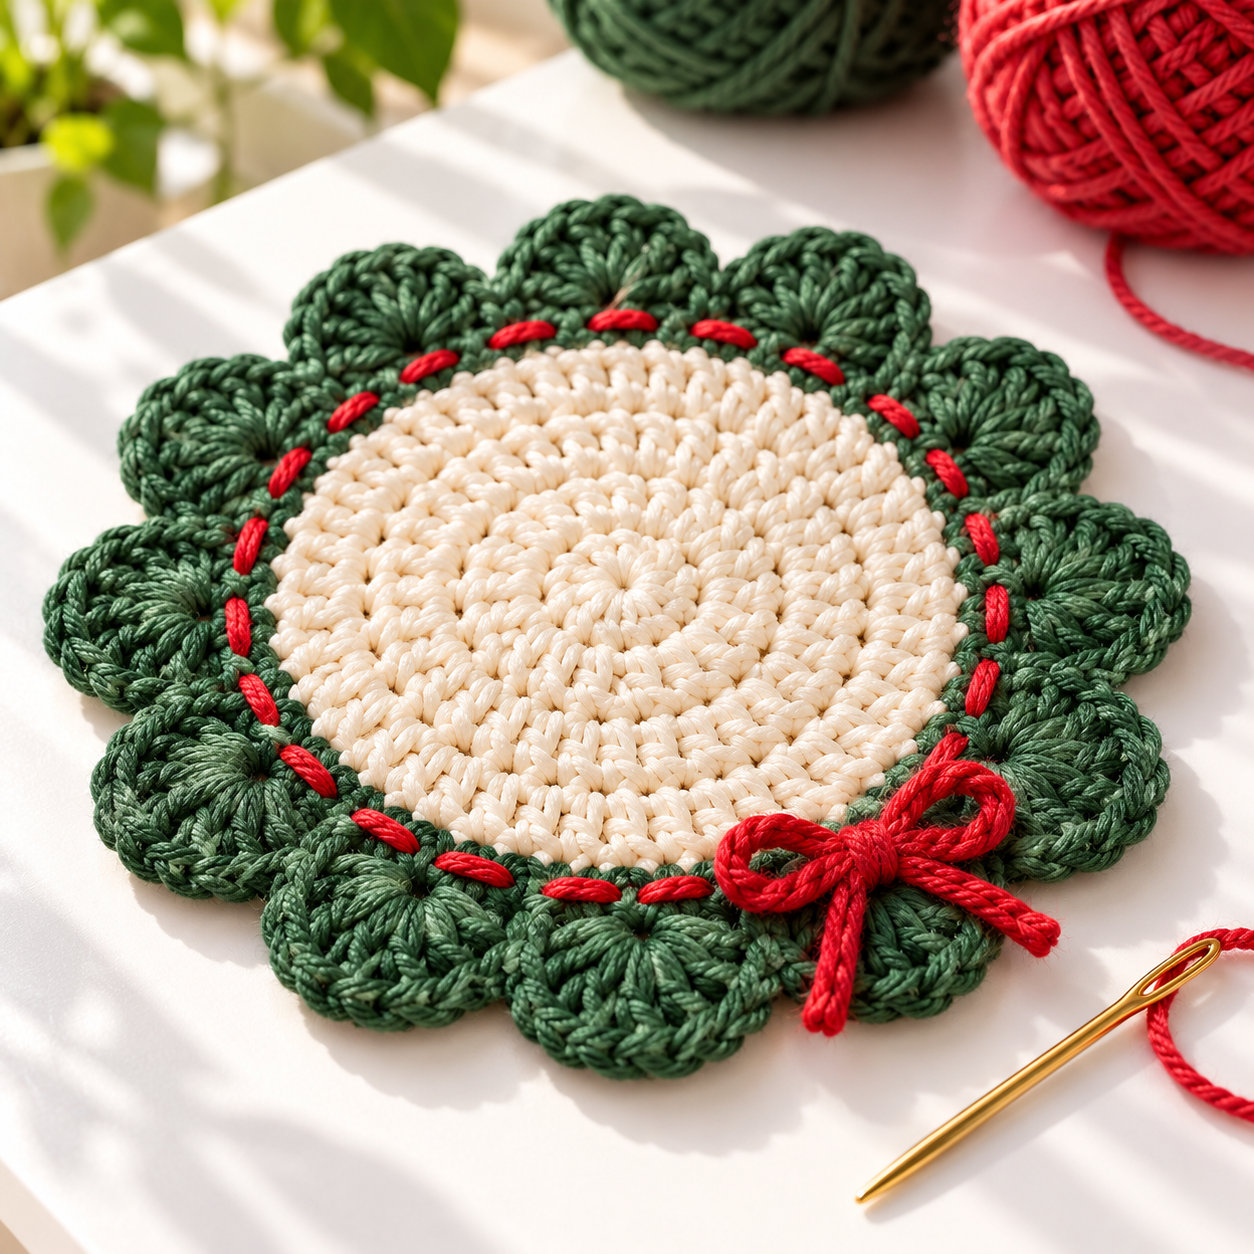
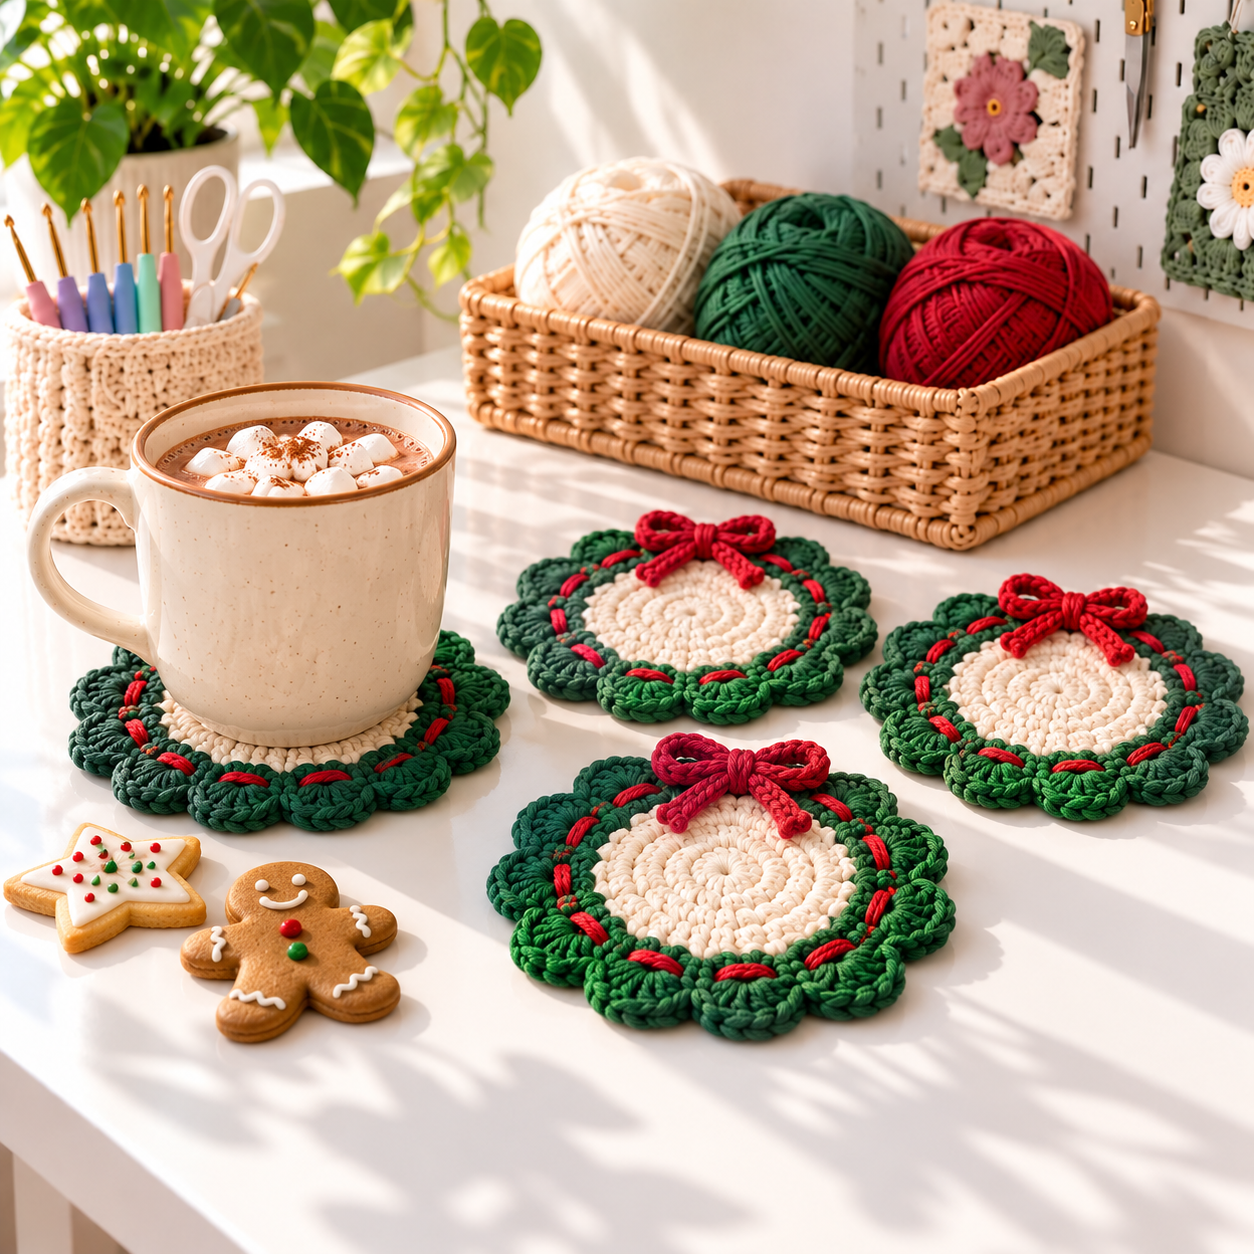
This Crochet Wreath Coaster – Free Christmas Pattern with a Red Bow brings a small holiday wreath to your table without sacrificing a flat place for your mug. A dense cream circle supports the cup, deep green shells create the wreath edge, and relaxed red stitches with a tiny bow add the finishing Christmas color.
The design uses basic increases and one simple shell repeat. It is a comfortable project for an adventurous beginner who can work joined rounds, count stitches, and make double crochet. One coaster is quick enough for an evening, while a coordinated set makes a thoughtful hostess gift.
Finished Size and Project Notes
With worsted-weight cotton and a 4 mm crochet hook, the finished coaster should measure approximately 4.5 to 5 inches across the scallops. Your exact size will depend on yarn, hook, and tension. The cream center should be wider than the base of the cup you plan to use.
The pattern is worked in joined rounds without turning. The beginning chain does not count as a stitch. Join each round to its first stitch and move a stitch marker up as you work. Count at the end of every round so the circle stays flat.
Materials
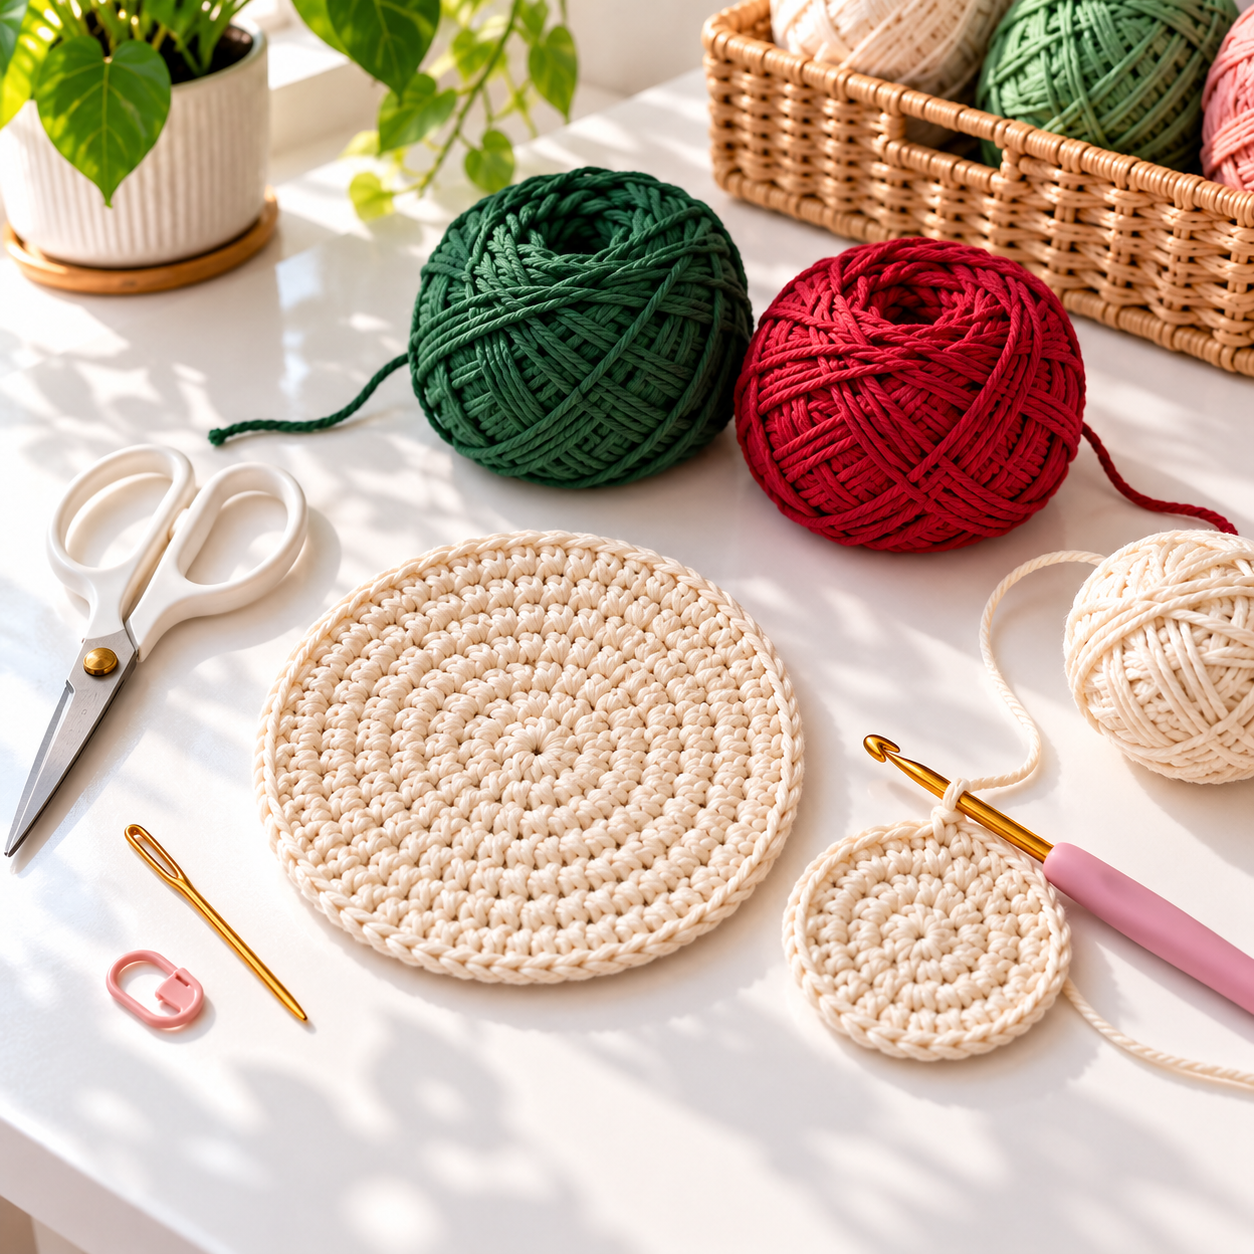
- Worsted-weight cotton yarn in cream, dark green, and red
- 4 mm crochet hook, or a size that creates a firm fabric
- Blunt yarn needle
- Scissors and removable stitch marker
- Rustproof pins and a blocking mat, optional
Cotton is the best choice for a coaster because it is absorbent, washable, and shows the scalloped stitches clearly. Allow roughly 35 to 45 yards of yarn per coaster, including all three colors. Make a small damp swatch first if you are concerned about red or green dye transferring onto the cream yarn.
Abbreviations
- ch: chain
- sl st: slip stitch
- sc: single crochet
- dc: double crochet
- inc: work 2 sc in the same stitch
- st/sts: stitch/stitches
Shell: Work 5 dc in the same stitch.
Crochet Wreath Coaster Pattern
Make the Flat Cream Center
- Round 1: With cream, make a magic ring. Ch 1, work 6 sc into the ring, and join with a sl st. (6)
- Round 2: Ch 1, inc in every stitch around, and join. (12)
- Round 3: Ch 1, repeat [sc in next st, inc in next st] 6 times. Join. (18)
- Round 4: Ch 1, repeat [sc in next 2 sts, inc in next st] 6 times. Join. (24)
- Round 5: Ch 1, repeat [sc in next 3 sts, inc in next st] 6 times. Join. (30)
- Round 6: Ch 1, repeat [sc in next 4 sts, inc in next st] 6 times. Join. (36)
- Round 7: Ch 1, repeat [sc in next 5 sts, inc in next st] 6 times. Join. (42)
- Round 8: Ch 1, repeat [sc in next 6 sts, inc in next st] 6 times. Join and fasten off. (48)
Lay the disk on the table before adding the border. It should rest flat without stretching. A slight six-sided shape is normal when the increases line up, but cupping or strong ruffling usually means a stitch was missed or added.
Add the Green Wreath Border
Round 9: Join green in any stitch. Ch 1, sc in the same stitch and in every stitch around. Join to the first sc. (48)
Round 10: Ch 1 and sc in the same stitch. Skip the next stitch, work a shell in the following stitch, then skip the next stitch. Repeat [sc in next st, skip 1, shell in next st, skip 1] eleven more times. Join to the first sc and fasten off.
You should have twelve green shells separated by twelve single crochet stitches. The final skipped stitch sits immediately before the first single crochet. Do not add an extra shell at the join.
Add the Red Wreath Accents
Cut a red strand approximately three times the circumference of the coaster. Thread the yarn needle and bring it up through the green foundation round. Work a relaxed running stitch around the border, passing over about two stitch-widths on the front and under two on the back.
Keep the coaster flat while embroidering. The red strand should decorate the border without pulling it into a bowl. When the circle is complete, join the ends neatly on the back and weave them through several green stitches.
Make and Attach the Red Bow
Cut a separate red strand about 12 inches long. Form two small loops, tie them into a bow, and adjust the tails until both sides look balanced. With another short piece of red yarn, sew the bow’s center securely between two green shells.
Position the bow at the outside edge of the coaster. It should decorate the wreath without sitting beneath the cup. Test the coaster with your mug before tightening the final stitches.
How to Make a Larger Coaster
If your cup base is wider than the cream center, add two increase rounds before changing to green. For the first extra round, repeat [sc in next 7 sts, inc] 6 times for 54 stitches. For the second, repeat [sc in next 8 sts, inc] 6 times for 60 stitches.
Work one green foundation stitch in every stitch. Repeat the four-stitch shell sequence fifteen times instead of twelve. Adding both rounds is important because 60 divides evenly into fifteen four-stitch repeats, while 54 does not.
Blocking and Finishing
Weave every tail through stitches of the same color. Avoid thick knots beneath the cream center, where they could make a mug wobble. If the shells look uneven, lightly dampen the coaster according to the yarn label, smooth the center, and arrange each scallop with your fingers.
Pin only the outer points if necessary and allow the coaster to dry completely. Do not use fabric stiffener; cotton should remain flexible and absorbent. For a matching set, use the same yarn, hook, tension, and round counts for every coaster.
Quick Troubleshooting
- The center cups: Recount each round and check for a missed increase or very tight tension.
- The center ruffles: Confirm that each cream round contains exactly six increases.
- The border has fewer than twelve shells: Check that Round 9 has 48 stitches and every repeat uses four.
- The red stitching puckers: Remove it and embroider again with the coaster lying flat.
- The mug rocks: Move the bow farther outward and flatten any bulky yarn tails on the back.
Color and Gift Ideas
Traditional cream, forest green, and bright red create the clearest wreath effect. For a softer table setting, try ivory, sage, and burgundy. A snowy variation can use a white center, blue-green shells, and silver-gray embroidery. Keep enough contrast between the center and border so the wreath outline remains visible.
Stack four coasters, tie them with a ribbon, and add a care label for an easy handmade gift. You can also pair the set with a plain mug, cocoa mix, or holiday tea. Because the bow is sewn separately, each coaster can face the same direction in a place setting.
Care Instructions
Spot-clean or hand-wash in cool water with mild soap. Press out moisture in a towel without twisting, reshape the scallops, and dry flat. Always follow the yarn manufacturer’s care instructions. Do not place a coaster near an open flame or beneath cookware that is hotter than the yarn can safely tolerate.
This Free Christmas Pattern with a Red Bow combines a practical flat center with the cheerful shape of a holiday wreath. Once the first Crochet Wreath Coaster is complete, repeat the same counts to create a consistent set for your Christmas table or gift basket.