
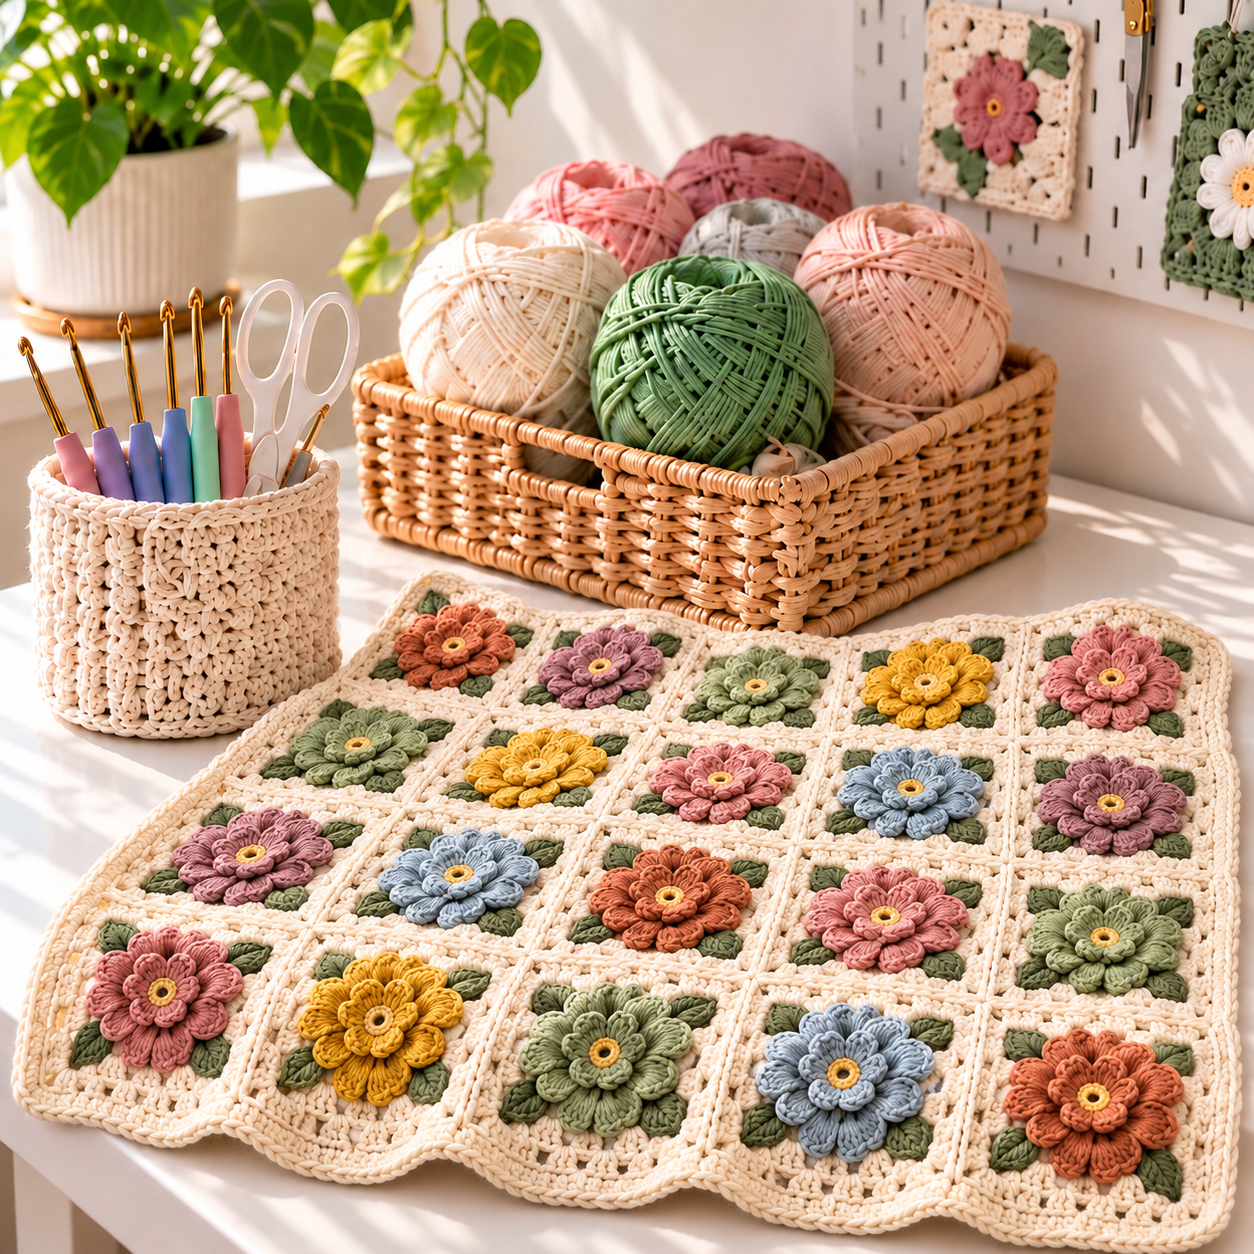
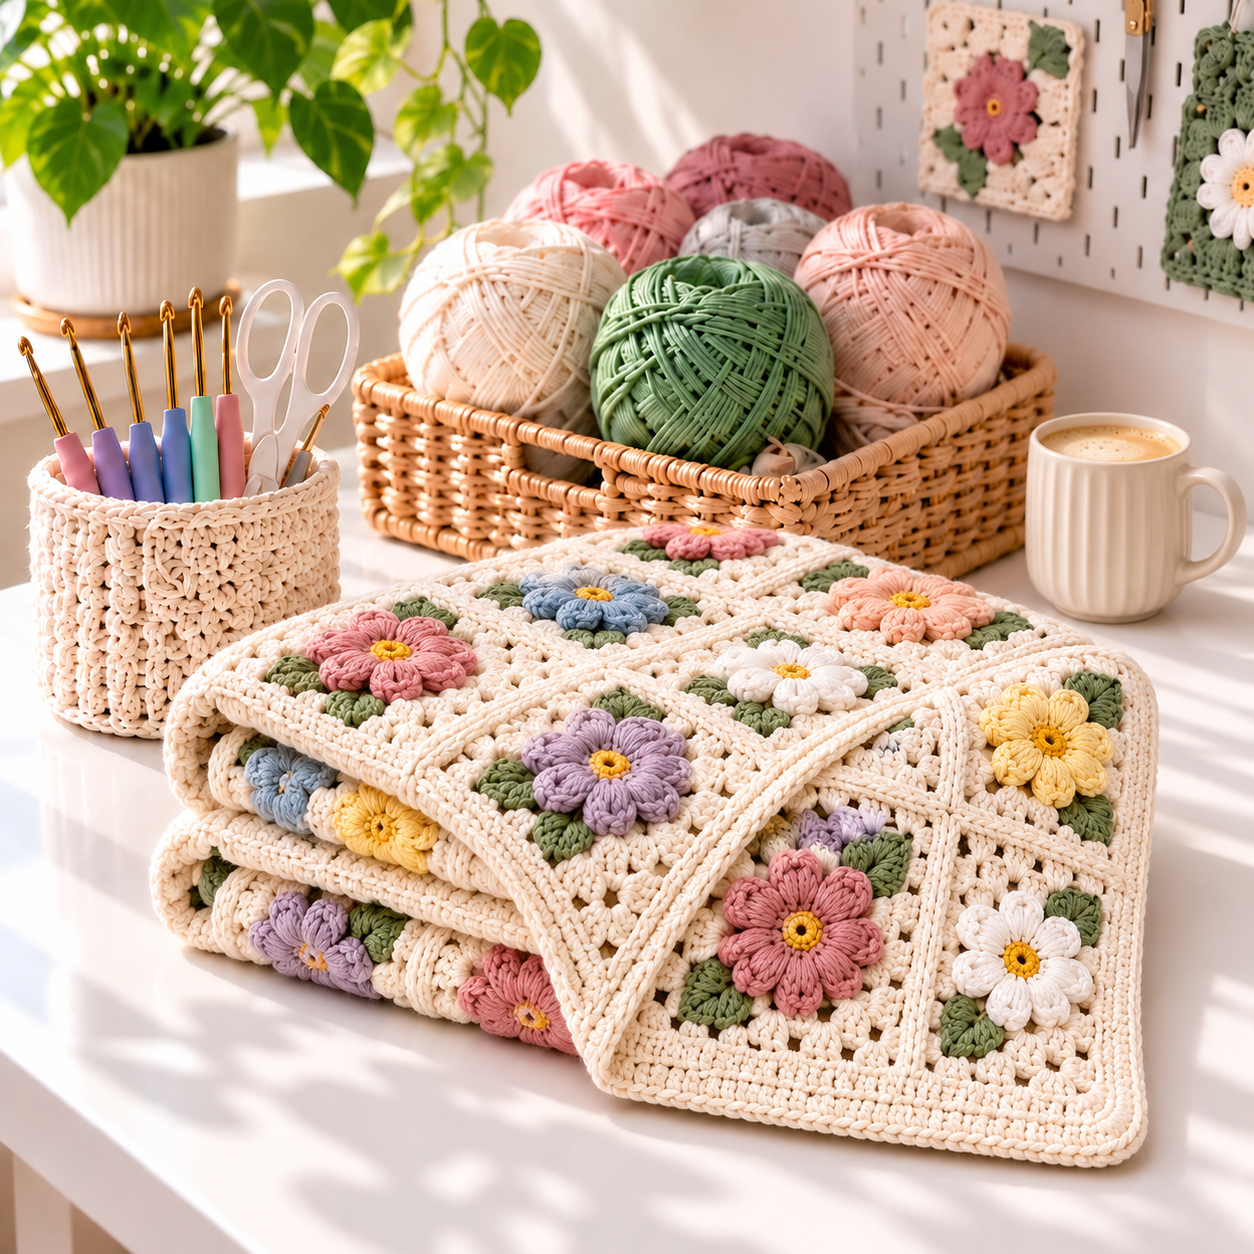
A Blossom Flower Granny Square Blanket combines the comfort of a classic motif throw with cheerful, raised flowers. Each small square is easy to carry, simple to customize, and satisfying to add to the growing stack. Use soft pastels for a nursery, bright scraps for a playful throw, or muted garden shades for a timeless living-room blanket.
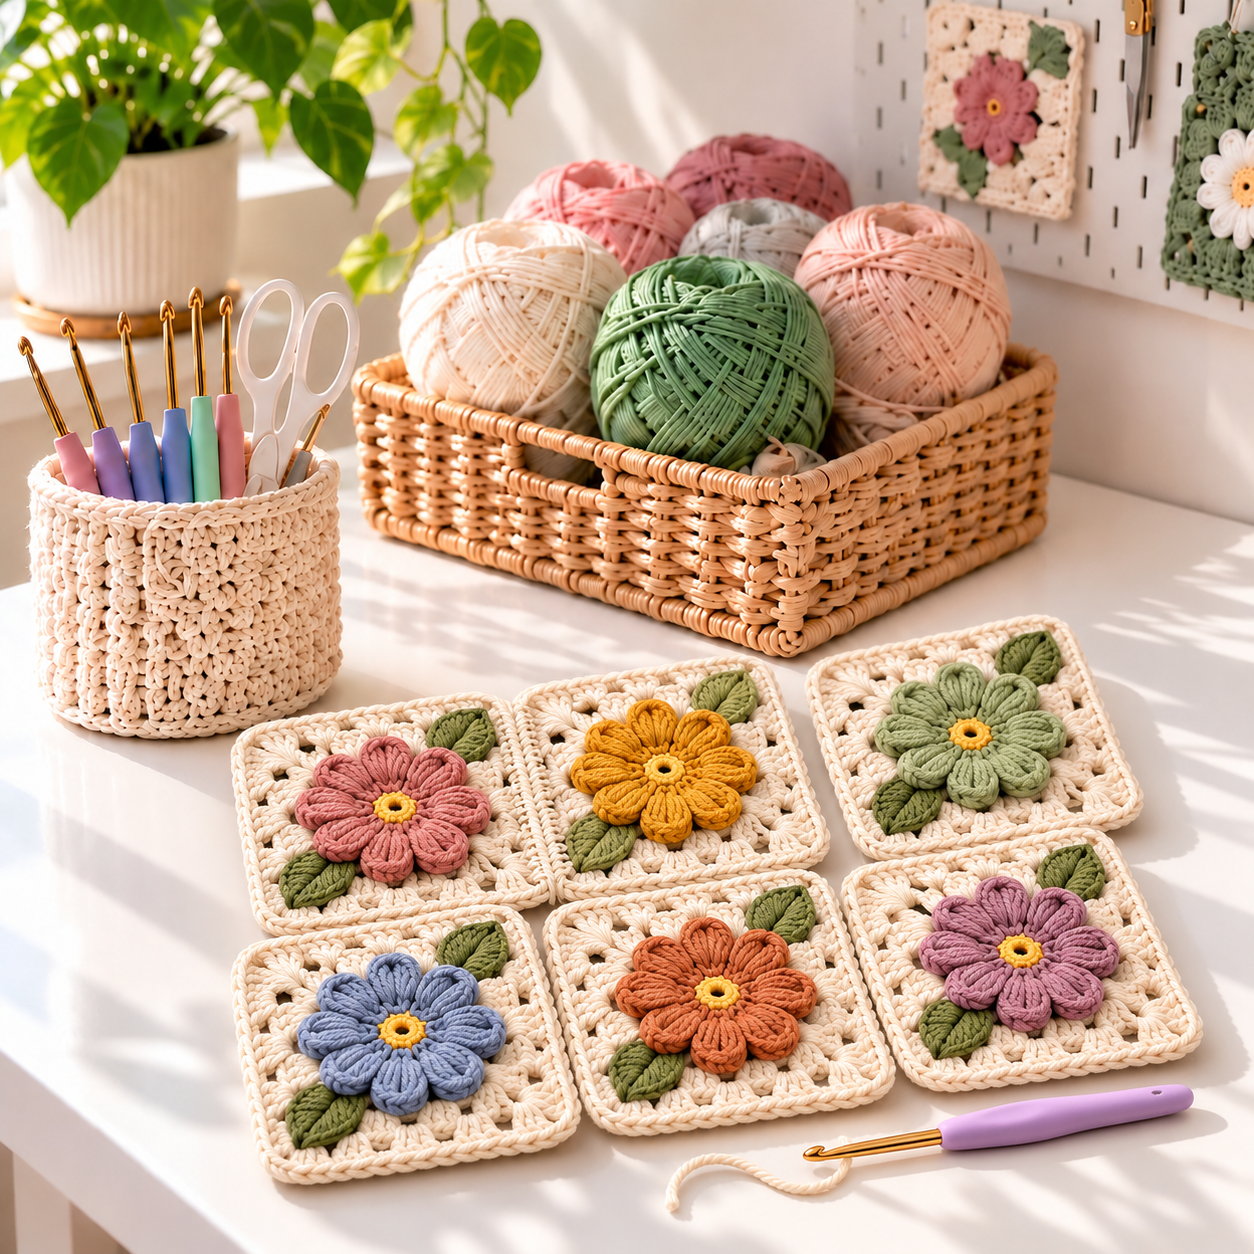
This free pattern creates a dimensional blossom surrounded by a neat square frame. The flower color changes from motif to motif while cream yarn connects the design. Once you learn one Blossom Granny Square, the rest become relaxing repeats.
Blanket Details
- Skill level: Confident beginner to intermediate
- Square size: About 5 inches (12.5 cm), blocked
- Sample layout: 6 squares across by 8 squares long
- Finished size: Approximately 32 x 42 inches with the border
- Yarn weight: Worsted weight #4
- Hook: 5 mm (H/8), or size needed for gauge
- Terminology: US crochet terms
The 6-by-8 layout makes an Easy Crochet Baby Blanket or small lap throw. Add more rows and columns for a larger couch blanket. Because every motif uses the same final rounds, resizing does not change the square instructions.
Materials
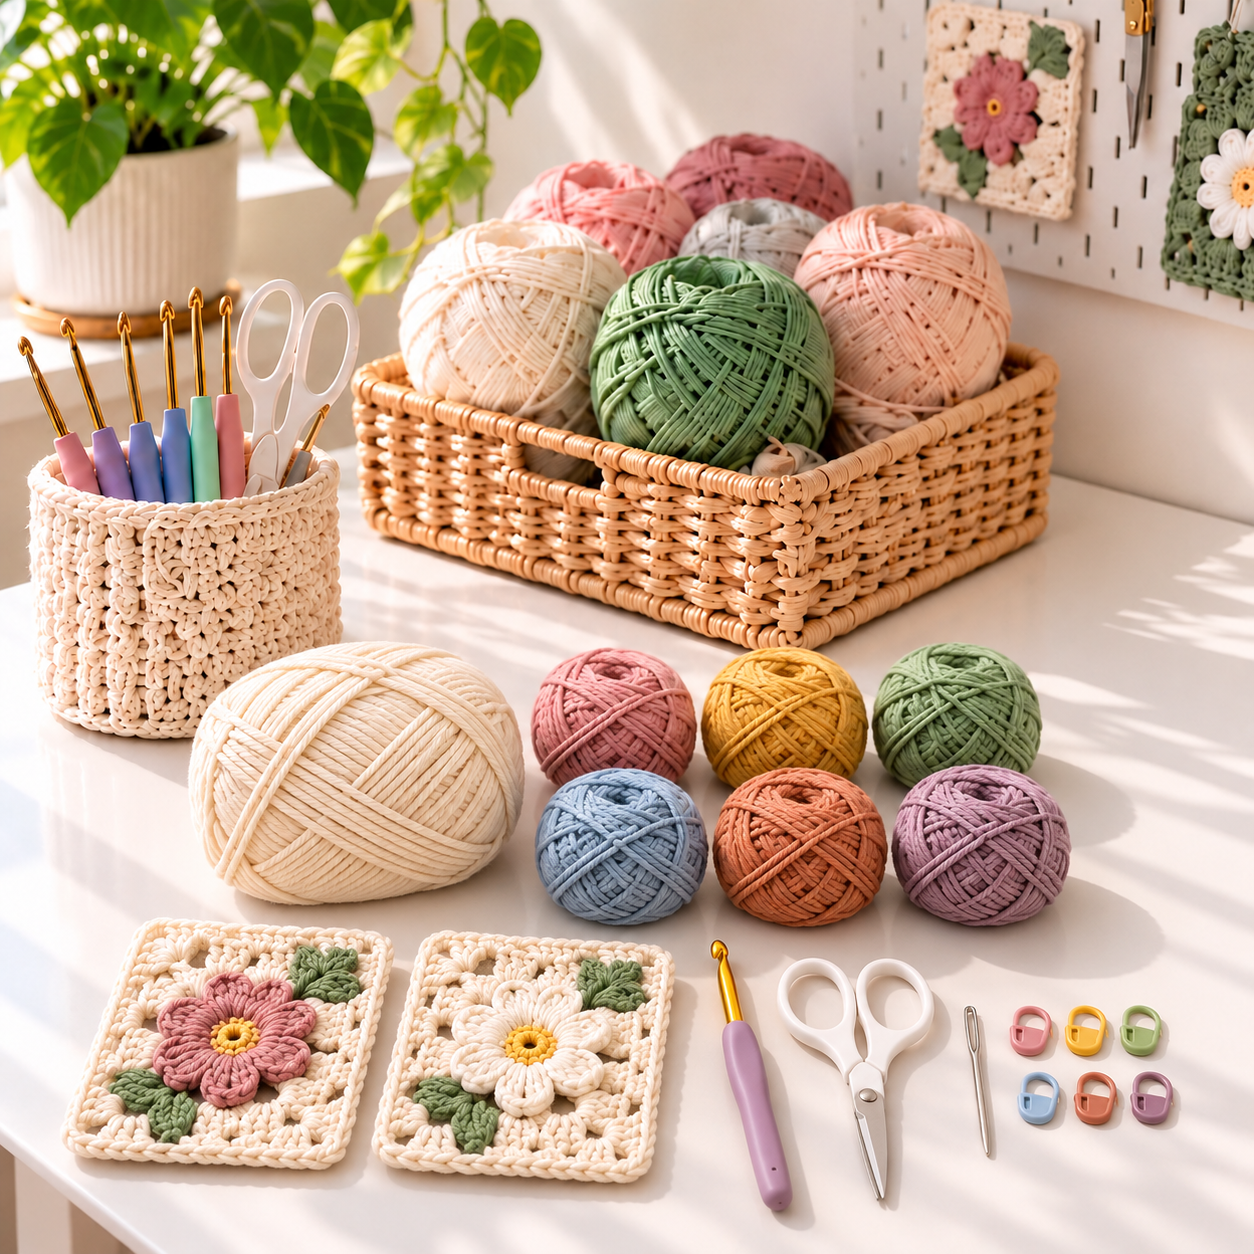
- 1,100–1,300 yards of cream worsted-weight yarn for square backgrounds, joining, and border
- 500–700 total yards of flower colors
- Small amount of yellow for the flower centers
- Small amount of green for the ring behind each blossom
- 5 mm crochet hook
- Yarn needle, scissors, stitch markers, and blocking pins
Smooth acrylic is practical, washable, and light enough for everyday use. Cotton gives a crisper, heavier blanket. This is also a useful stash project: small leftovers from hats, Baby Sweater Patterns, and other makes can become flower centers or petals.
Abbreviations
- ch: chain
- sl st: slip stitch
- sc: single crochet
- dc: double crochet
- sp: space
- st(s): stitch(es)
- rep: repeat
Free Flower Granny Square Pattern
Work with the right side facing throughout. The petals are made in the front loops of the center round; the back loops remain available for the green foundation. Beginning chains do not count as stitches unless noted.
Round 1: Flower Center
With yellow, make a magic ring. Ch 1 and work 8 sc into the ring. Join with a sl st to the first sc and pull the center closed. Fasten off. You should have 8 stitches.
Round 2: Raised Petals
Join a petal color in the front loop only of any stitch. In that same front loop, work (sl st, ch 3, 3 dc, ch 3, sl st). This forms one rounded petal.
Work (sl st, ch 3, 3 dc, ch 3, sl st) in the front loop of each remaining stitch. You should have 8 petals. Fasten off and gently push the petals toward the front.
Round 3: Green Foundation
Turn the motif so you can see the unused back loops from Round 1. Join green in any back loop. Ch 1, sc in the same loop, ch 3. *Sc in the next unused back loop, ch 3; repeat from * around. Join with a sl st to the first sc. You should have 8 chain spaces behind the petals. Fasten off.
Round 4: Turn the Flower into a Square
Join cream in any ch-3 space. Ch 3 and work 2 dc in the same space, ch 2, 3 dc in the same space. This is the first corner.
*Ch 1, work 3 dc in the next ch-3 space, ch 1, then work (3 dc, ch 2, 3 dc) in the next ch-3 space.* Repeat from * to * two more times. Ch 1, work 3 dc in the next space, ch 1, and join with a sl st to the top of the beginning chain. You now have four corners and four straight sides.
Round 5: Finish the Square
Sl st into the first corner space. Ch 3, then work (2 dc, ch 2, 3 dc) in that corner. *Ch 1, work 3 dc in each ch-1 space across the side, ch 1, and work (3 dc, ch 2, 3 dc) in the next corner.* Repeat around. Join and fasten off.
Block each Flower Granny Square to the same measurement. Matching sizes matter more than perfect gauge because consistent squares produce straight seams.
Joining the Squares
Arrange 48 motifs in 6 columns and 8 rows. Spread the colors before joining so no shade forms an accidental stripe. Photograph the layout for reference.
For a flat seam, place two squares with wrong sides together. Join cream at a corner and slip stitch through the back loop of the front square and the back loop of the rear square. Continue across, matching each stitch and chain space. Join squares into horizontal strips, then connect the strips.
You can also whip stitch the motifs with a yarn needle. This creates a flexible seam and is useful if you prefer to finish every square before choosing the final arrangement. Both methods work well for modern Crochet Blanket Designs.
Simple Blanket Border
Border Round 1: Join cream in any outer corner. Ch 1 and sc evenly around the blanket, placing one sc in each stitch and chain space. At every blanket corner, work (sc, ch 2, sc). Join with a sl st.
Border Round 2: Ch 2, hdc in every stitch around, and work (hdc, ch 2, hdc) in each corner space. Join.
Border Round 3: Ch 1, sc in every stitch around, placing 3 sc in each corner space. Join, fasten off, and weave in the remaining ends.
Color Planning and Helpful Tips
- Use one cream or neutral shade in every square to unite many flower colors.
- Make a sample motif before buying all the yarn.
- Weave in ends after every five or six squares so finishing stays manageable.
- Count the eight petals before starting the green round.
- Block motifs in batches using a simple square template.
- Keep the joining tension relaxed to prevent puckered seams.
Frequently Asked Questions
Can a beginner make this blanket?
Yes, if the maker is comfortable with single and double crochet. Practice one motif first. The repeated construction makes this one of the most approachable dimensional Granny Square Crochet Patterns Free for building confidence.
Can I make a larger blanket?
Add squares to the width and length. For a throw, try 9 by 11 motifs. Measure one blocked square, multiply by the desired number of motifs, and add roughly two inches for the border.
Is this a knit or crochet pattern?
This is crochet, even though “Crochet Knit Blanket” is sometimes used casually to describe a handmade yarn blanket. If you normally enjoy Loom Knitting Projects, the small repetitive motifs can offer a similarly portable rhythm while introducing basic crochet techniques.
How should I wash it?
Follow the yarn label. For acrylic, machine wash on a gentle cycle and dry on low. For cotton, cool water and flat drying help protect the raised flowers. Avoid pressing a hot iron directly onto the petals.
This blossom blanket is colorful, practical, and easy to personalize. Save the motif with your favorite Crochet Patterns Free Blanket ideas, then choose a palette that fits your room, nursery, or gift recipient.