
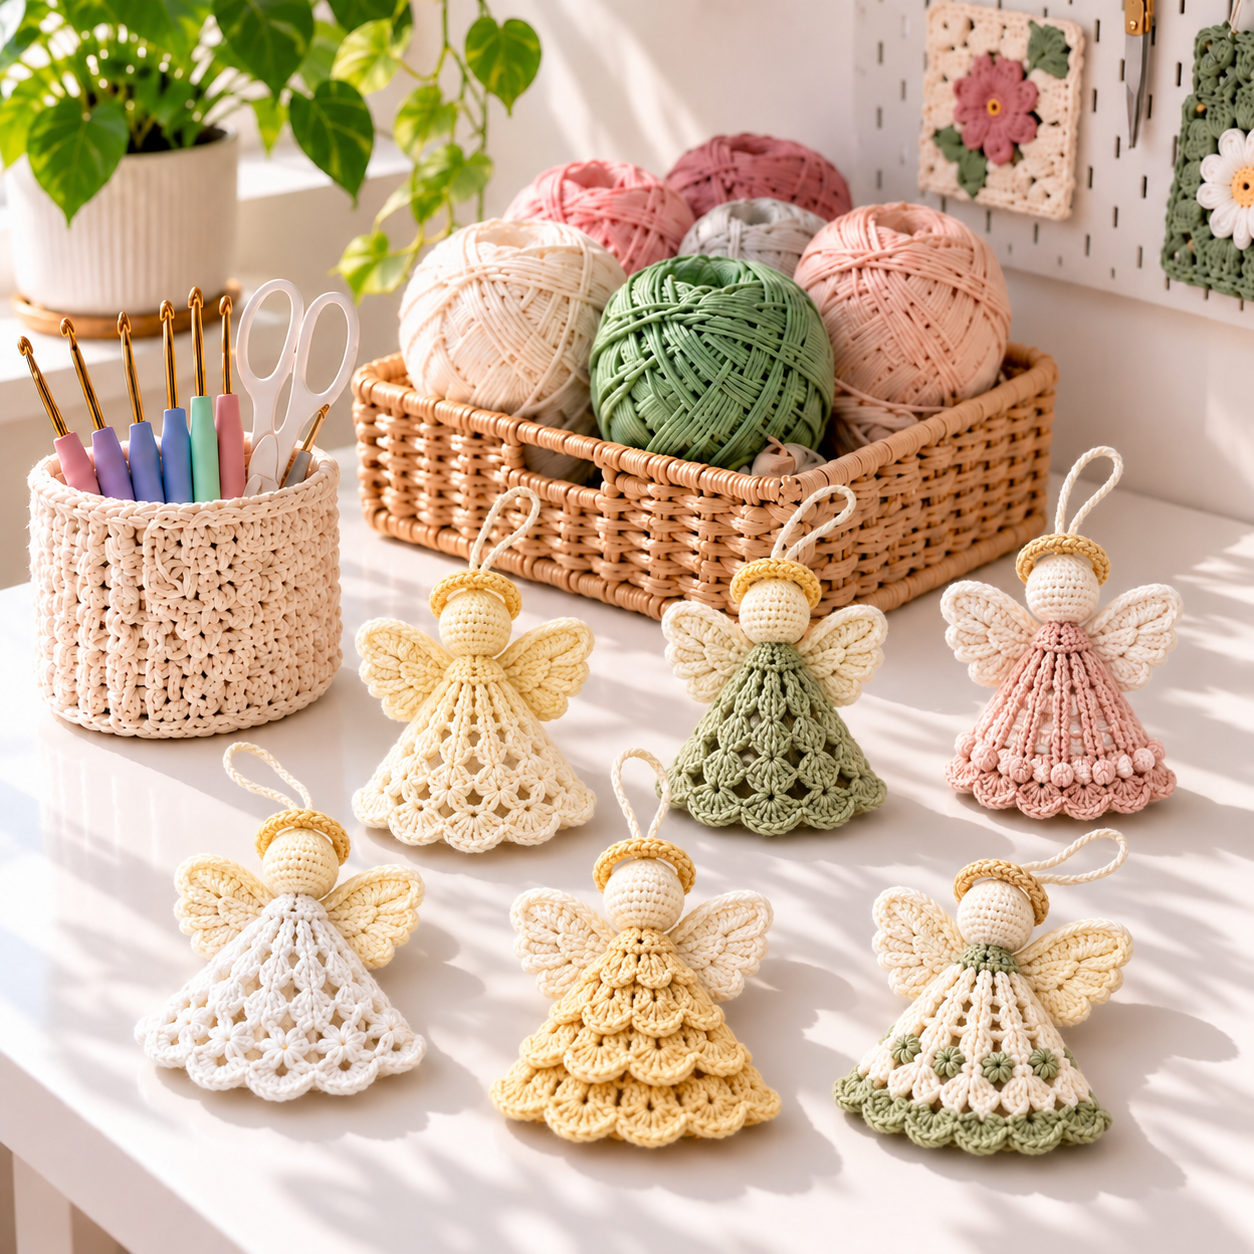
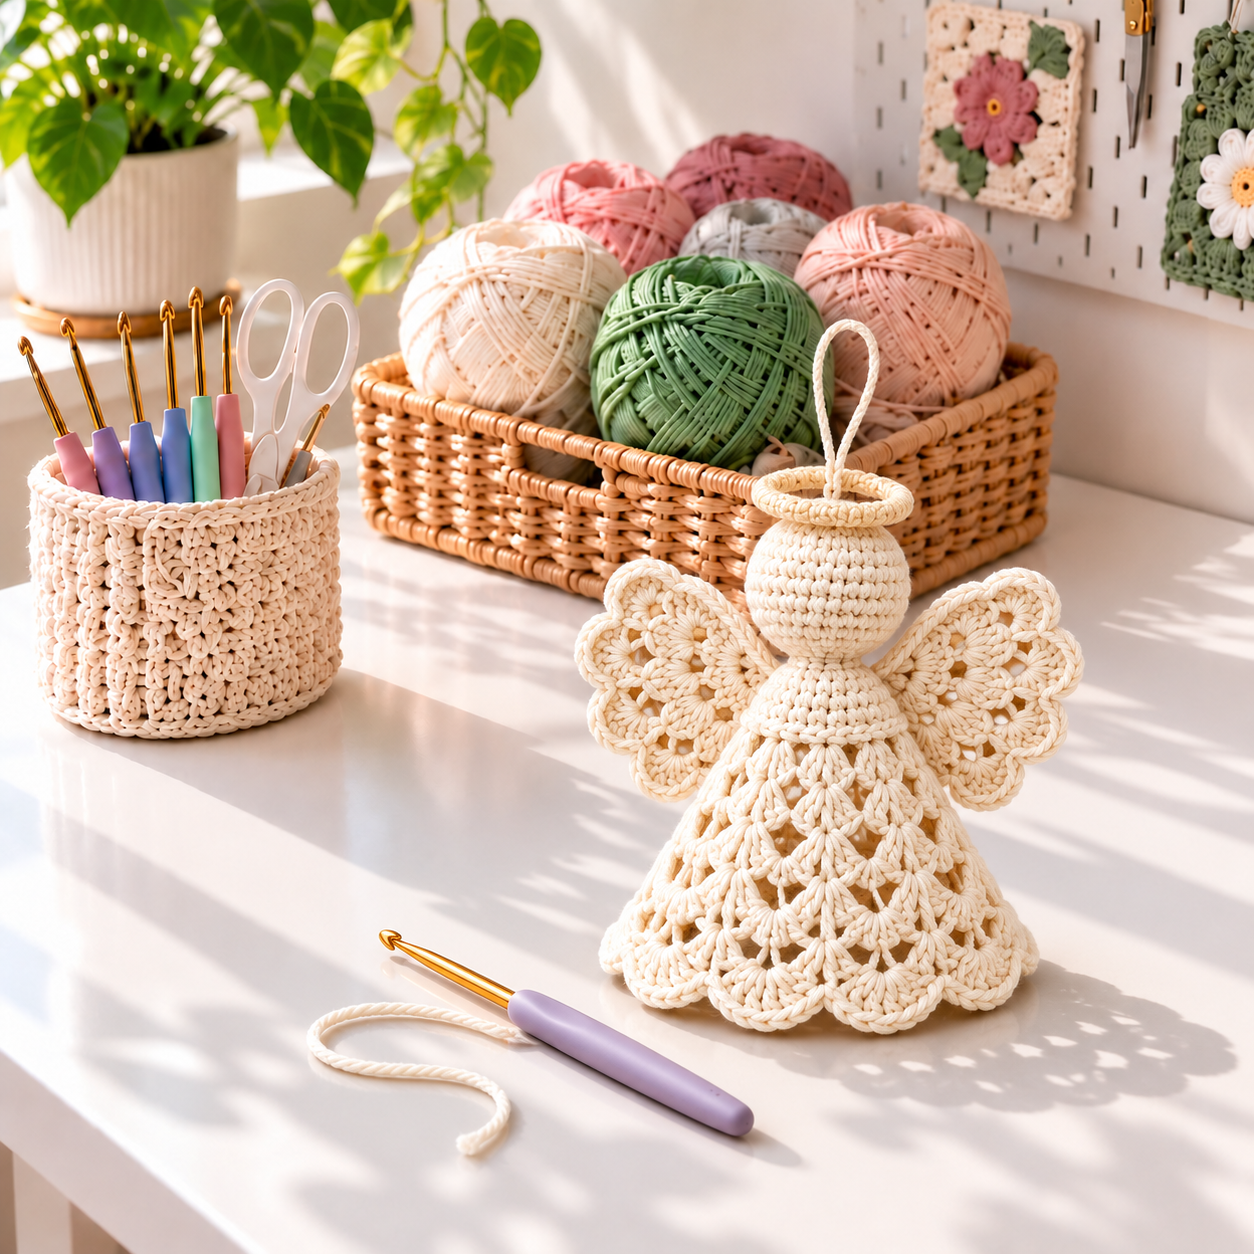
This Crochet Angel Tutorial for Beginners creates a soft, lightweight ornament with a round head, flared dress, scalloped wings, and a simple yarn halo. The pieces use basic stitches and are assembled with a yarn needle, so there is no wire, wooden bead, or complicated shaping.
Make one angel for the Christmas tree or crochet a small set in cream, blush, sage, and gold. The design is easy to personalize and fits beautifully with handmade Christmas Crochet Ideas.
Beginner Angel Pattern at a Glance
- Skill level: Confident beginner
- Finished height: About 5 inches (12.5 cm), excluding the hanging loop
- Yarn: Worsted-weight cotton or acrylic
- Hook: 4 mm (G/6), or a size that creates a firm fabric
- Time: Approximately 90 minutes
- Terminology: US crochet terms
Materials
- About 45–55 yards of worsted-weight yarn
- Small amount of pale gold or contrasting yarn for the halo
- 4 mm crochet hook
- Polyester stuffing
- Yarn needle and scissors
- Stitch marker
- Optional fabric-safe starch for a firmer skirt and wings
Cotton produces crisp stitches and holds the wing shape well. Acrylic creates a softer and lighter Crochet Angel Ornament. Use a hook slightly smaller than the yarn label recommends so the stuffing does not show through the head.
Abbreviations
- ch: chain
- sl st: slip stitch
- sc: single crochet
- hdc: half double crochet
- dc: double crochet
- inc: 2 sc in the same stitch
- dec: invisible single crochet decrease
- st(s): stitch(es)
Crochet Angel Tutorial: Free Step-by-Step Pattern
Work the head and body in continuous rounds. Place a marker in the first stitch and move it up after every round. The wings are worked flat in rows.
Step 1: Crochet the Head
Round 1: Make a magic ring and work 6 sc inside. (6)
Round 2: Inc in each stitch around. (12)
Round 3: (Sc in the next stitch, inc in the next) around. (18)
Rounds 4–6: Sc in every stitch. (18)
Round 7: (Sc in the next stitch, dec) around. (12)
Stuff the head firmly but evenly. Roll it gently between your palms to create a smooth round shape.
Round 8: Dec around. (6) Fasten off with a long sewing tail and close the opening.
Step 2: Make the Dress and Body
Round 1: With the dress color, make 6 sc in a magic ring. (6)
Round 2: Inc around. (12)
Round 3: Sc around through the back loops only. (12)
Round 4: (Sc, inc) around. (18)
Round 5: Sc around. (18)
Round 6: (Sc in the next 2 stitches, inc) around. (24)
Round 7: Sc around. (24)
Round 8: (Sc in the next 3 stitches, inc) around. (30)
Round 9: Sc around. (30)
Shell edging: *Skip one stitch, work 5 dc in the next stitch, skip one stitch, sl st in the next.* Repeat around. Adjust the last repeat only if necessary to keep the shells evenly spaced. Fasten off and weave in the end.
The body should form a small cone that can hang naturally or stand with light blocking. Add a tiny amount of stuffing near the top if you want a fuller shape, but leave the skirt mostly empty.
Angel Wing Crochet Instructions
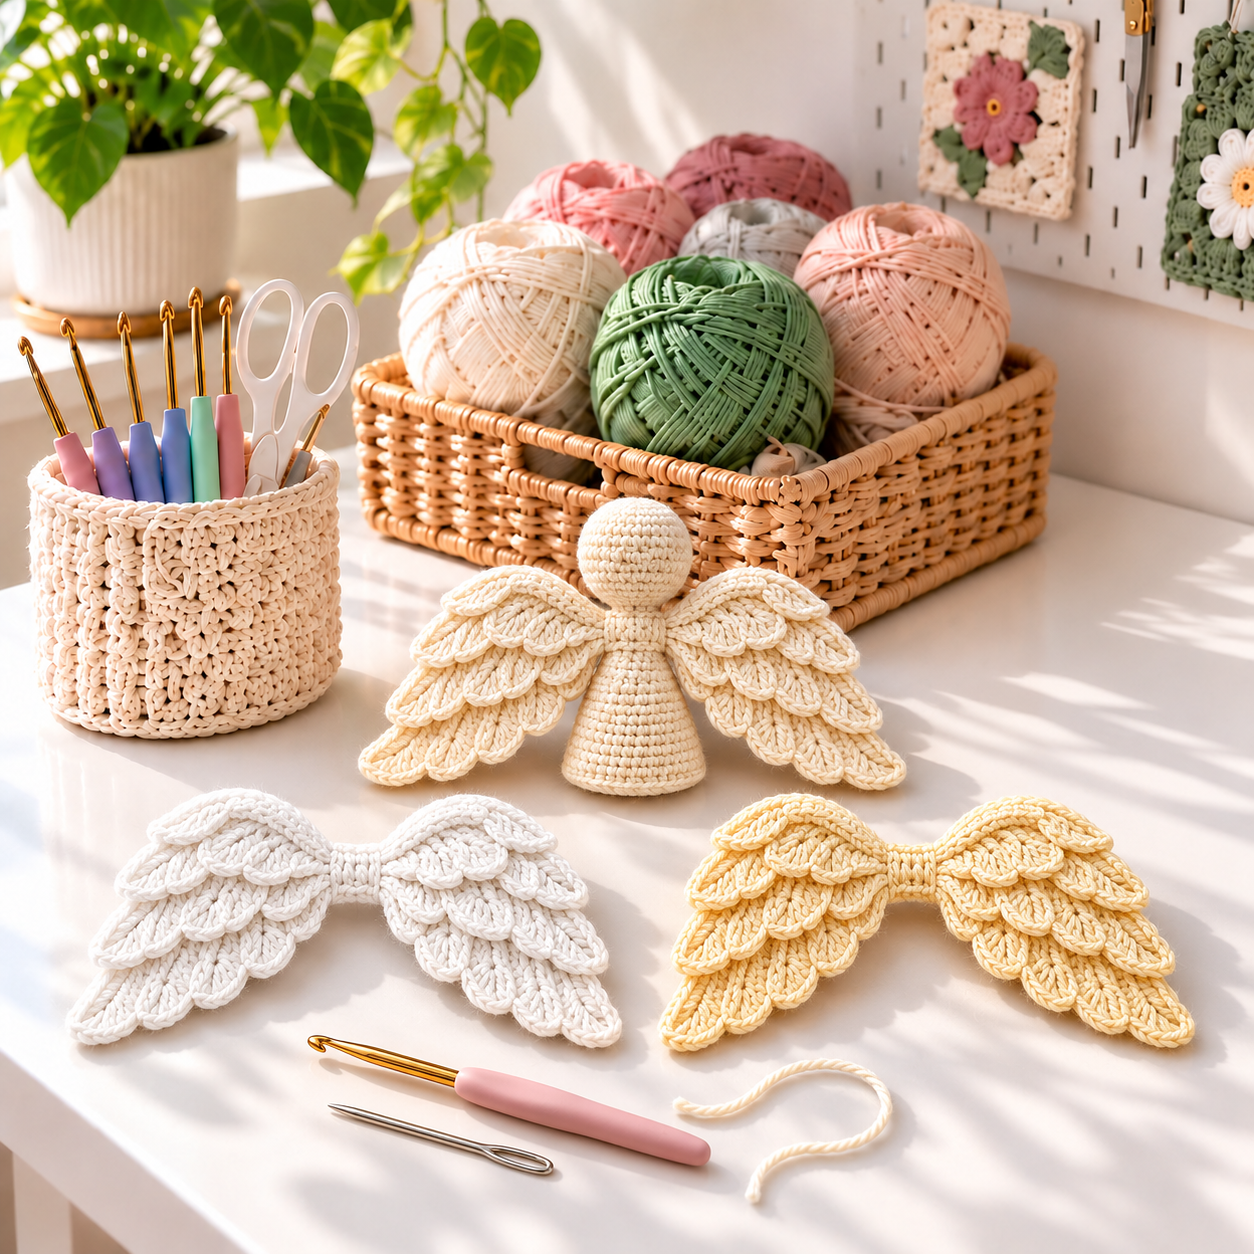
This Crochet Angel Wings Free Pattern makes two matching pieces. Keep the beginning tails long so they can help with assembly.
Make Two Wings
Row 1: Ch 9. Sc in the second chain from the hook, hdc in the next chain, dc in the next 4 chains, hdc in the next chain, and sc in the final chain. Turn. (8)
Row 2: Ch 2, work 2 hdc in the first stitch, hdc in the next 6 stitches, and 2 hdc in the final stitch. Turn. (10)
Row 3: Ch 1, sc in the first stitch. *Skip one stitch, work 5 dc in the next stitch, skip one stitch, sl st in the next.* Repeat across, adjusting the final spacing if required. Fasten off.
Block the wings so the straight inner edges remain vertical and the scallops open outward. This simple Crochet Wings Free Pattern can also be used on small dolls, gift tags, or a flat angel appliqué.
Assembly
- Sew the closed bottom of the head securely to the narrow top of the dress.
- Place the straight edges of the two wings side by side on the back.
- Sew the wings to the upper body, checking that both sides sit at the same height.
- For the halo, ch 18 with pale gold yarn and join with a sl st to form a ring.
- Sew the bottom of the halo ring behind the head with several small stitches.
- Join yarn at the top of the head, ch 24, and sl st into the same point to form the hanging loop.
Keep the face plain for a clean Scandinavian-style ornament. If desired, embroider two tiny closed eyes with a single strand of brown yarn. Avoid beads or small removable parts when the angel may be handled by children.
Blocking the Angel
Lightly dampen the skirt and wings. Shape the dress into an even cone and pin each wing scallop. Let everything dry completely. For a decorative angel that needs extra structure, mist the skirt and wings with a small amount of fabric-safe starch before drying.
Color and Decorating Ideas
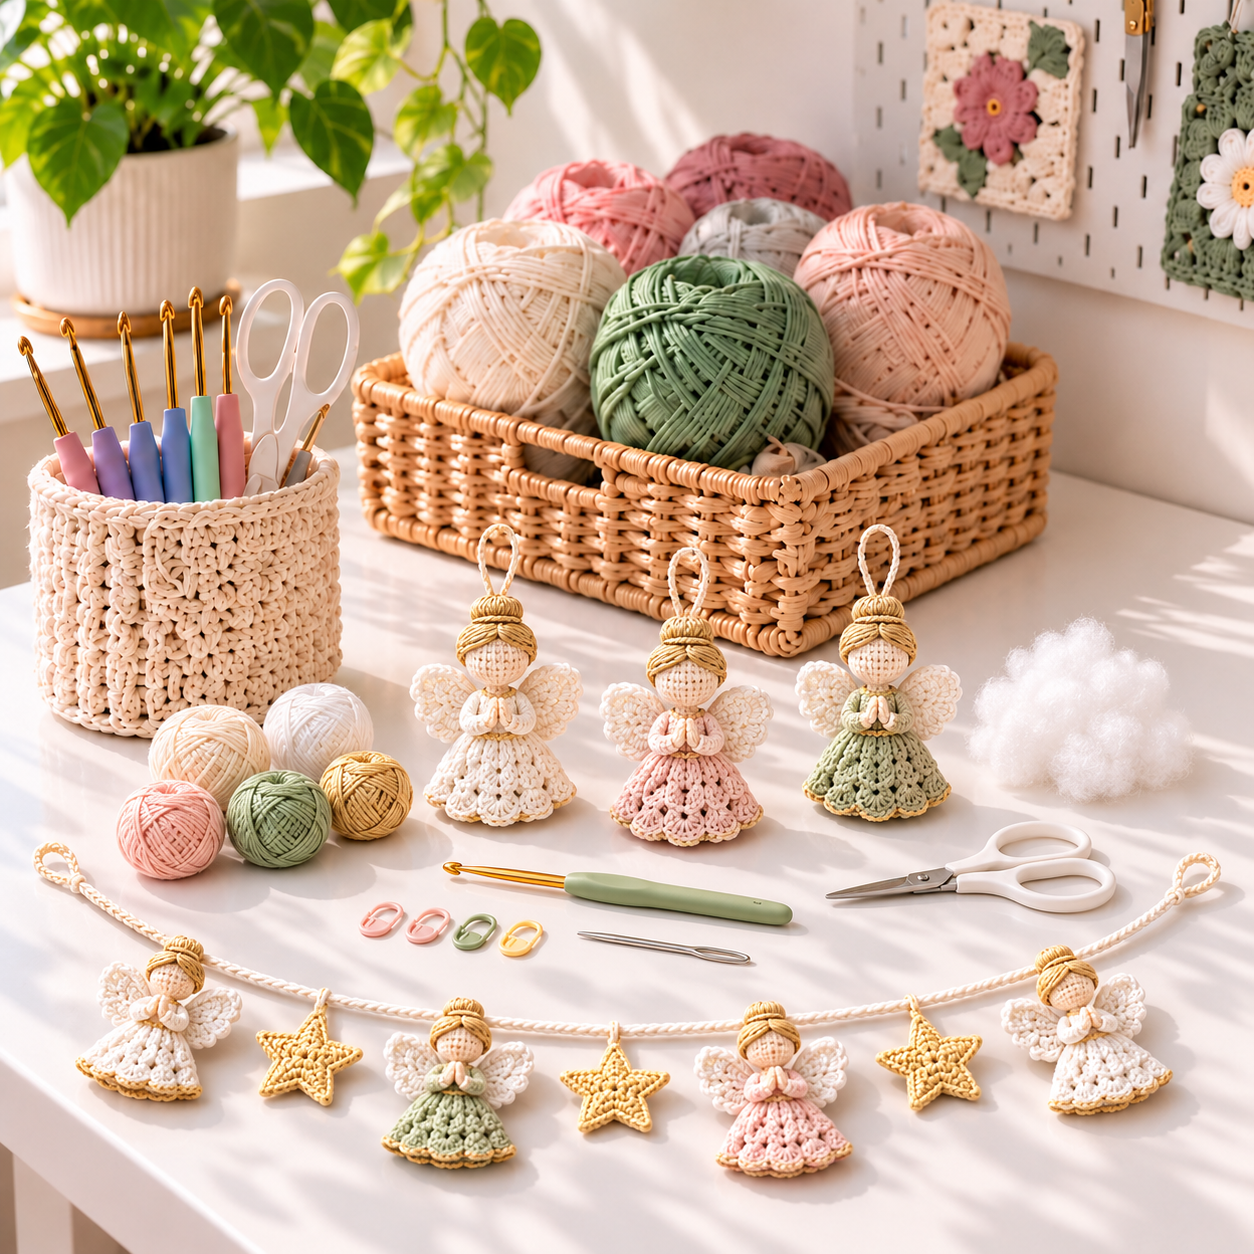
Traditional white and cream look elegant with gold halos. Blush, pale blue, and sage are softer alternatives for a nursery or winter garland. You can also make each angel in a family member’s favorite color and add the year to a small paper tag.
These angels are useful Easy Crochet Christmas Ornaments for gift toppers, wreaths, table settings, and charity craft stalls. Alternate angels with crocheted stars on a long chain to create a light garland. A group in one neutral color also makes a peaceful mantel display.
Tips for Neat Crochet Angel Wings
- Count both wings carefully so their sizes match.
- Use the same hook and tension for every component.
- Steam or wet-block the wings before sewing them on.
- Pin both wings in place and compare them from the front before stitching.
- Sew through several body stitches so the wings do not droop.
- Weave the ends into dense stitches rather than open lace spaces.
Frequently Asked Questions
Is this crochet angel suitable for a complete beginner?
It is best for a beginner who already knows single crochet, double crochet, increases, and decreases. Make the head first to practice working in the round, then move to the dress and wings.
Can I use thinner yarn?
Yes. DK yarn with a 3–3.5 mm hook makes a smaller ornament. Crochet thread creates a delicate angel, but the tiny stitches are less comfortable for a first attempt.
Do I need wire for the halo?
No. The crocheted chain ring keeps the design soft and lightweight. A tiny amount of starch can help the halo hold a round shape.
Can I make only the wings?
Yes. The Crochet Angel Wings work as appliqués, memorial tokens, package decorations, or additions to another compatible doll pattern.
Once you finish the first ornament, repeat the same components to create a complete set. Save this tutorial with your favorite Crochet Angels Free Pattern ideas and enjoy a simple handmade project for the holiday season.