
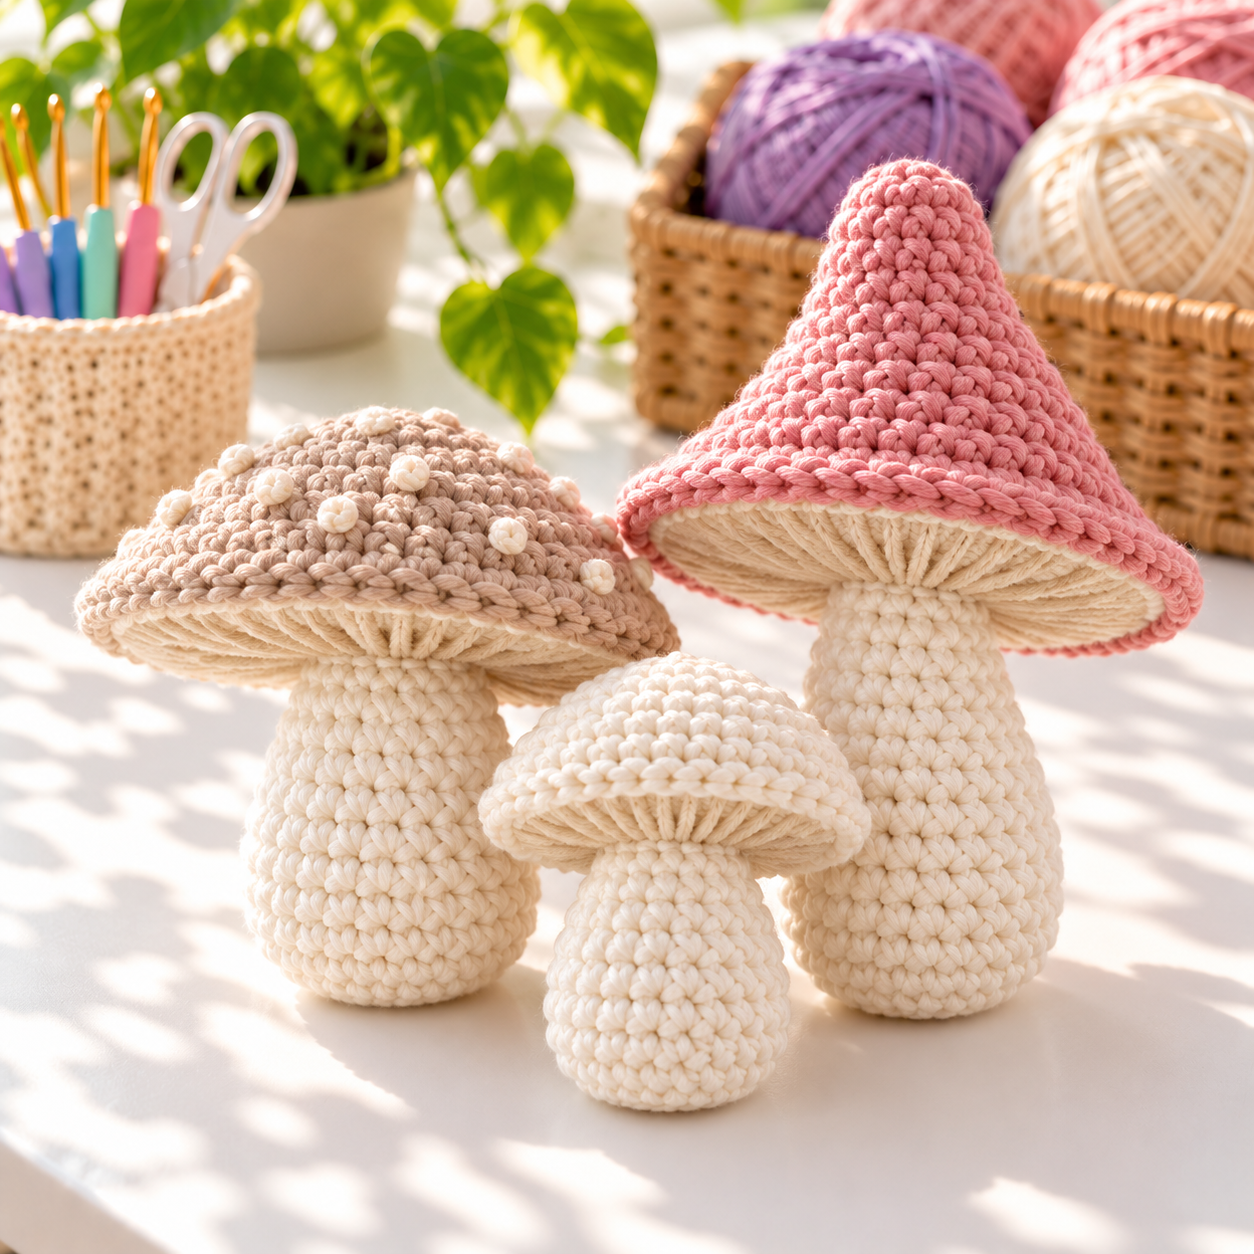
This Crochet Mushroom Pattern creates a soft woodland ornament with a plump ivory stem, a shaped cap, and embroidered gills underneath. The pieces are worked separately, so you can choose a tall pointed cap, a low rounded cap, or make both for a tiny cottagecore collection.
The project uses small amounts of DK cotton and basic amigurumi techniques. It is a lovely stash-busting make for autumn displays, nursery shelves, keychain-sized gifts, and imaginative woodland décor.
Finished Size and Skill Level
Using DK yarn and a 2.75 mm hook, the pointed mushroom measures about 4 inches (10 cm) tall. The flat-cap version is approximately 3 inches (7.5 cm) tall. Your finished size may vary with yarn, tension, and stuffing.
- Skill level: Confident beginner
- Terminology: US crochet terms
- Construction: Stem, cap, and underside are made separately
- Method: Continuous rounds unless stated
Materials
- DK or light worsted cotton yarn in ivory for the stem and underside
- Small amounts of pink, taupe, terracotta, sage, or cream for the cap
- 2.75 mm crochet hook
- Polyester fiberfill
- Locking stitch marker
- Tapestry needle and embroidery needle
- Scissors
- Optional embroidery thread for cap spots
Use a smaller hook than the yarn label recommends so the fabric stays firm and the stuffing does not show. Cotton gives crisp stitches, while acrylic creates a lighter, softer Crochet Mushroom Toy Pattern.
Abbreviations
- MR: magic ring
- sc: single crochet
- inc: 2 sc in the same stitch
- dec: invisible single crochet decrease
- sl st: slip stitch
- BLO: back loop only
- FLO: front loop only
- st(s): stitch(es)
Place a marker in the first stitch of every round and move it upward as you work. Stitch counts appear in parentheses.
Crochet Mushroom Stem
Make one stem for each mushroom using ivory yarn.
Round 1: Work 6 sc in an MR. (6)
Round 2: Inc in every st around. (12)
Round 3: [Sc, inc] 6 times. (18)
Round 4: Sc in BLO around. (18)
Rounds 5–8: Sc in every st around. (18)
Round 9: [Sc in next 4 sts, dec] 3 times. (15)
Rounds 10–13: Sc around. (15)
Round 14: [Sc in next 3 sts, dec] 3 times. (12)
Rounds 15–16: Sc around. (12)
Stuff the base firmly, then add smaller pieces of fiberfill as you move upward. Keep the top slightly softer so it can sit neatly against the cap underside.
Round 17: Working in FLO, inc in every st around. (24)
Round 18: [Sc in next 3 sts, inc] 6 times. (30)
Fasten off with a long tail. The flared top creates a stable surface for attaching the cap.
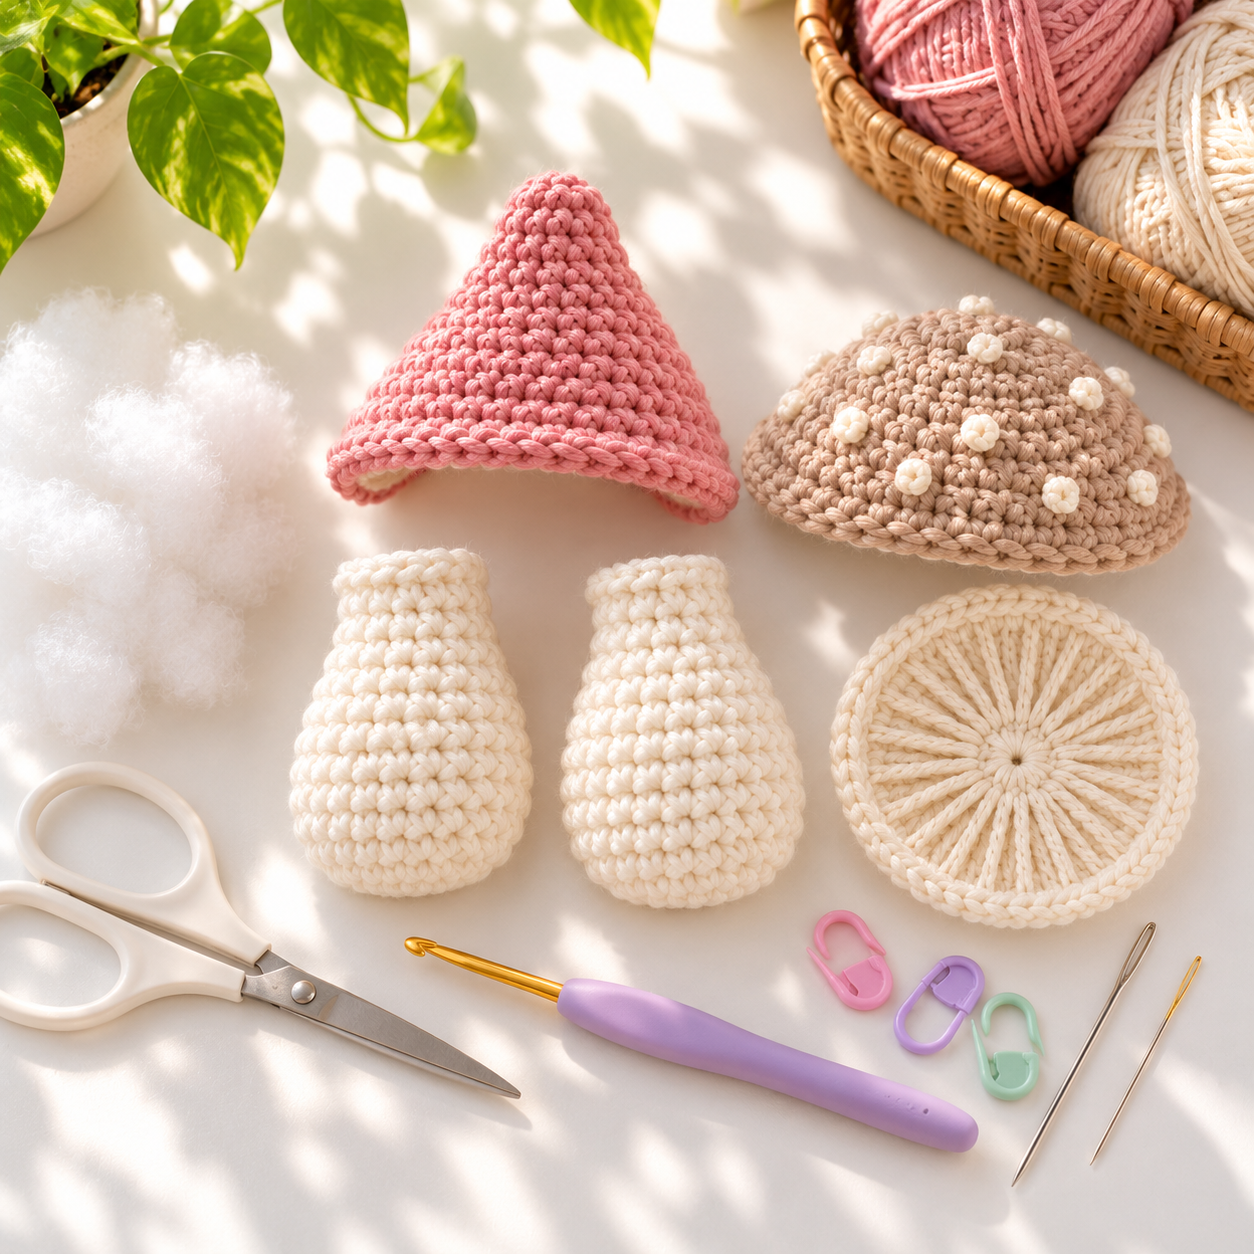
Pointed Mushroom Cap
Use pink, sage, rust, or any cap color you like.
Round 1: Work 6 sc in an MR. (6)
Rounds 2–3: Sc around. (6)
Round 4: [Sc, inc] 3 times. (9)
Round 5: Sc around. (9)
Round 6: [Sc in next 2 sts, inc] 3 times. (12)
Round 7: Sc around. (12)
Round 8: [Sc, inc] 6 times. (18)
Round 9: [Sc in next 2 sts, inc] 6 times. (24)
Round 10: [Sc in next 3 sts, inc] 6 times. (30)
Round 11: [Sc in next 4 sts, inc] 6 times. (36)
Rounds 12–13: Sc around. (36)
Finish with a sl st and fasten off. The gradual increases produce a soft woodland point rather than a stiff cone.
Flat Mushroom Cap
This rounded cap is ideal when you want a quick Crochet Mini Mushroom Free Pattern variation.
Round 1: Work 6 sc in an MR. (6)
Round 2: Inc around. (12)
Round 3: [Sc, inc] 6 times. (18)
Round 4: [Sc in next 2 sts, inc] 6 times. (24)
Round 5: [Sc in next 3 sts, inc] 6 times. (30)
Round 6: [Sc in next 4 sts, inc] 6 times. (36)
Round 7: Sc in BLO around. (36)
Round 8: Sc around. (36)
Finish with a sl st and fasten off. The BLO round turns the edge downward and gives the cap a gentle dome.
Cap Spots
Before assembly, embroider small spots on the flat cap. French knots, short satin stitches, or tiny woven circles all work well. Scatter them unevenly so the result feels natural. Pull each knot snug without puckering the cap.
For a White Crochet Mushroom Pattern, keep the cap ivory and add pale beige or gold spots. Tone-on-tone embroidery creates subtle texture without losing the clean neutral look.
Crochet the Underside Disc
With ivory yarn, make one disc for either cap style.
Round 1: Work 6 sc in an MR. (6)
Round 2: Inc around. (12)
Round 3: [Sc, inc] 6 times. (18)
Round 4: [Sc in next 2 sts, inc] 6 times. (24)
Round 5: [Sc in next 3 sts, inc] 6 times. (30)
Round 6: [Sc in next 4 sts, inc] 6 times. (36)
Fasten off. Thread an embroidery needle with ivory yarn and sew long straight stitches from the center toward the outer edge. Space these radial lines evenly to suggest mushroom gills.
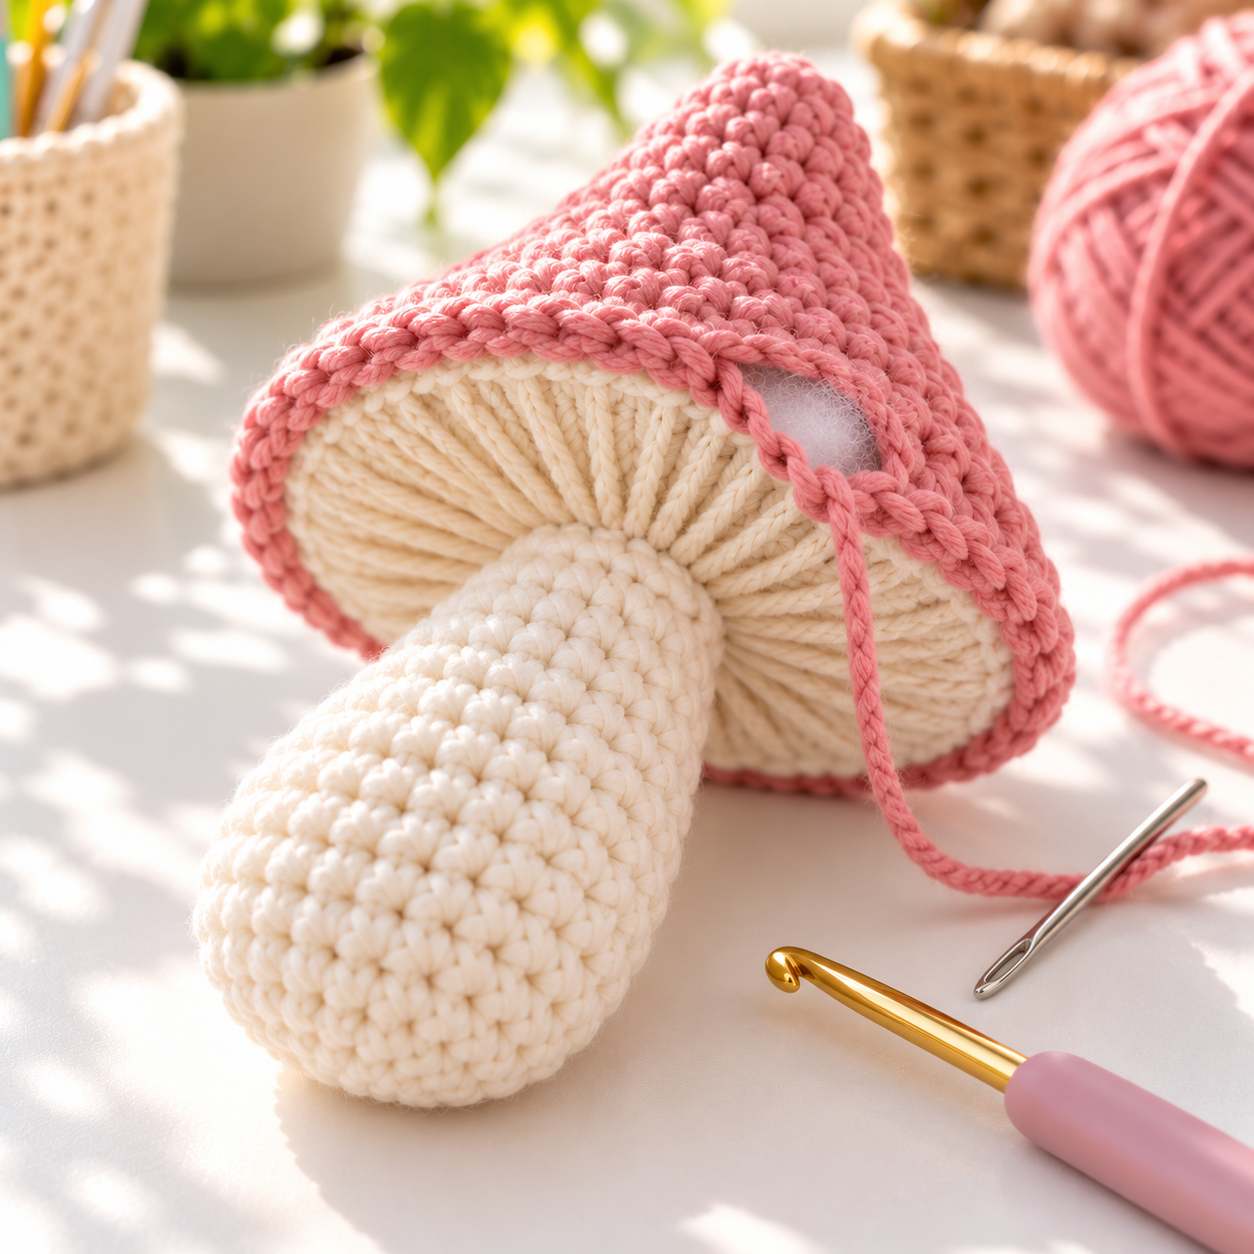
Assemble the Crochet Mushroom
- Center the flared top of the stem against the right side of the underside disc.
- Using the long stem tail, sew around the outer edge of the 30-stitch flare. Add several crossing stitches beneath the center for stability.
- Place the cap over the underside with wrong sides facing each other. Match all 36 edge stitches.
- Join the layers with single crochet through both edges. For a pointed cap, pause after 28 stitches and add a small amount of stuffing.
- Finish the remaining stitches, join, fasten off, and hide the tail inside the cap.
The flat cap usually needs little or no stuffing. A thin layer is enough to create a soft dome without hiding the embroidered gills.
Color and Styling Ideas
Dusty pink and warm taupe create a gentle woodland palette, while terracotta, mustard, deep red, sage, and cream make beautiful seasonal sets. Use leftover cotton for colorful Mushrooms Crochet Free Pattern projects, or keep every stem ivory for a coordinated collection.
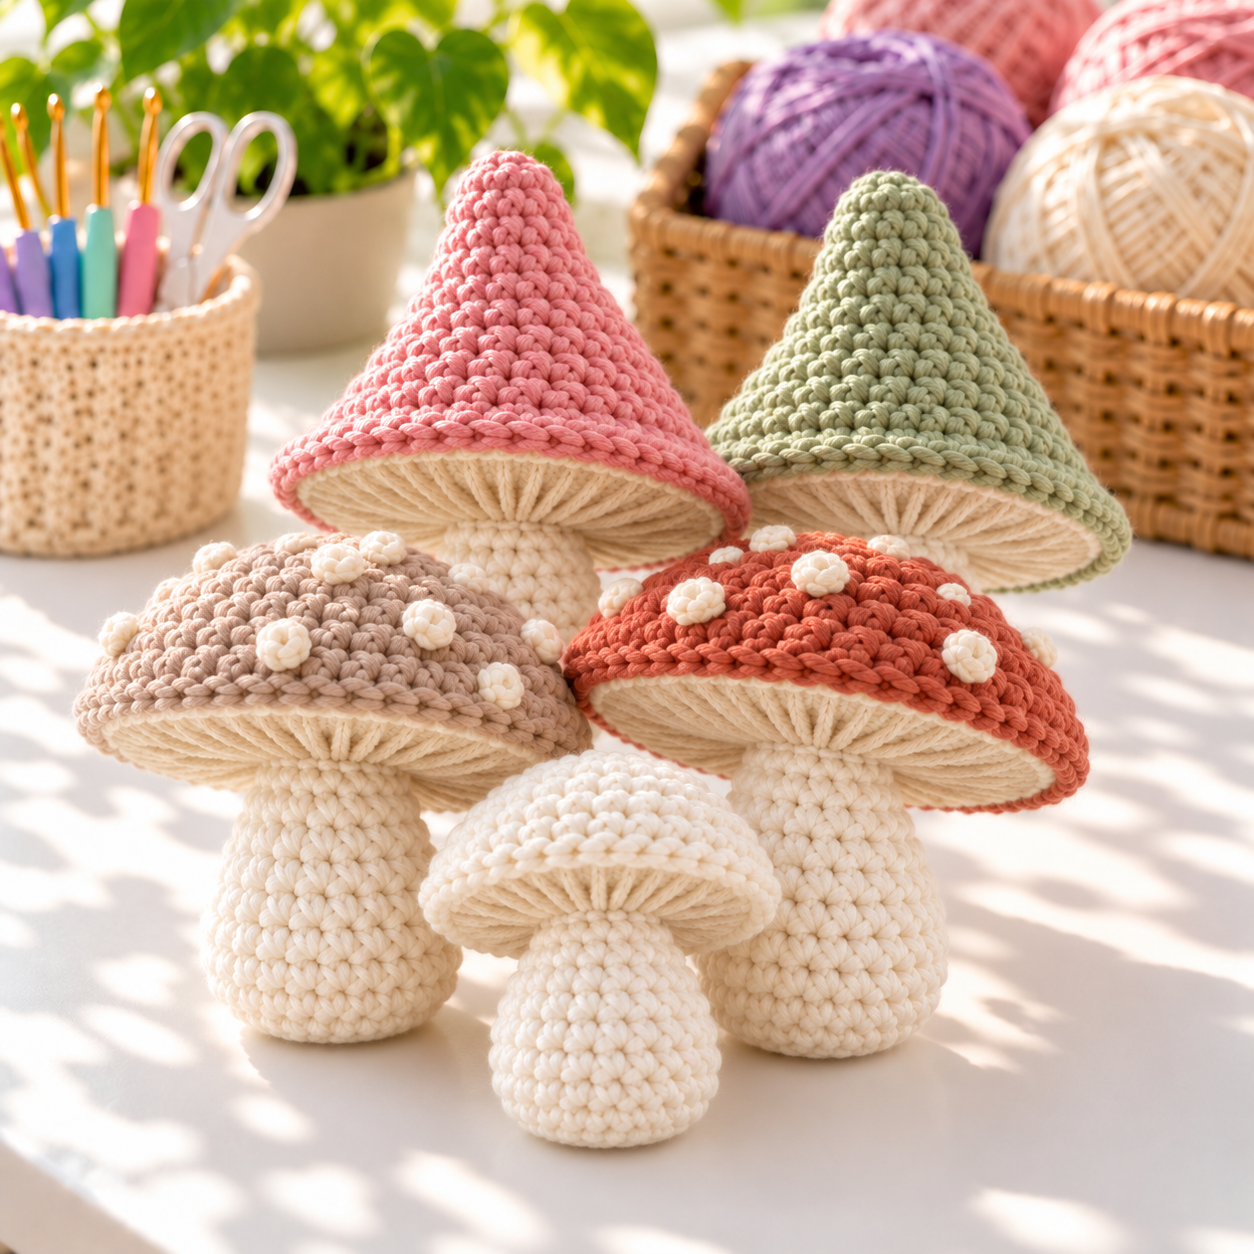
Add a hanging loop before closing the cap to make an ornament. A smaller version can become a keychain, but use embroidered details instead of beads for children. For a nursery decoration, attach the mushroom securely to a mobile and keep it out of a baby’s reach.
Troubleshooting Tips
- The stem falls over: Stuff the base more firmly and keep the upper stem softer.
- The cap edge ripples: Confirm that both cap pieces have exactly 36 stitches.
- The pointed cap bends: Add a small piece of stuffing near the tip before closing.
- Fiberfill shows: Use a smaller hook or add less stuffing.
- The spots disappear: Choose embroidery yarn with stronger contrast and make an extra wrap in each French knot.
A Woodland Project to Make Again
This original Crochet Mushroom Pattern is easy to personalize because the stem, underside, and cap are separate. Once you make the first one, change the cap shape, scale, color, and embroidery to build a whole woodland family.
Save this Free Crochet Mushroom Pattern for autumn decorations, handmade gifts, mini ornaments, and relaxing stash-busting afternoons.