
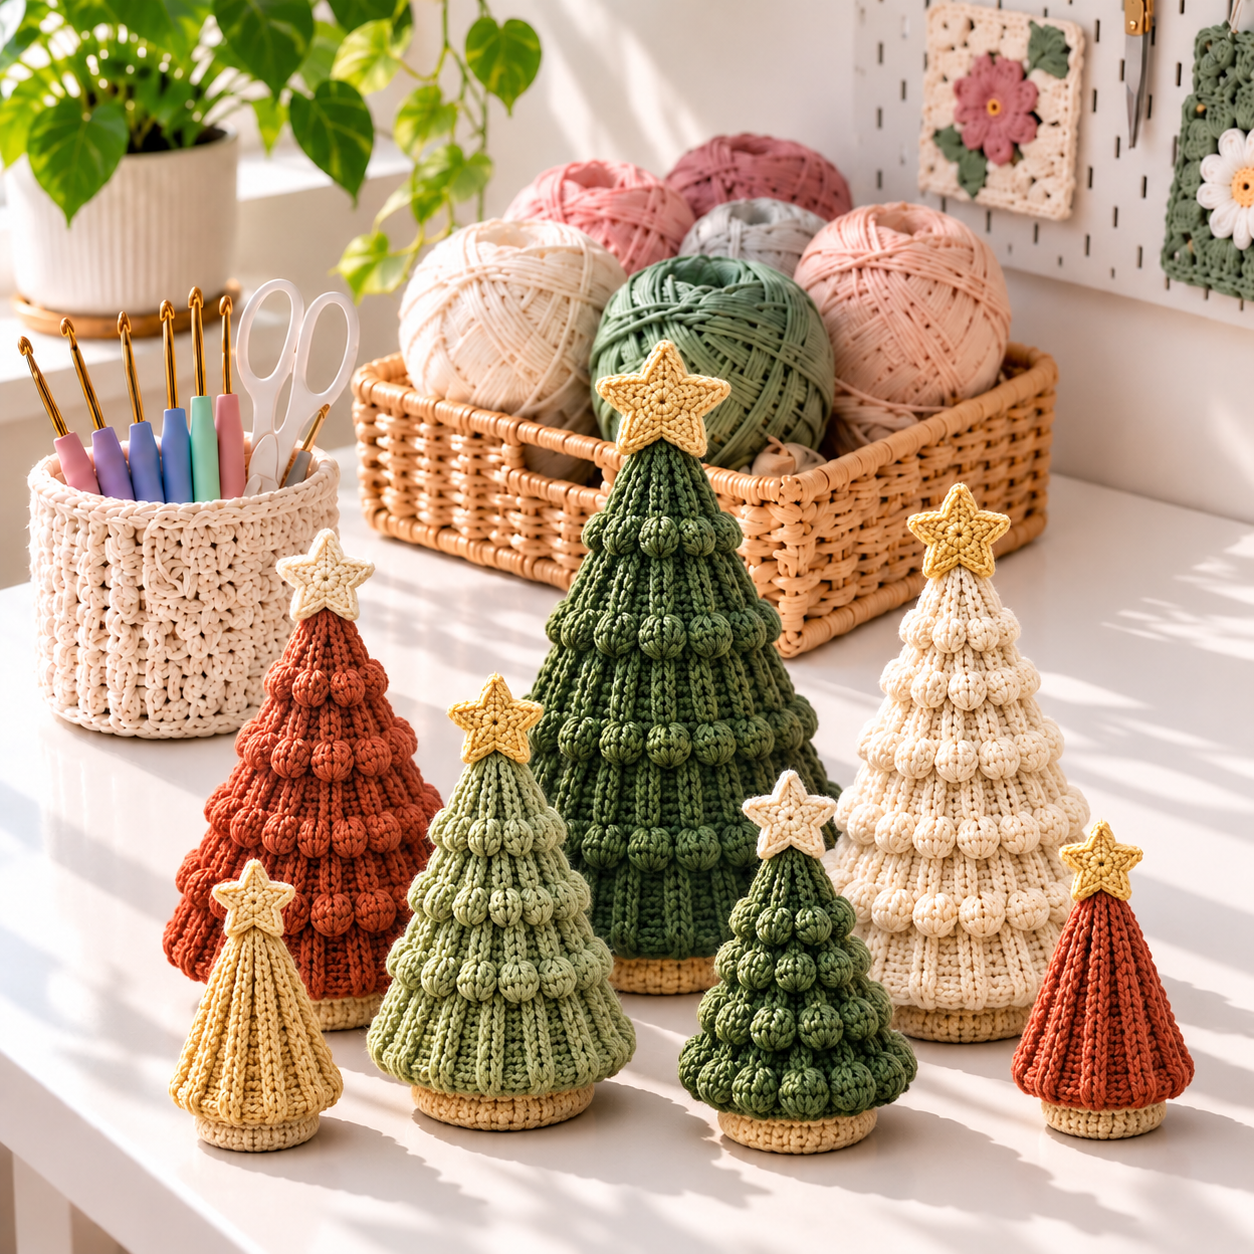
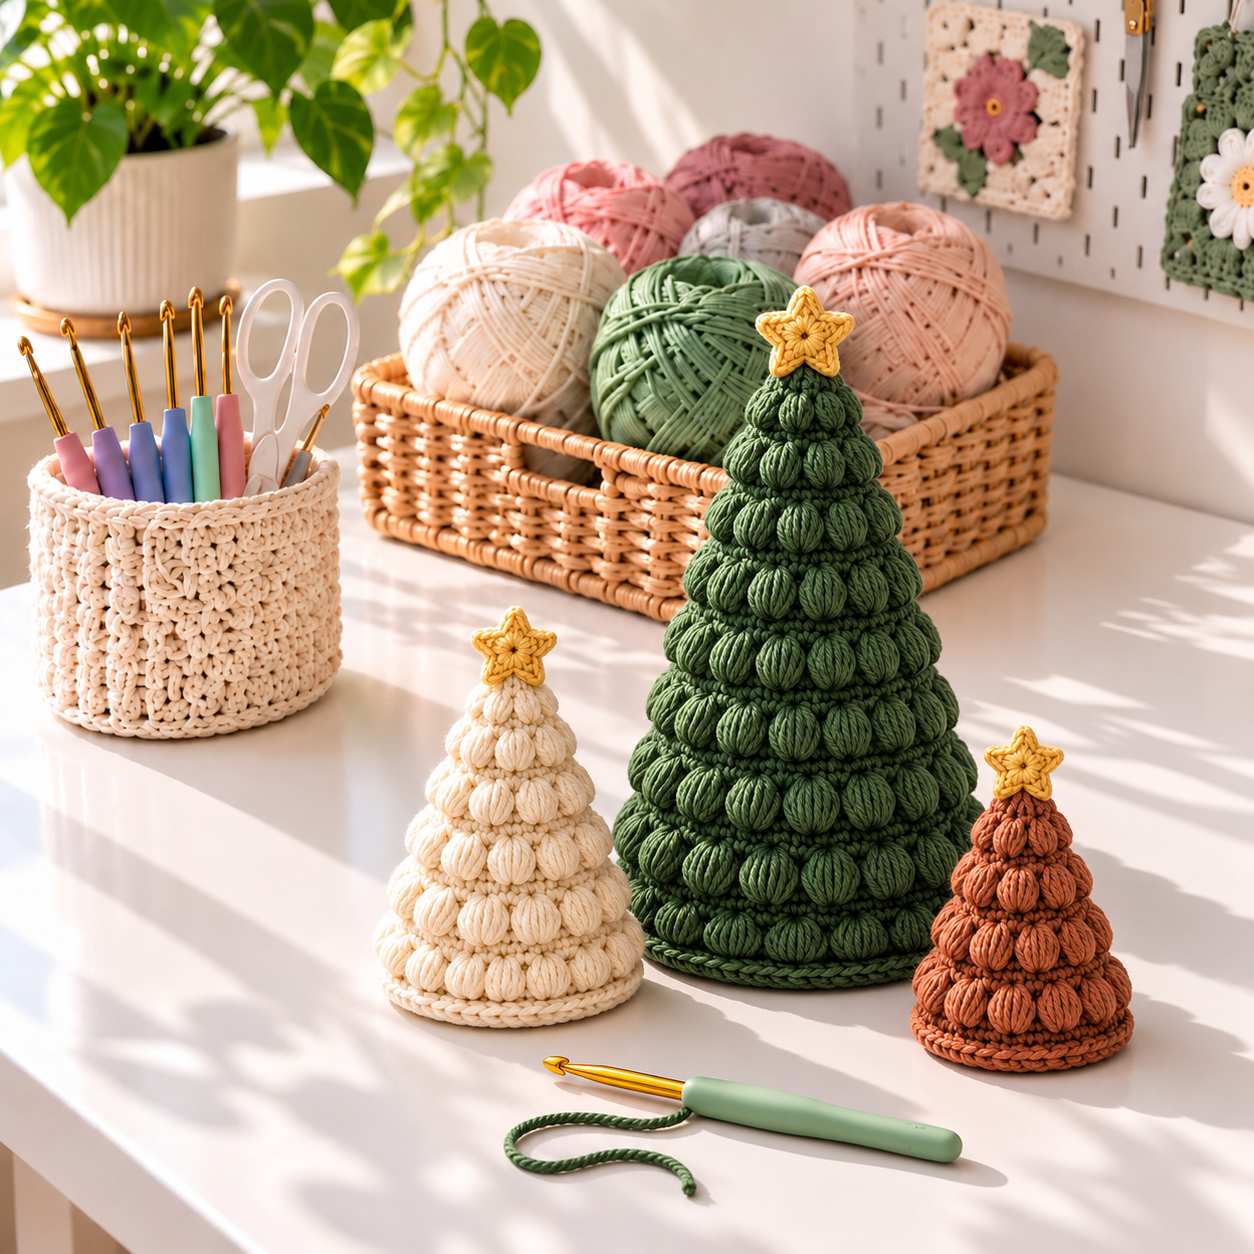
This Free Pattern for Festive Holiday Décor turns simple crochet rounds into a softly textured Christmas tree. The cone is worked from the top down, alternating smooth single crochet with raised puff-stitch rows. Choose from three sizes, add a flat base, and finish with a small star for a handmade centerpiece that can return every year.
Use evergreen yarn for a traditional look, cream for winter simplicity, or rust and gold for modern seasonal décor. A group of different heights creates an easy tabletop forest without complicated assembly.
Textured Crochet Christmas Tree Details
- Skill level: Confident beginner
- Sizes: Small, medium, and large
- Approximate heights: 6, 9, and 12 inches
- Yarn: Worsted weight #4
- Hook: 5 mm (H/8), or size needed for a firm fabric
- Construction: Top-down cone with a separately crocheted base
- Terminology: US crochet terms
Gauge is not critical, but the fabric should be dense enough to contain stuffing. If the stitches look open, move down half a hook size.
Materials
- 80–220 yards of worsted-weight yarn, depending on size
- Small amount of gold or cream yarn for the star
- 5 mm crochet hook
- Polyester stuffing
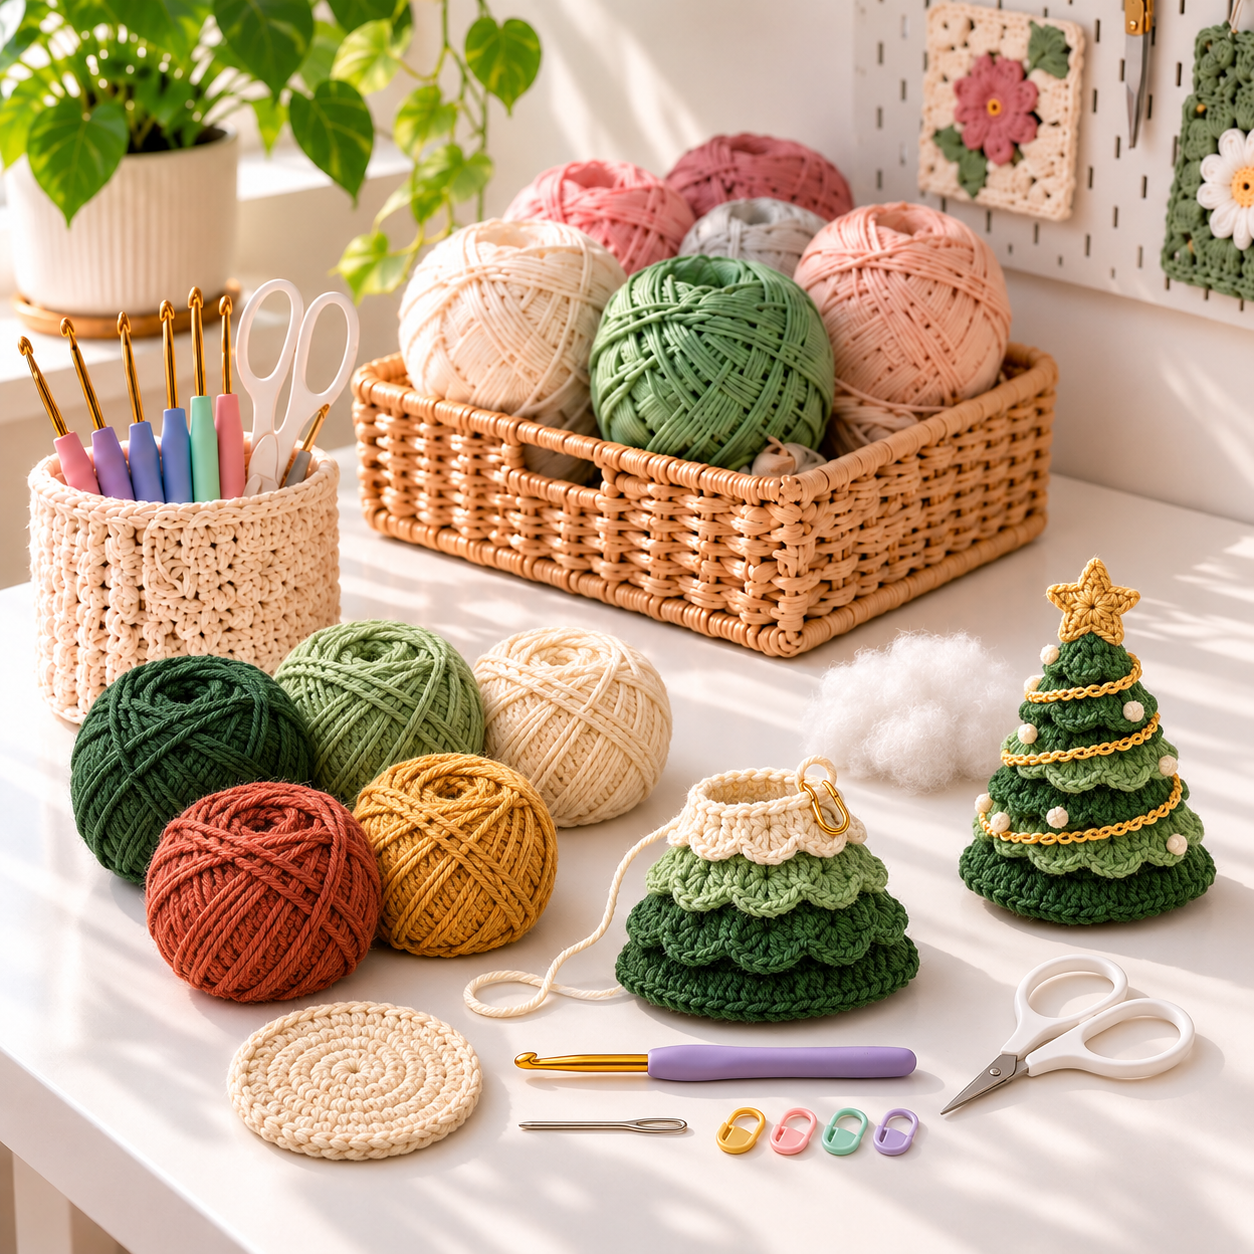
- Yarn needle and scissors
- Stitch marker
- Optional cardboard circle for a firmer base
Smooth acrylic is lightweight and easy to shape. Cotton makes a heavier, crisper Crochet Tree. Wool or tweed adds rustic texture, but avoid very fuzzy yarn because it hides the puff stitches.
Abbreviations and Special Stitch
- ch: chain
- sl st: slip stitch
- sc: single crochet
- inc: 2 sc in one stitch
- st(s): stitch(es)
- rep: repeat
Puff stitch: Yarn over, insert the hook into the indicated stitch, yarn over, and pull up a loop three times. You should have seven loops on the hook. Yarn over and pull through all loops, then ch 1 to close. The closing chain does not count as a separate stitch.
Crochet Christmas Trees Pattern
Work in continuous rounds. Place a marker in the first stitch and move it after every round. The stitch count remains the same on texture rounds because each puff replaces one single crochet.
Tree Cone: All Sizes
Round 1: Make a magic ring and work 6 sc inside. (6)
Round 2: Sc in each stitch around. (6)
Round 3: Inc in each stitch around. (12)
Round 4: Sc around. (12)
Round 5: (Sc, inc) around. (18)
Round 6: Sc around. (18)
Round 7: (Puff in the next stitch, sc in the next stitch) around. (18)
Round 8: Sc around. (18)
Round 9: (Sc in the next 2 stitches, inc) around. (24)
Round 10: Sc around. (24)
Round 11: (Puff, sc) around. (24)
Round 12: Sc around. (24)
Round 13: (Sc in the next 3 stitches, inc) around. (30)
Round 14: Sc around. (30)
Round 15: (Puff, sc) around. (30)
Round 16: Sc around. (30)
Stop here for the small tree. Fasten off with a long sewing tail or continue for the medium size.
Medium Tree Extension
Round 17: (Sc in the next 4 stitches, inc) around. (36)
Round 18: Sc around. (36)
Round 19: (Puff, sc) around. (36)
Round 20: Sc around. (36)
Round 21: (Sc in the next 5 stitches, inc) around. (42)
Round 22: Sc around. (42)
Round 23: (Puff, sc) around. (42)
Round 24: Sc around. (42)
Stop here for the medium tree or continue for the large size.
Large Tree Extension
Round 25: (Sc in the next 6 stitches, inc) around. (48)
Round 26: Sc around. (48)
Round 27: (Puff, sc) around. (48)
Round 28: Sc around. (48)
Round 29: (Sc in the next 7 stitches, inc) around. (54)
Round 30: Sc around. (54)
Round 31: (Puff, sc) around. (54)
Round 32: Sc around. Fasten off. (54)
Crochet the Flat Base
Make a magic ring and work 6 sc inside. Inc around for 12 stitches. On each following round, increase evenly by 6 stitches: (sc, inc) for 18, (2 sc, inc) for 24, and (3 sc, inc) for 30.
Stop at 30 stitches for the small tree. For medium, continue to 36 and 42 stitches. For large, continue to 48 and 54 stitches. Fasten off with a long sewing tail.
Stuffing and Assembly
- Place the tree cone over a bowl or cone-shaped object and gently shape the point.
- Add stuffing in small pieces, keeping the tip soft and the bottom full.
- Optional: cut a cardboard circle slightly smaller than the crocheted base and place it under the stuffing.
- Pin the base to the open bottom, matching every stitch.
- Whip stitch the base to the tree and add more stuffing before closing the final inch.
- Weave the tail through several interior stitches and trim it.
Optional Crochet Star Topper
With gold yarn, make 10 sc in a magic ring and join. *Ch 4, sl st in the second chain, sc in the next chain, hdc in the final chain, skip one stitch on the center ring, and sl st in the next stitch.* Repeat five times to create five points. Fasten off and sew the star to the tree tip.
Color and Display Ideas
For classic Crochet Christmas Decorations, make three green trees and add cream stars. A neutral group in oatmeal, taupe, and white works beyond December. Rust, mustard, and olive create a warm autumn display. If you enjoy the clean silhouette of Knitted Trees, choose solid yarn and keep the tree unembellished.
Turn the small size into a wine-bottle cover, use the medium size on a mantel, or group all three in a dining-table centerpiece. Sew on tiny Crochet Ornaments, beads, or surface chains only after the tree is assembled.
Build a Complete Crochet Christmas Scene
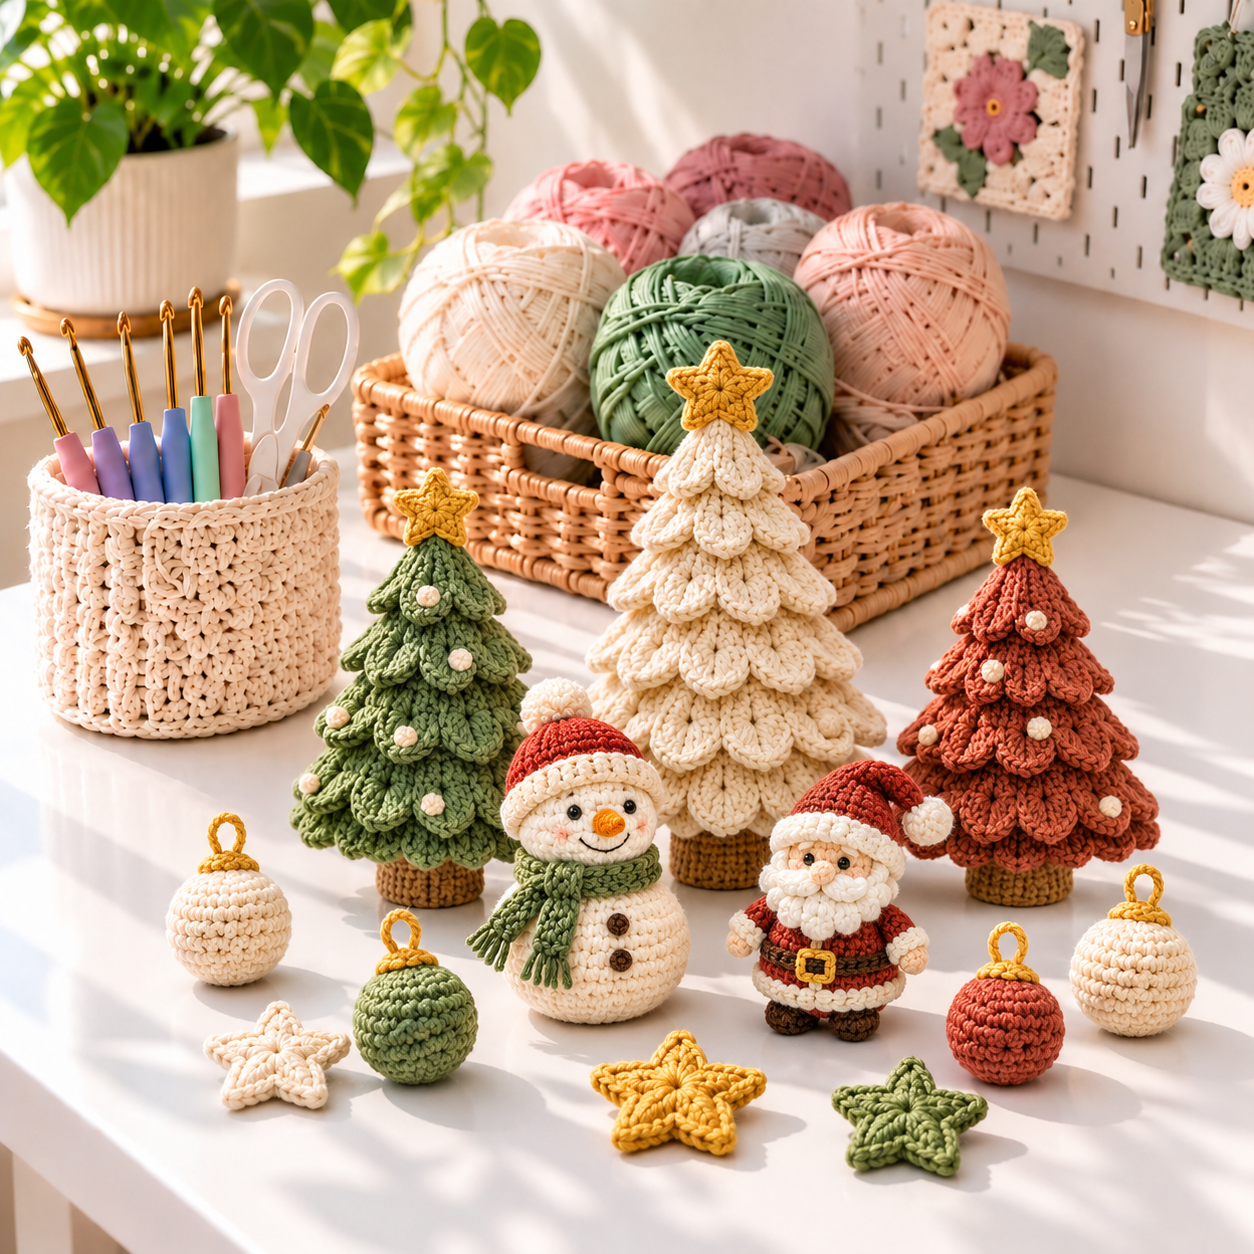
Pair the trees with a small Crochet Snowman and Crochet Santa for a playful handmade village. Add flat stars, mini baubles, or a short chain garland to use small yarn leftovers. These pieces also make thoughtful gifts because they are soft, lightweight, and easy to store.
If you are collecting ideas for Crochet Christmas Stuff, repeat the same palette across every project. Matching cream, green, and gold yarn makes separate decorations look like one coordinated set.
Tips for a Neat Crochet Christmas Tree
- Use a stitch marker so the increases stay evenly spaced.
- Pull every puff stitch to the same height.
- Stuff gradually to avoid a lumpy cone.
- Keep the tree tip lightly filled so it does not bend.
- Match base stitches one-to-one while sewing.
- Steam lightly from a distance if the puff rows need shaping.
Frequently Asked Questions
Can I make the trees with chunky yarn?
Yes. Use a hook appropriate for the yarn and expect a much larger tree. Make a small sample first because chunky puff stitches can become very dense.
Do I have to add a base?
No. Leave the cone open if you want to place it over a foam form or bottle. The crocheted base is best for a washable, freestanding decoration.
How long does one tree take?
The small size takes about two hours. The medium and large versions take longer, but the repeating rounds become easy to remember.
This Crochet Christmas Tree is simple enough for a confident beginner and flexible enough for many seasonal styles. Save the pattern, choose a favorite palette, and create a soft forest for your holiday home.