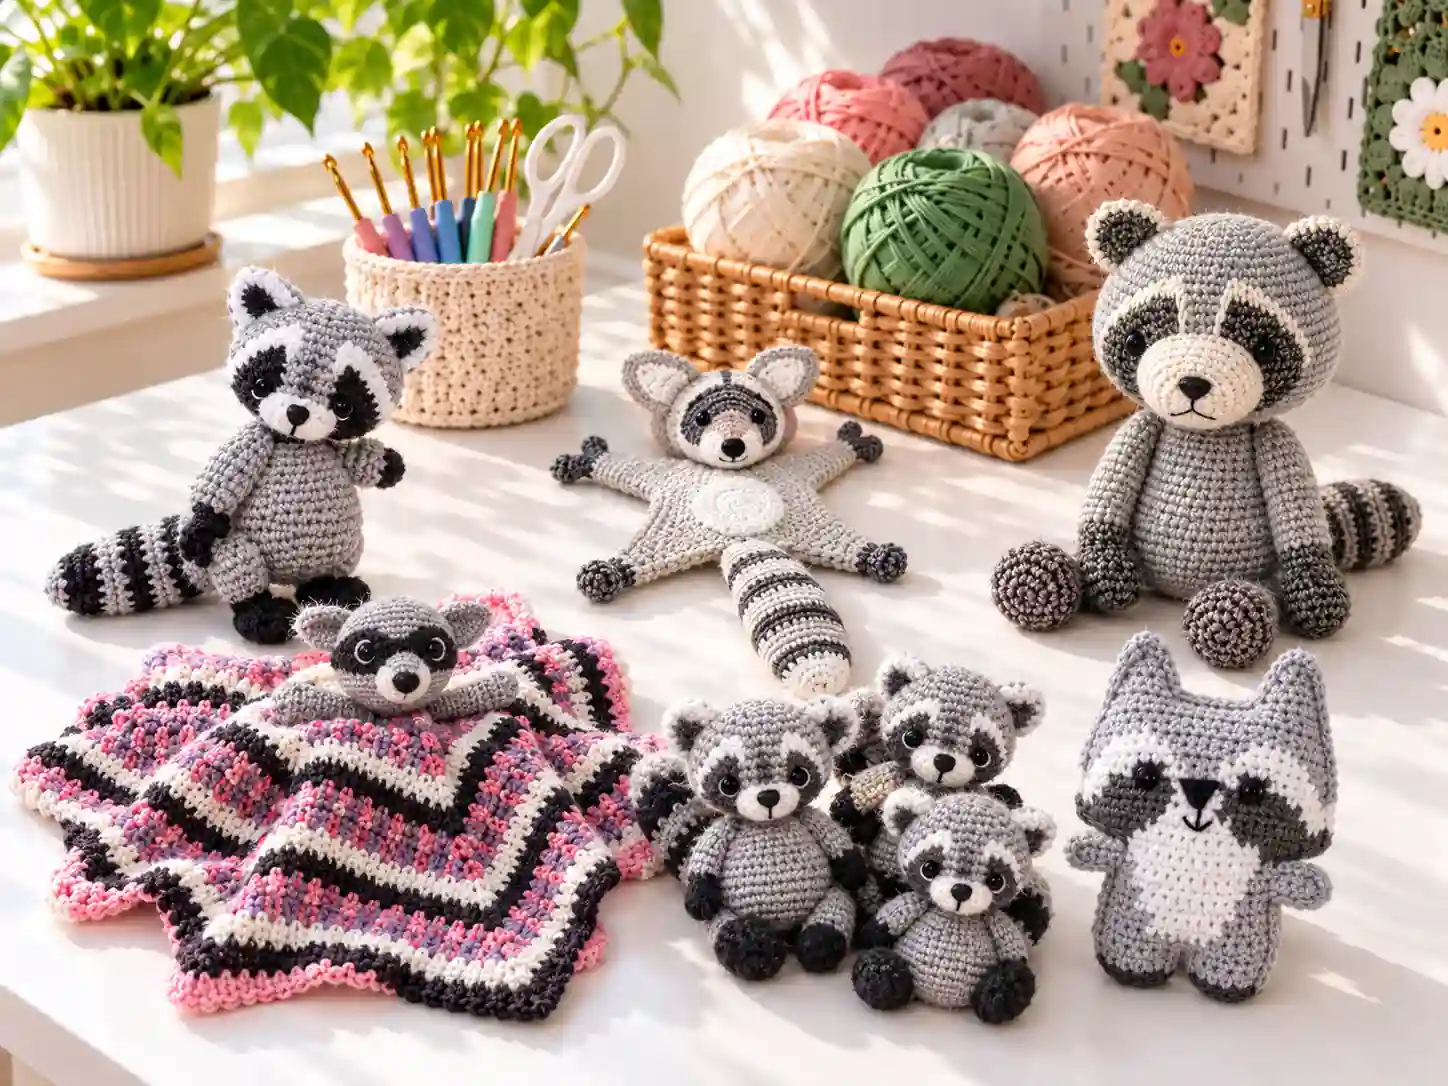
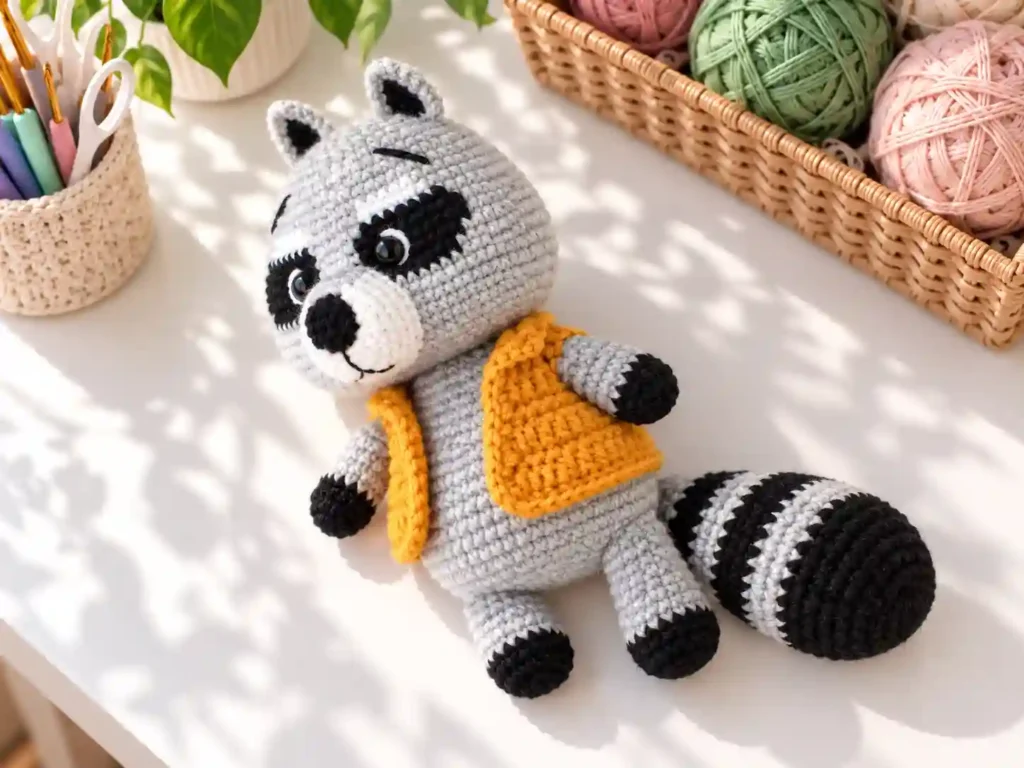
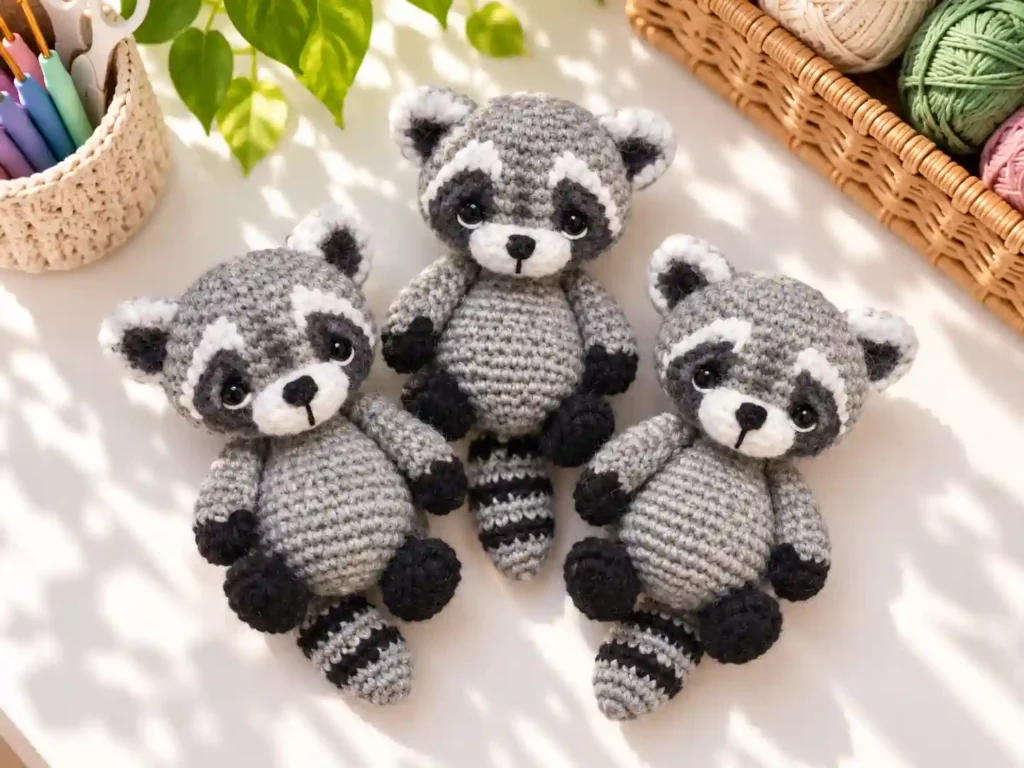
There’s something irresistibly charming about amigurumi animals, and this raccoon amigurumi free crochet pattern delivers all the woodland cuteness you could want. With its signature masked face, perky ears, and ringed tail, this little guy makes a delightful gift, nursery decoration, or personal keepsake.
Worked primarily in continuous rounds using basic single crochet stitches, this pattern is approachable for crocheters who have completed a few amigurumi projects before. The construction breaks down into manageable pieces, each sewn together at the end for a polished, three-dimensional result.
Whether you’re building a collection of mini crochet animals or looking for unique crochet projects that stand out, this raccoon fits right in. Let’s get started on your crochet raccoon free pattern journey.
Why You’ll Love This Crochet Project
- Uses only basic stitches (sc, inc, dec) for smooth, even shaping
- Worked in continuous rounds for a seamless amigurumi look
- Customizable colors for the body, mask, and tail rings
- Perfect size for gifts, keychains, or shelf decor
- Scrap-yarn friendly if you already have grey, black, and white on hand
Finished Size
Finished measurements vary based on yarn weight and hook size. Using worsted weight yarn and a 4mm hook, expect your raccoon to stand approximately 6 to 8 inches tall when seated.
Materials You’ll Need
- Worsted weight yarn in grey (body), black (mask, nose, tail rings), and white (inner ears, tail accents)
- 4mm crochet hook (or size needed to achieve tight stitches)
- 12mm safety eyes
- Polyester fiberfill stuffing
- Tapestry needle for sewing
- Scissors
- Stitch marker
- Optional: small amount of fluffy yarn for ear edging
Yarn Information
This pattern is designed for worsted weight (category 4) yarn, which provides enough structure to hold stuffing while remaining easy to work with. Cotton or acrylic blends work well, though 100% acrylic is often more readily available in the grey and black shades needed.
You’ll need roughly 100 to 150 yards of grey for the body, with smaller amounts of black and white for facial features and tail detailing. Switching to a lighter yarn weight will produce a smaller raccoon, while bulky yarn will create a chunkier, larger version.
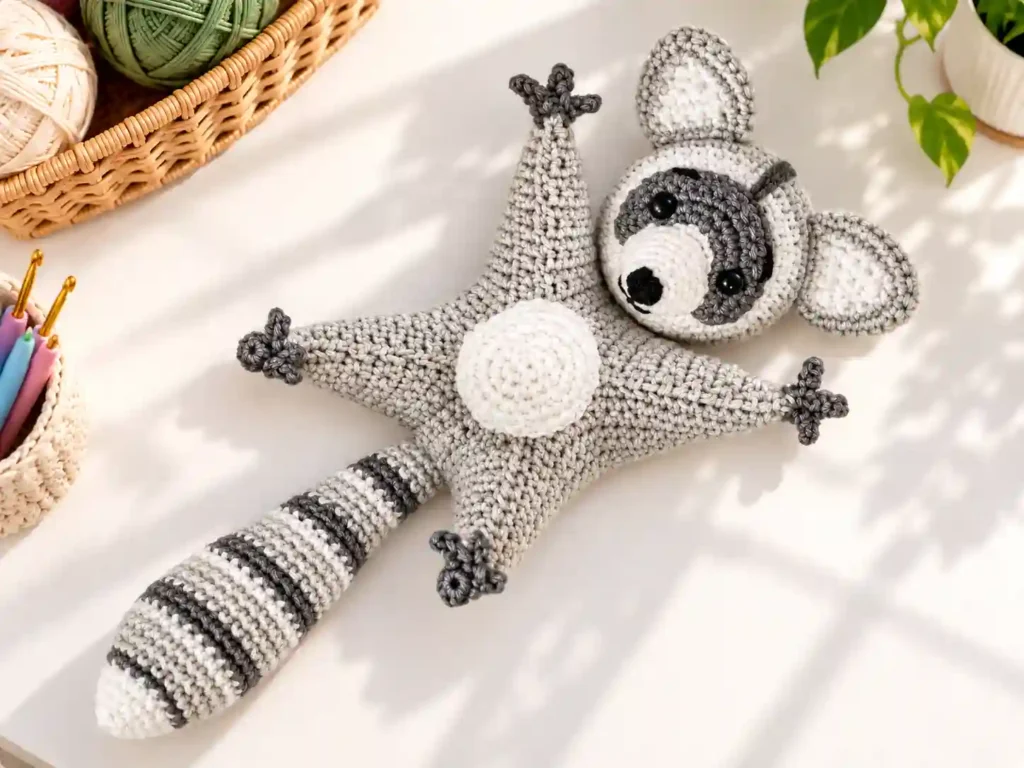
Crochet Hook
A 4mm hook is commonly recommended for amigurumi raccoon patterns to keep stitches tight and prevent stuffing from showing through. If your tension is loose, consider dropping to a 3.5mm hook for denser fabric.
Crochet Abbreviations (US Terminology)
- MR: Magic ring
- sc: Single crochet
- inc: Increase (2 sc in same stitch)
- dec: Decrease (sc2tog)
- st(s): Stitch(es)
- rnd(s): Round(s)
- sl st: Slip stitch
- ch: Chain
Pattern Notes
- Worked in continuous rounds unless otherwise noted. Do not join rounds; use a stitch marker to track the first stitch of each round.
- All pieces are crocheted separately and sewn together during assembly.
- Stuff each piece firmly before closing to maintain shape.
- For clean color changes, cut the yarn and join the new color with a slip stitch at the end of the round.
- Pattern uses US crochet terminology throughout.
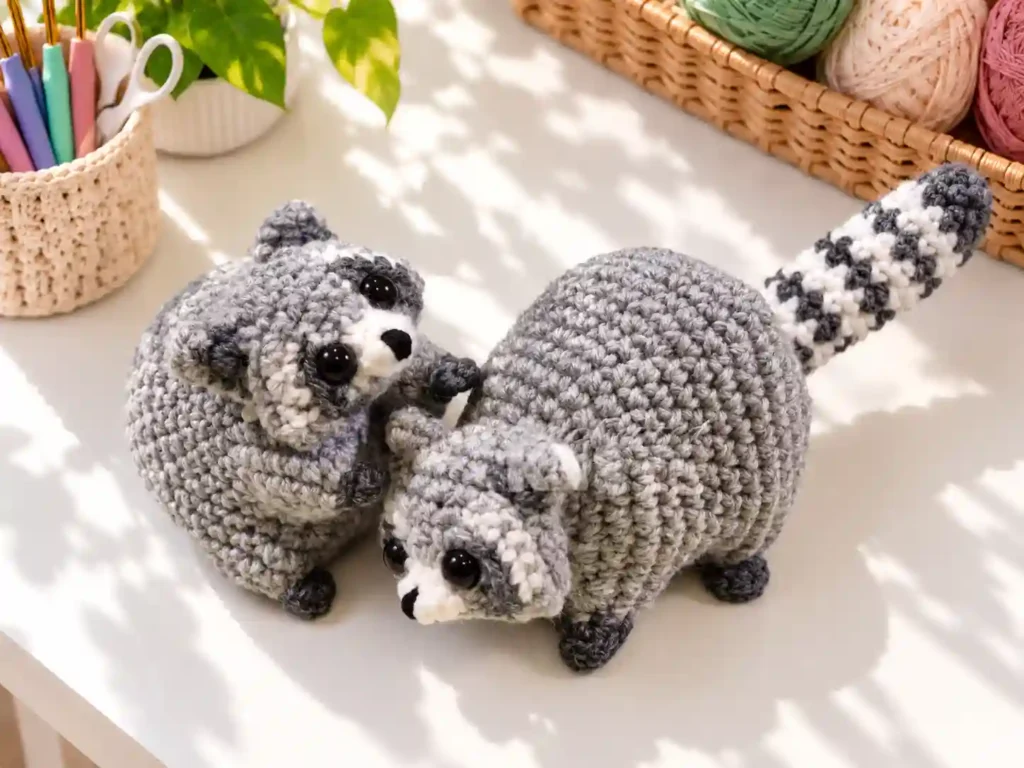
Crochet Pattern
Body and Head (Worked as One Piece)
In grey yarn, start with a magic ring.
Rnd 1: 6 sc in MR (6 sts) Rnd 2: Inc in each st around (12 sts) Rnd 3: (1 sc, inc) around (18 sts) Rnd 4: (2 sc, inc) around (24 sts) Rnd 5: (3 sc, inc) around (30 sts) Rnd 6: (4 sc, inc) around (36 sts) Rnd 7–14: Sc in each st around (36 sts) Rnd 15: (4 sc, dec) around (30 sts) Rnd 16–18: Sc in each st around (30 sts) Rnd 19: (3 sc, dec) around (24 sts) Rnd 20–23: Sc in each st around (24 sts) Rnd 24: (2 sc, dec) around (18 sts) Rnd 25–26: Sc in each st around (18 sts)
Begin head increases:
Rnd 27: (2 sc, inc) around (24 sts) Rnd 28: (3 sc, inc) around (30 sts) Rnd 29: (4 sc, inc) around (36 sts) Rnd 30: (5 sc, inc) around (42 sts) Rnd 31: (6 sc, inc) around (48 sts) Rnd 32: (7 sc, inc) around (54 sts) Rnd 33: (8 sc, inc) around (60 sts) Rnd 34–43: Sc in each st around (60 sts) Rnd 44: (8 sc, dec) around (54 sts) Rnd 45: (7 sc, dec) around (48 sts) Rnd 46: (6 sc, dec) around (42 sts) Rnd 47: (5 sc, dec) around (36 sts) Rnd 48: (4 sc, dec) around (30 sts) Rnd 49: (3 sc, dec) around (24 sts) Rnd 50: (2 sc, dec) around (18 sts) Rnd 51: (1 sc, dec) around (12 sts) Rnd 52: Dec around (6 sts)
Fasten off, leaving a long tail. Weave through the front loops of the last round and pull tight to close.
Legs (Make 2)
In grey yarn:
Rnd 1: 6 sc in MR (6 sts) Rnd 2: (1 sc, inc) around (9 sts) Rnd 3–6: Sc in each st around (9 sts) Rnd 7: (2 sc, inc) around (12 sts) Rnd 8–11: Sc in each st around (12 sts) Rnd 12: (3 sc, inc) around (15 sts) Rnd 13–15: Sc in each st around (15 sts)
Fasten off, leaving a tail for sewing.
Arms (Make 2)
In grey yarn:
Rnd 1: 6 sc in MR (6 sts) Rnd 2: (1 sc, inc) around (9 sts) Rnd 3–20: Sc in each st around (9 sts)
Fasten off, leaving a tail for sewing.
Tail
In grey yarn:
Rnd 1: 6 sc in MR (6 sts) Rnd 2: (1 sc, inc) around (9 sts) Rnd 3–16: Sc in each st around (9 sts)
Switch to black yarn:
Rnd 17: Sc in each st around (9 sts) Rnd 18: Sc in each st around (9 sts)
Switch back to grey:
Rnd 19–20: Sc in each st around (9 sts)
Repeat black and grey sections 2 to 3 more times to create ringed effect, then fasten off.
Snout
In grey yarn:
Rnd 1: 6 sc in MR (6 sts) Rnd 2: Inc in each st around (12 sts) Rnd 3: (1 sc, inc) around (18 sts) Rnd 4–5: Sc in each st around (18 sts)
Fasten off, leaving a tail for sewing.
Eye Masks (Make 2)
In black yarn:
Rnd 1: 6 sc in MR (6 sts) Rnd 2: Inc in each st around (12 sts) Rnd 3: Sc in first 8 sts only, leaving remaining sts unworked (8 sts worked)
Fasten off, leaving a long tail for sewing. Repeat for second eye mask, adjusting start position to mirror shape.
Ears (Make 2 Outer, 2 Inner)
Outer ear (grey): Ch 4, sc in second ch from hook and each ch across (3 sts). Fasten off.
Inner ear (white): Ch 3, sc in second ch from hook and each ch across (2 sts). Fasten off.
Assembly
- Stuff the body and head firmly before closing the top opening. Weave the tail through the final round and pull tight.
- Sew the legs to the lower sides of the body, positioning them around rounds 7 to 9, angled slightly outward.
- Attach the arms to the upper sides of the body, approximately 5 rounds down from the top, with the inner edge aligned near the centerline.
- Sew the tail to the lower back of the body, spanning rounds 9 to 14, curving it slightly for a natural look.
- Stuff the snout lightly, then position it on the lower center of the face and sew in place.
- Insert 12mm safety eyes into the eye masks, then position the masks on either side of the snout with the narrow ends touching it. Sew the masks to the head between rounds 6 and 13.
- Sew the inner white ears onto the grey outer ears, then attach the completed ears to the top of the head, about 8 stitches apart and roughly 6 rows behind the eyes.
- Embroider a small black nose on the snout between rounds 1 and 2, about 2 stitches wide.
Finishing Touches
Weave in all remaining yarn tails securely, hiding them inside the body or limbs. If desired, edge the ears and eye patches with a small amount of fluffy yarn for extra texture. Gently reshape the head and body after stuffing to ensure symmetry.
Crochet Tips
- Use a stitch marker and move it up each round to avoid losing count.
- Keep tension consistent to prevent uneven shaping, especially on the head.
- Stuff firmly but not so tightly that the fabric stretches and shows gaps.
- For clean color changes on the tail, cut the yarn and rejoin with a slip stitch to avoid visible jog lines.
- Pin pieces in place before sewing to check positioning and symmetry.
Variations
- Try different body colors for a fantasy raccoon, such as brown, tan, or even pastel shades.
- Use bulky yarn and a larger hook to create a jumbo version for hugging.
- Add a tiny crochet scarf or hat for seasonal flair.
- Attach a keychain clip to the top of the head for a portable amigurumi accessory.
- Omit safety eyes and embroider them instead for baby-safe versions.
Common Problems and Troubleshooting
Problem: The body or head looks misshapen. Solution: Check your stitch count each round and ensure increases and decreases are evenly spaced.
Problem: Stuffing shows through the stitches. Solution: Use a smaller hook or tighter tension to create denser fabric.
Problem: The tail rings look uneven. Solution: Count rounds carefully when switching colors and keep each colored section the same height.
How to Use the Finished Crochet Project
- Nursery or shelf decoration with a woodland theme
- Handmade gift for animal lovers or new parents
- Keychain or bag charm when scaled down
- Part of a larger amigurumi menagerie
- Photo prop for baby pictures or craft photography
Care Instructions
Spot clean with a damp cloth and mild soap as needed. If safety eyes are used, the raccoon can be gently hand-washed in cool water and laid flat to dry. Avoid machine washing to preserve shape and stitching.
Frequently Asked Questions
Can a beginner make this pattern? Yes, if you’re comfortable with basic single crochet, increases, and decreases, this raccoon amigurumi free crochet pattern is a great next step.
What yarn works best? Worsted weight acrylic or cotton blends are ideal for structure and availability in grey, black, and white.
Can I use a different hook size? Yes, but adjust accordingly: a smaller hook creates tighter stitches, while a larger hook yields a bigger, looser raccoon.
Can I make the project larger or smaller? Absolutely. Use bulkier yarn and a larger hook for a bigger version, or finer yarn and a smaller hook for a mini crochet animals pattern free approach.
How do I prevent the piece from curling? Amigurumi is worked in continuous rounds, so curling is part of the shaping. Keep stitch counts accurate and stuff evenly to maintain form.
How should I wash the finished project? Spot clean or hand-wash gently in cool water, then lay flat to dry to avoid stretching.
Conclusion
This raccoon amigurumi free crochet pattern gives you a charming woodland friend that’s as fun to make as it is to display. With clear rounds, straightforward assembly, and plenty of room for color play, it’s a standout addition to your unique crochet projects collection. Grab your grey yarn and start stitching your very own crochet raccoon today.