
Stunning Crochet Flower Patterns bring the color of a garden indoors without watering, wilting, or seasonal limits. A single blue bloom can decorate a gift, while a full crochet potted plant can become a lasting centerpiece. This guide focuses on an easy hydrangea-style flower, simple leaves, a stable pot, and several ways to turn the same basic pieces into beautiful handmade décor.
The project is flexible rather than size-specific. Use cotton for crisp petals, acrylic for soft and affordable flowers, or leftover yarn for a multicolored bouquet. The instructions below are written in US crochet terms and are suitable for confident beginners.
Materials for Crochet Flowers and Pots
- DK or light worsted yarn in blue, lavender, green, cream, and a pot color
- 3 mm to 4 mm crochet hook
- Yarn needle, scissors, stitch marker, and fiberfill
- Floral wire or wooden skewers for stems
- Fabric glue or a hot-glue gun for assembly
- A small recycled jar or weighted insert for the pot
Choose a hook slightly smaller than the yarn label recommends. Tight stitches help each petal keep its shape and prevent stuffing from showing through the pot. If the finished piece will be handled by children, avoid wire and glue; sew every component securely and use soft stuffed stems instead.
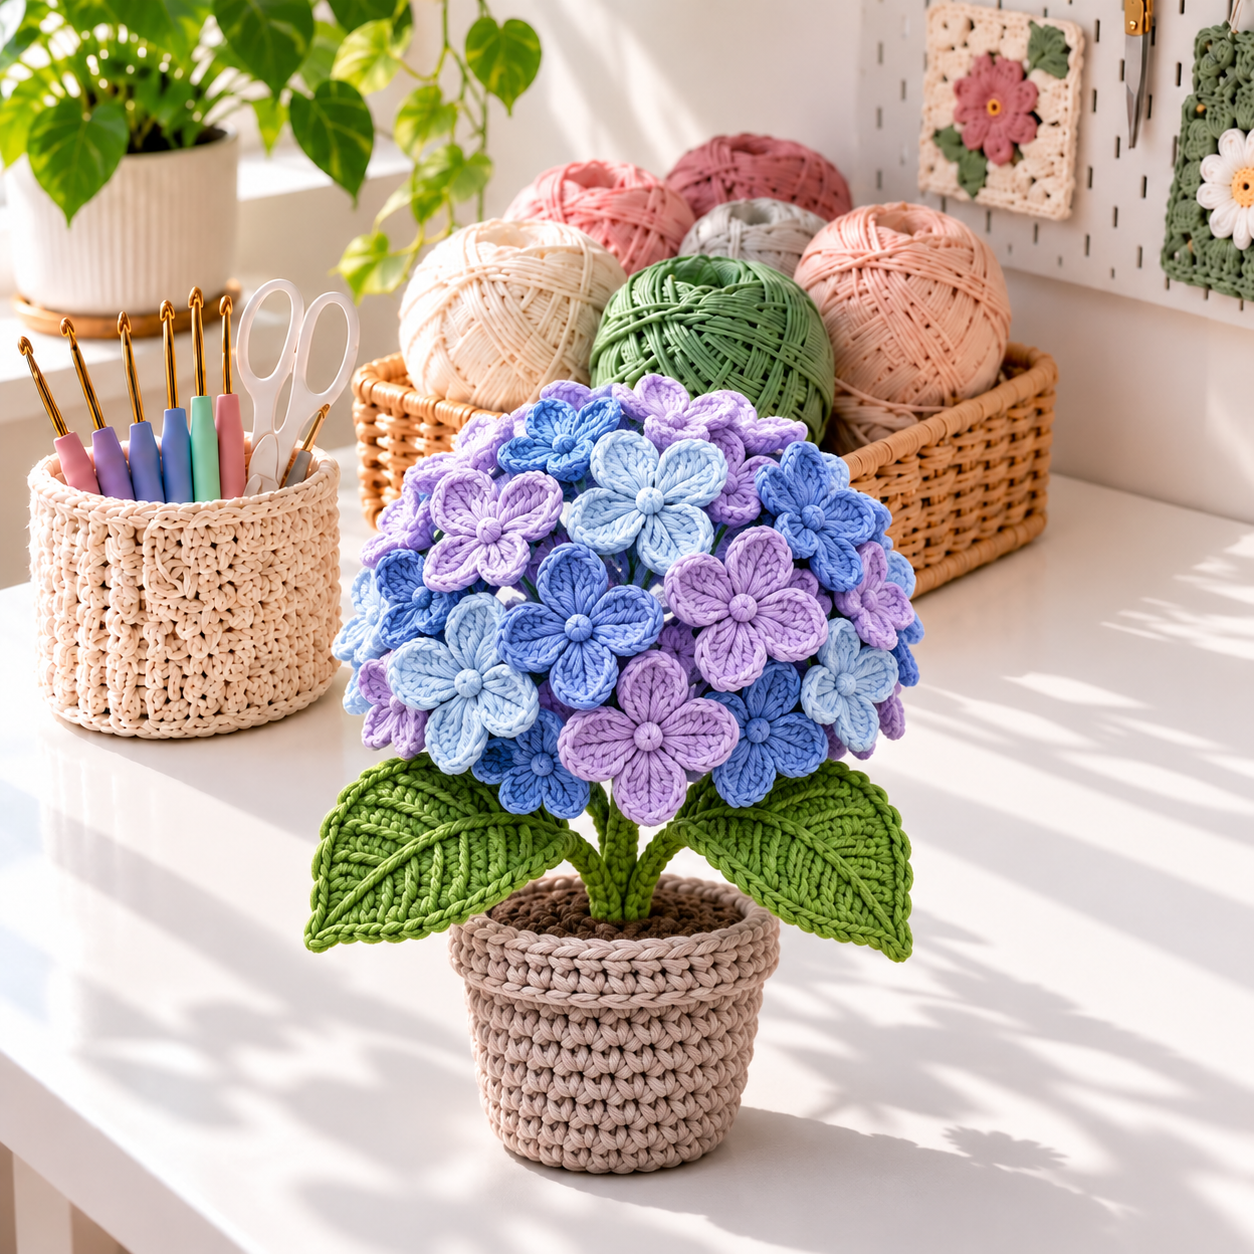
Easy Blue Crochet Hydrangea Pattern
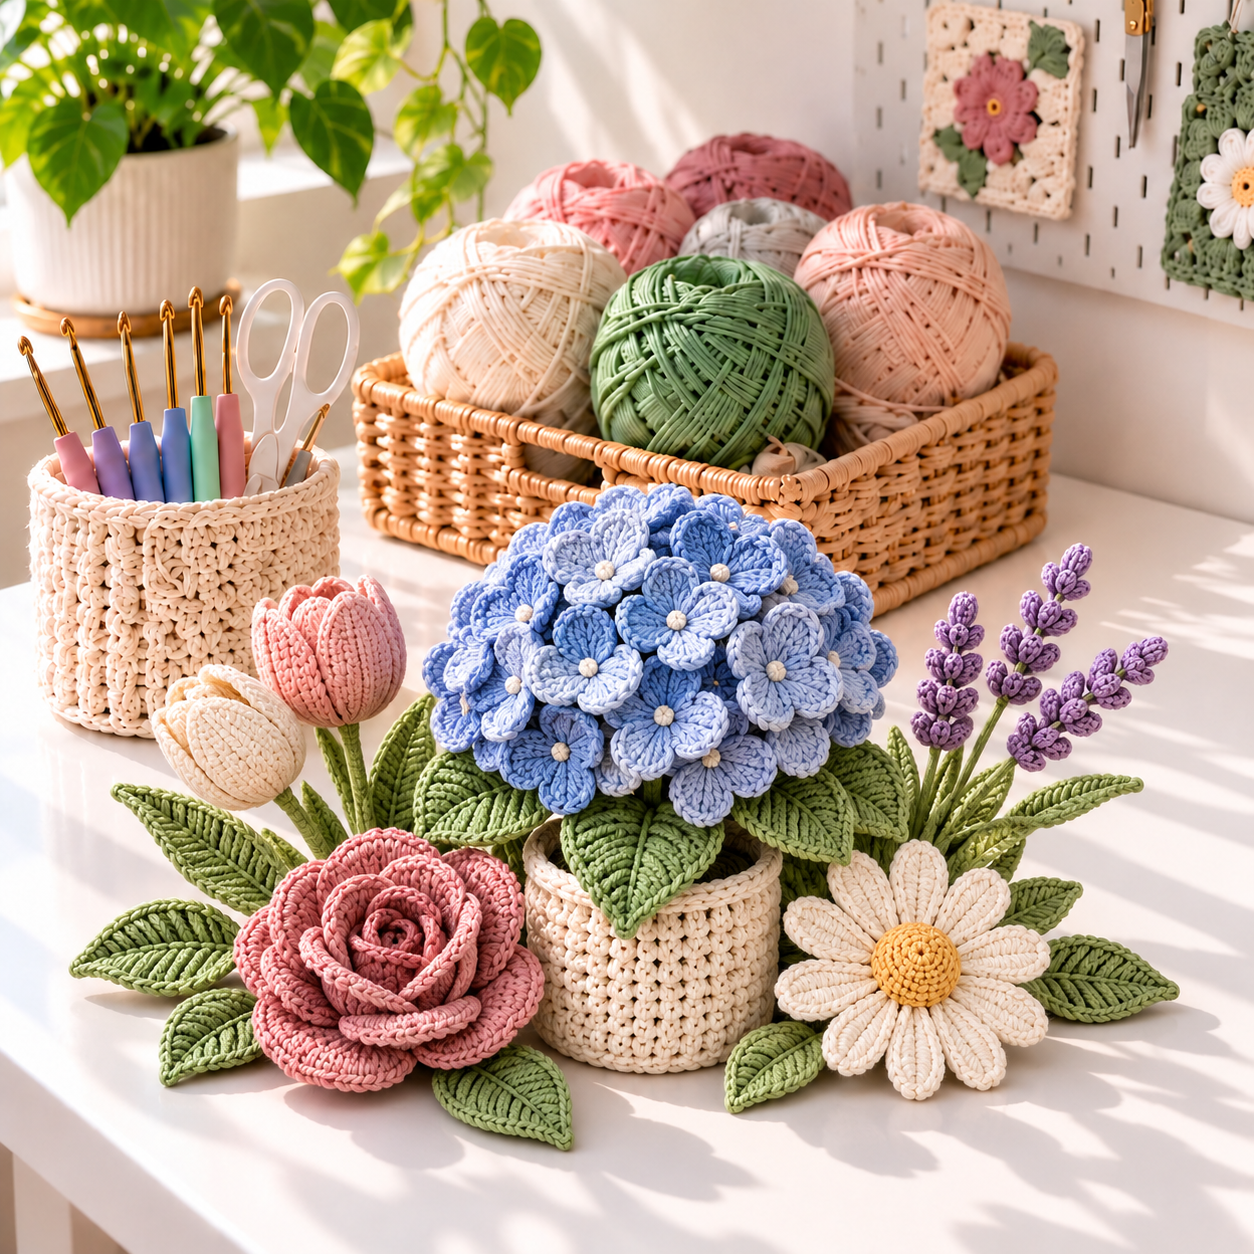
A hydrangea looks detailed, but it is simply a collection of tiny flowers. Make 18 to 30 blossoms for a compact head, or more for a dramatic arrangement. Mixing three nearby shades creates the natural depth associated with a Crochet Flower Blue design.
Small Four-Petal Blossom
- Make a magic ring and work 8 single crochet stitches into it. Join with a slip stitch.
- For one petal, chain 2, work 2 double crochet stitches in the same stitch, chain 2, then slip stitch into the next stitch.
- Repeat the petal sequence three more times around the ring.
- Fasten off, leaving a long tail for assembly. Pull the center snug and weave the starting tail through the back.
For smaller blossoms, replace the double crochet stitches with half double crochet. Add a French knot or a tiny yarn bead to the center if desired. This modular method is a practical starting point for anyone looking for a Crochet Hydrangea Pattern Free of complicated shaping.
Build the Rounded Flower Head
Crochet a green ball as the hidden base: work 6 single crochet into a magic ring, increase evenly to 30 stitches, crochet three rounds even, then decrease while adding a little stuffing. It does not need to close perfectly because the lower opening will sit against the stem. Arrange the blossoms closely over the ball and sew them in place, alternating pale blue, cornflower, and lavender. Overlap the petals slightly so no green base shows.
A blue hydrangea is striking on its own, but the same construction also works in white, blush, violet, or a deep liver-brown accent shade. Color is the easiest way to personalize these Blue Flower Crochet pieces for weddings, nurseries, and seasonal tables.
Crochet Leaves and Stems
Chain 12 for a medium leaf. Starting in the second chain, work: slip stitch, single crochet, half double crochet, 5 double crochet, half double crochet, single crochet, and slip stitch. Chain 2 at the tip, then work along the opposite side of the foundation chain in reverse order. Join and fasten off. Surface slip stitches down the center make a neat raised vein.
Wrap a skewer or floral wire with green yarn, securing the beginning and end with glue. Sew two leaves below the hydrangea head and attach the stem firmly. For a softer version, crochet a narrow tube around a pipe cleaner or fill the tube lightly with fiberfill.
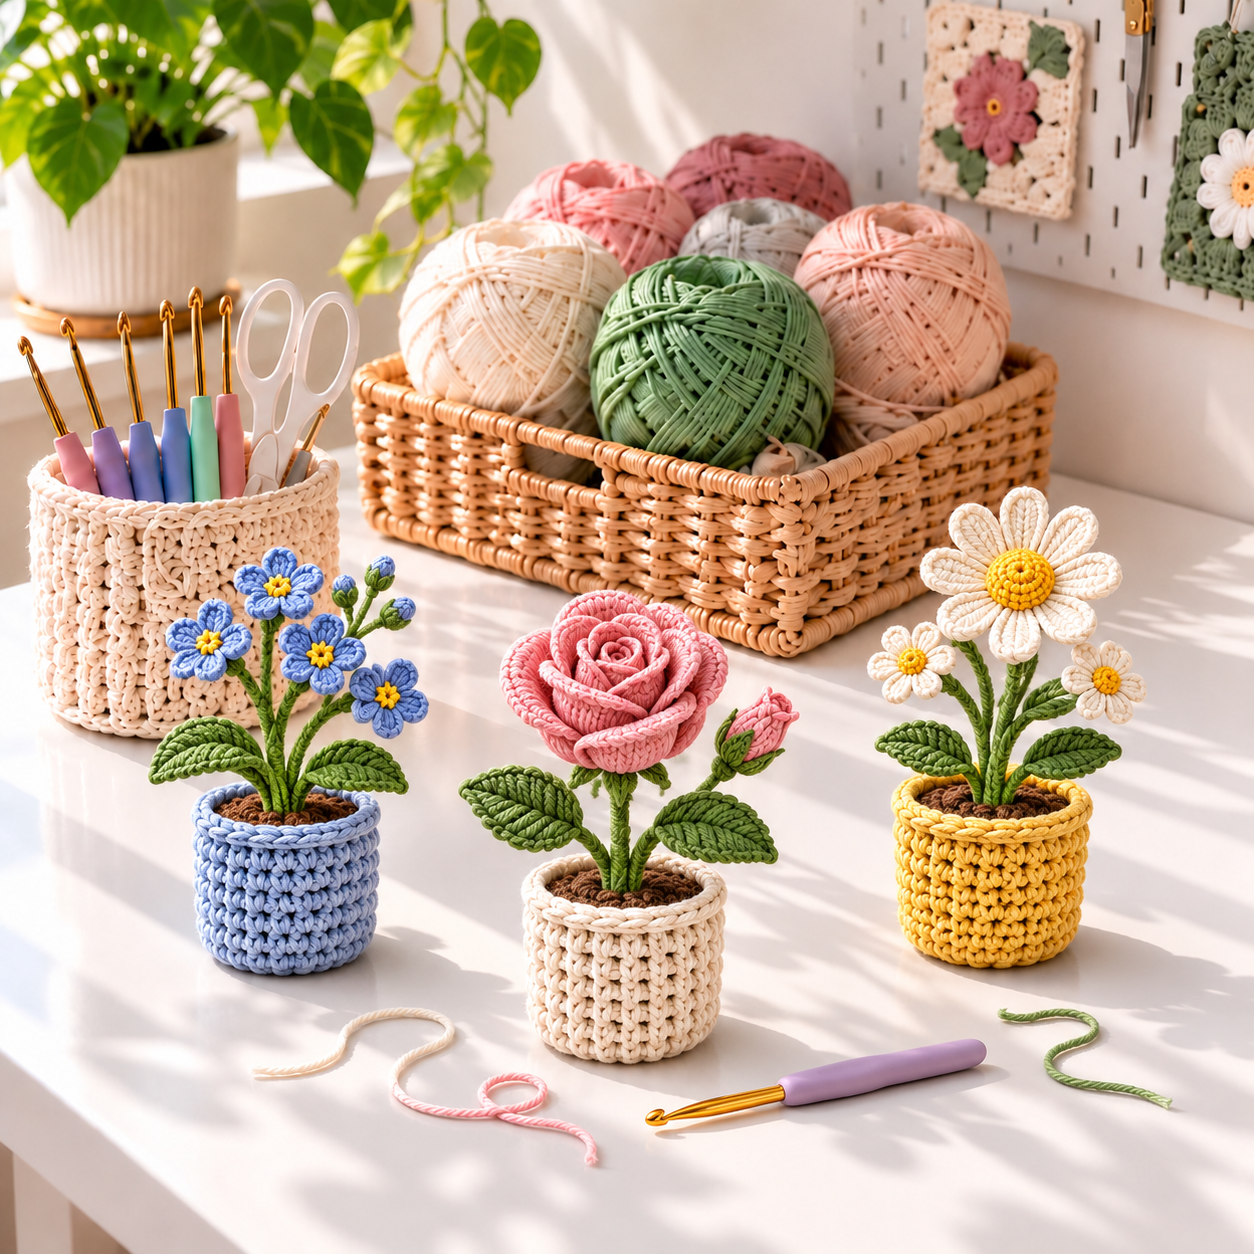
Simple Crochet Flower Pot
Many Crochet Flower Pots Free Pattern designs begin with the same flat circle. Work 6 single crochet into a magic ring. Increase to 12 stitches in round 2, then continue increasing by 6 stitches per round until the base matches your insert. Crochet one round through the back loops only to turn the corner, then work even rounds until the cover reaches the top of the container.
Finish with reverse single crochet, a scalloped edge, or a contrasting slip-stitch rim. Place a weighted jar, stones, or a pouch of dried beans inside before adding the stem. Cover the surface with a brown crochet circle to imitate soil. This structure prevents a tall Crochet Potted Plant from tipping over.
Three Potted Flower Variations
1. Mini Forget-Me-Not Pot
Make several tiny five-petal flowers in blue and add yellow centers. Attach them to branching green stems for a light, airy shape. This is a quick choice for desks and windowsills.
2. Layered Rose Pot
Crochet a long strip of shell stitches, roll it into a spiral, and sew through every layer. Add one bud and two leaves so the plant looks balanced from all sides.
3. Cheerful Daisy Pot
Work a yellow circle, then add long white petals around it. A yellow or sky-blue pot cover makes the design playful. Together, these variations form a useful mini collection of Crochet Potted Flowers Free Pattern ideas.
If you enjoy making indoor greenery, reuse the pot base for succulents, cacti, herbs, and trailing vines. Changing only the top makes a whole series of Crochet Potted Plants Free Pattern projects possible without learning a new container each time.
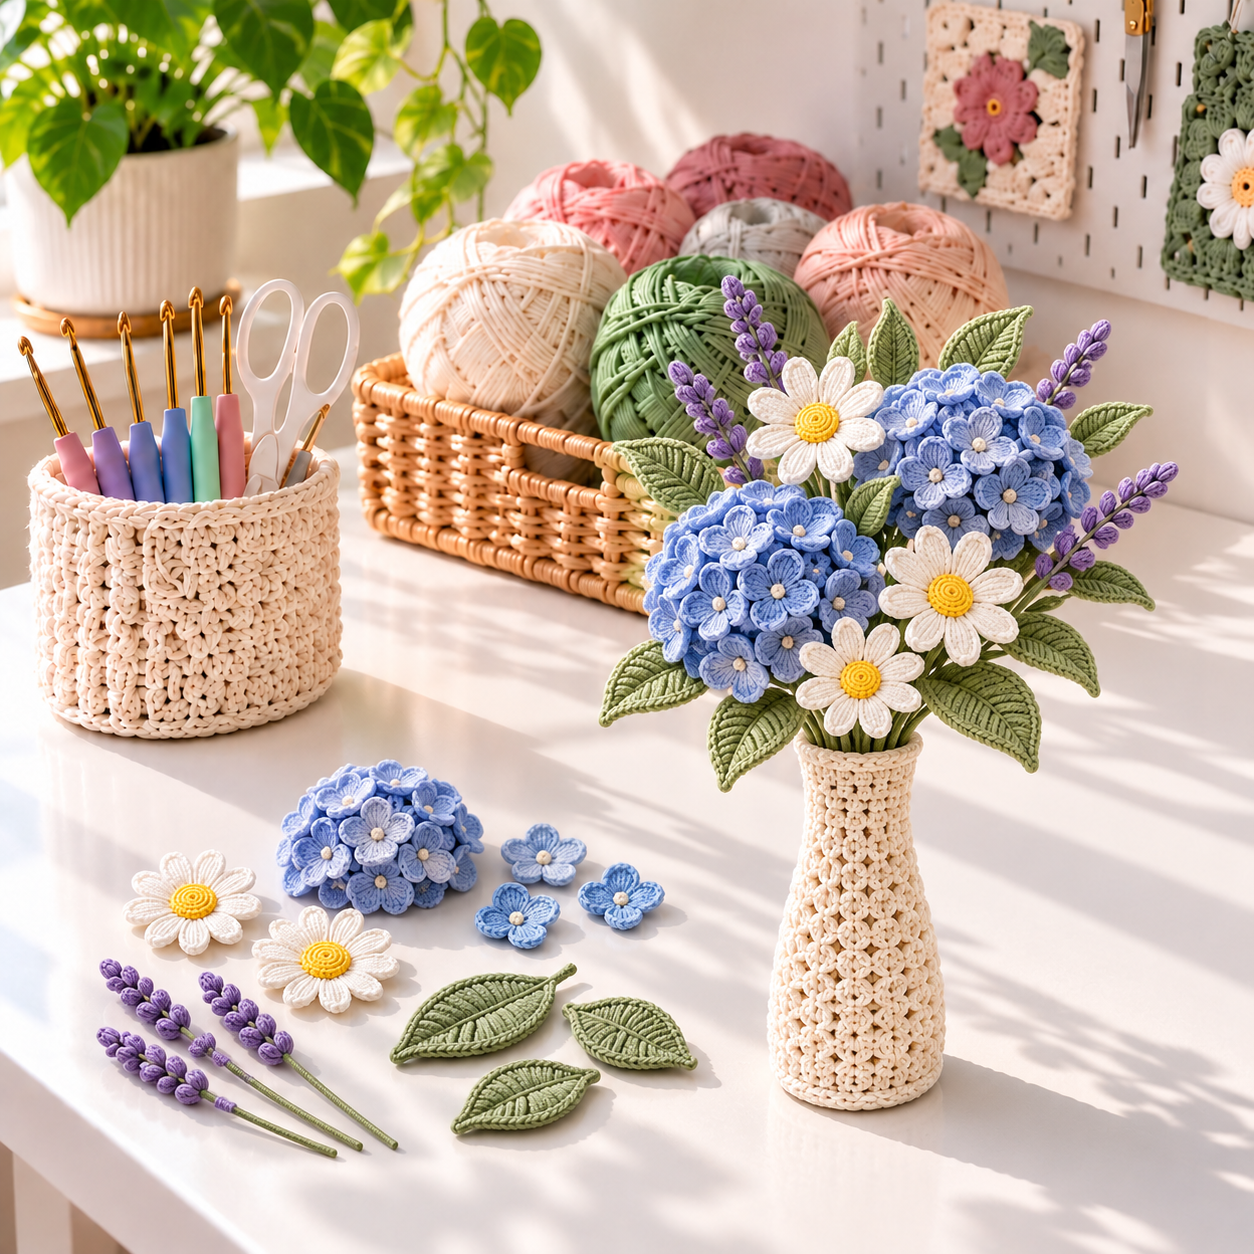
Quick Crochet Vase Tutorial
For a taller arrangement, cover a narrow glass bottle or sturdy plastic container. Crochet a flat circle to fit the bottom, turn the side with a back-loop round, and continue upward in single crochet. Decrease gradually near the neck. Keep trying the cover on the container so it stays smooth rather than loose.
Arrange the tallest hydrangea stems first, then place daisies and lavender between them. Finish with leaves around the outside. Odd numbers of main blooms usually look natural, while repeated colors make the bouquet feel intentional. This simple Crochet Vase Tutorial also works for roses, tulips, sunflowers, and mixed wildflowers.
Finishing Tips for Professional Results
- Steam-block cotton petals lightly before assembly, keeping heat away from acrylic yarn.
- Weave tails toward the center of each flower where they will be hidden.
- Use matching sewing thread for nearly invisible attachment stitches.
- Vary petal size and color slightly to make clustered flowers look organic.
- Photograph the arrangement from the front before gluing, then adjust any gaps.
Frequently Asked Questions
What yarn is best for crochet flowers?
Mercerized cotton gives petals crisp definition, while acrylic is softer and available in many colors. DK yarn is a good all-purpose weight. Fine thread creates delicate flowers but takes longer to assemble.
Can I wash crochet potted flowers?
Dust them with a soft brush or cool hair dryer. If the arrangement contains wire, glue, cardboard, stones, or a jar, do not machine-wash it. Separate washable pieces before gentle hand cleaning.
How many flowers make a hydrangea head?
About 18 small blossoms create a petite flower, while 25 to 35 make a fuller head. The exact number depends on yarn weight and the size of the hidden base.
These Stunning Crochet Flower Patterns can grow from one easy blossom into a potted hydrangea, a trio of miniature plants, or a permanent vase bouquet. Start with a few petals, experiment with color, and build an arrangement that stays bright in every season.