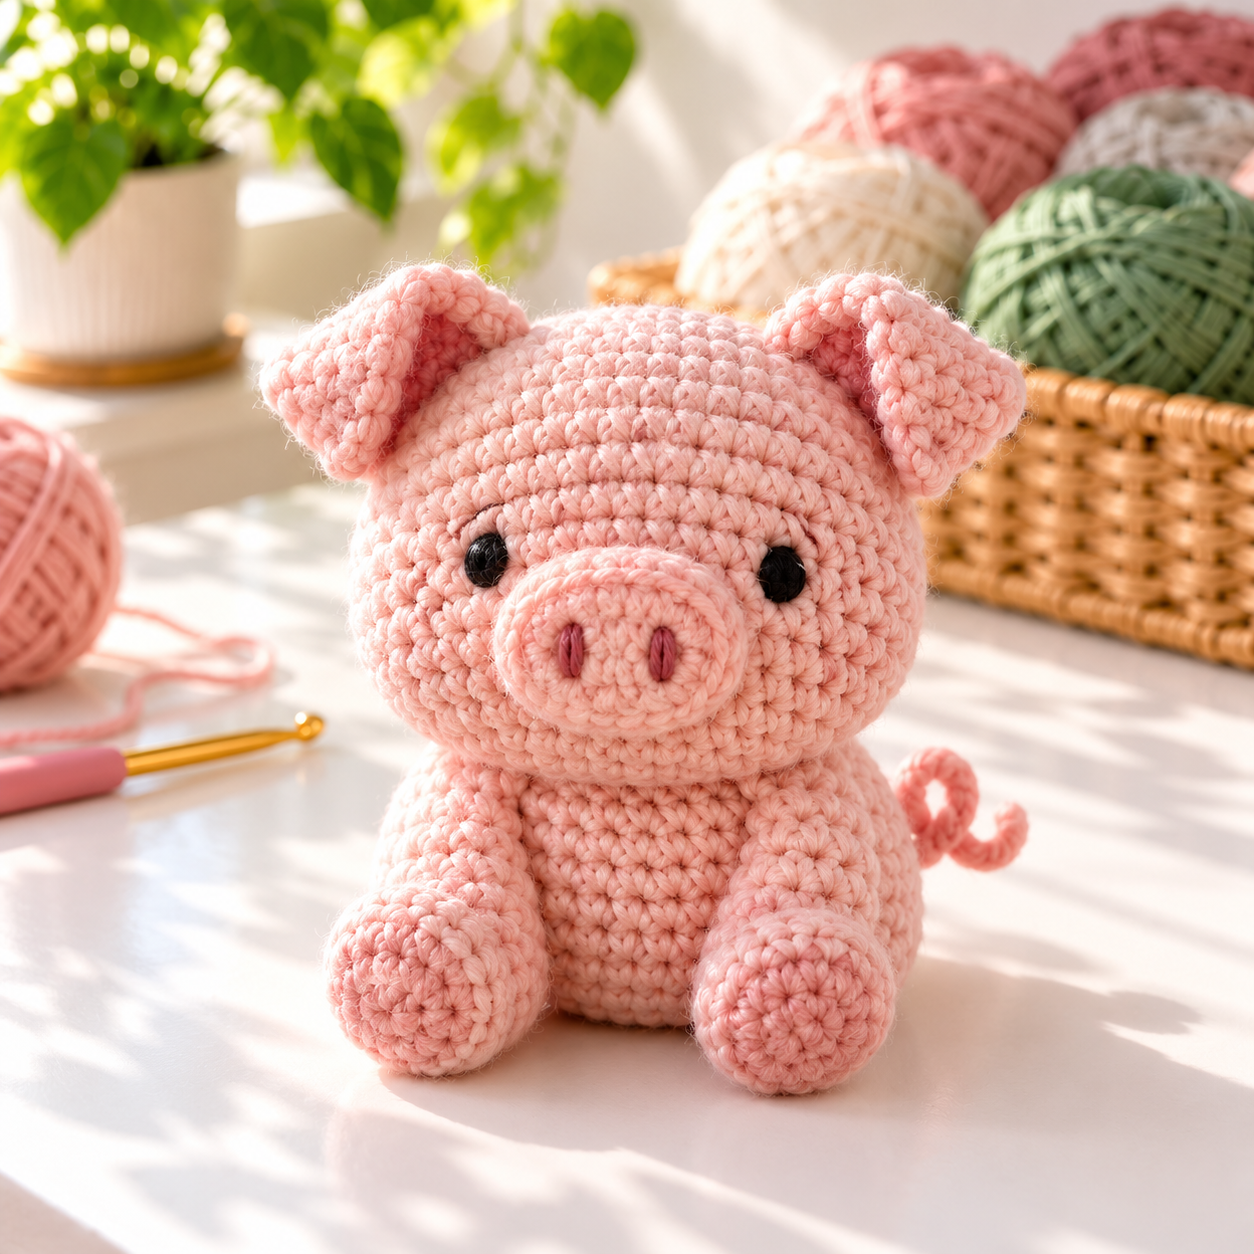
If you are searching for Crochet Animal Patterns For Beginners, this tiny pig is a friendly first amigurumi project. It uses basic single crochet, simple increases and decreases, and small pieces that are easy to shape. The result is a soft pocket-sized animal with a round snout, floppy ears, and a cheerful curly tail.
This original pattern is worked in continuous rounds. Make one classic pink pig or use leftover yarn to create a colorful group of Little Pigs. Because the design is compact, it is one of those satisfying Fun Projects you can finish over a weekend.
Beginner Little Pig Amigurumi Pattern
The finished pig measures approximately 5 inches (13 cm) when made with worsted-weight cotton yarn and a 3.5 mm hook. Gauge is not essential, but your stitches should be tight enough to hide the stuffing.
Materials
- Worsted-weight yarn in blush pink
- Small amount of dark pink yarn for the nostrils
- 3.5 mm crochet hook
- Fiberfill stuffing
- Black embroidery thread
- Yarn needle, stitch marker, pins, and scissors
- Optional 8 mm safety eyes for a display piece
Safety note: embroidered eyes are the safest choice for a toy intended for a baby or young child. Safety eyes can loosen and become a choking hazard. Check every seam carefully and supervise play.
US Crochet Abbreviations
- MR: magic ring
- sc: single crochet
- inc: two single crochet in one stitch
- dec: invisible single crochet decrease
- sl st: slip stitch
- ch: chain
Place a marker in the first stitch of each round and move it up as you work. Numbers in parentheses show the stitch count at the end of the round.
Crochet the Pig’s Body
- Round 1: Work 6 sc in an MR. (6)
- Round 2: Inc in every stitch. (12)
- Round 3: [Sc, inc] six times. (18)
- Round 4: [2 sc, inc] six times. (24)
- Round 5: [3 sc, inc] six times. (30)
- Rounds 6–12: Sc around. (30)
- Round 13: [3 sc, dec] six times. (24)
- Round 14: [2 sc, dec] six times. (18)
- Round 15: [Sc, dec] six times. (12)
- Round 16: Dec around. (6)
Begin stuffing after Round 13, adding small pieces of fiberfill so the body stays smooth. Finish stuffing before the last round. Fasten off and close the remaining opening with the yarn needle.
Crochet the Head
- Round 1: Work 6 sc in an MR. (6)
- Round 2: Inc around. (12)
- Round 3: [Sc, inc] six times. (18)
- Round 4: [2 sc, inc] six times. (24)
- Round 5: [3 sc, inc] six times. (30)
- Round 6: [4 sc, inc] six times. (36)
- Rounds 7–12: Sc around. (36)
- Round 13: [4 sc, dec] six times. (30)
- Round 14: [3 sc, dec] six times. (24)
- Round 15: [2 sc, dec] six times. (18)
- Round 16: [Sc, dec] six times. (12)
- Round 17: Dec around. (6)
If you use safety eyes, insert them between Rounds 9 and 10 with about six stitches between them before closing the head. Otherwise, stuff firmly, close the opening, and embroider small eyes during assembly.
Make the Snout and Ears
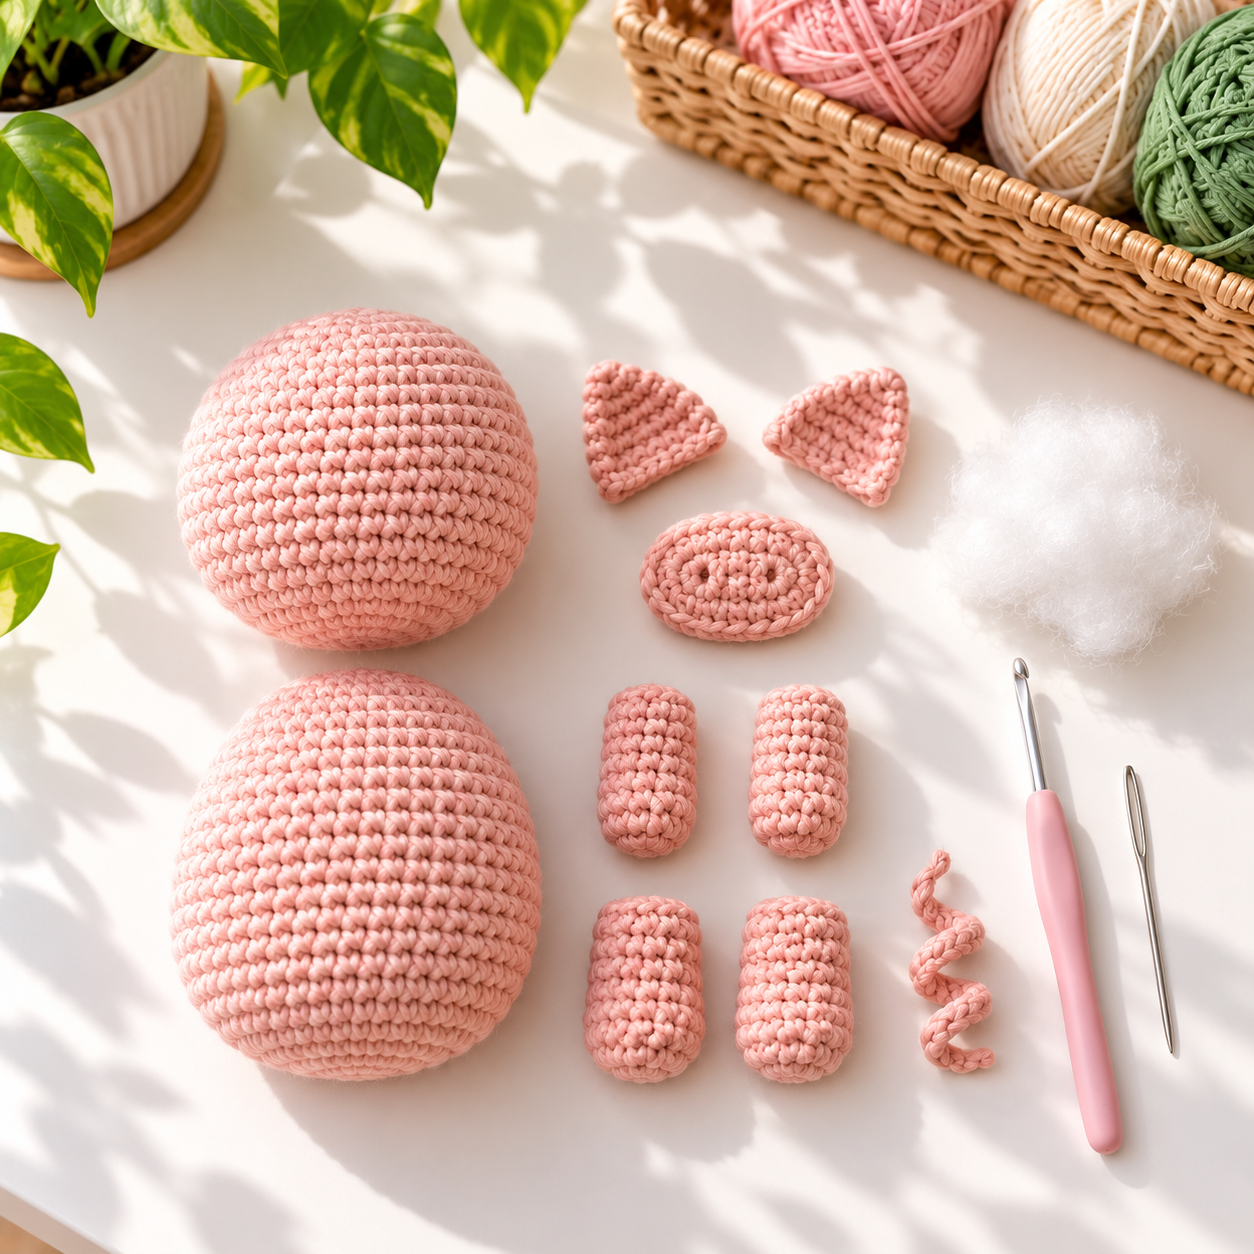
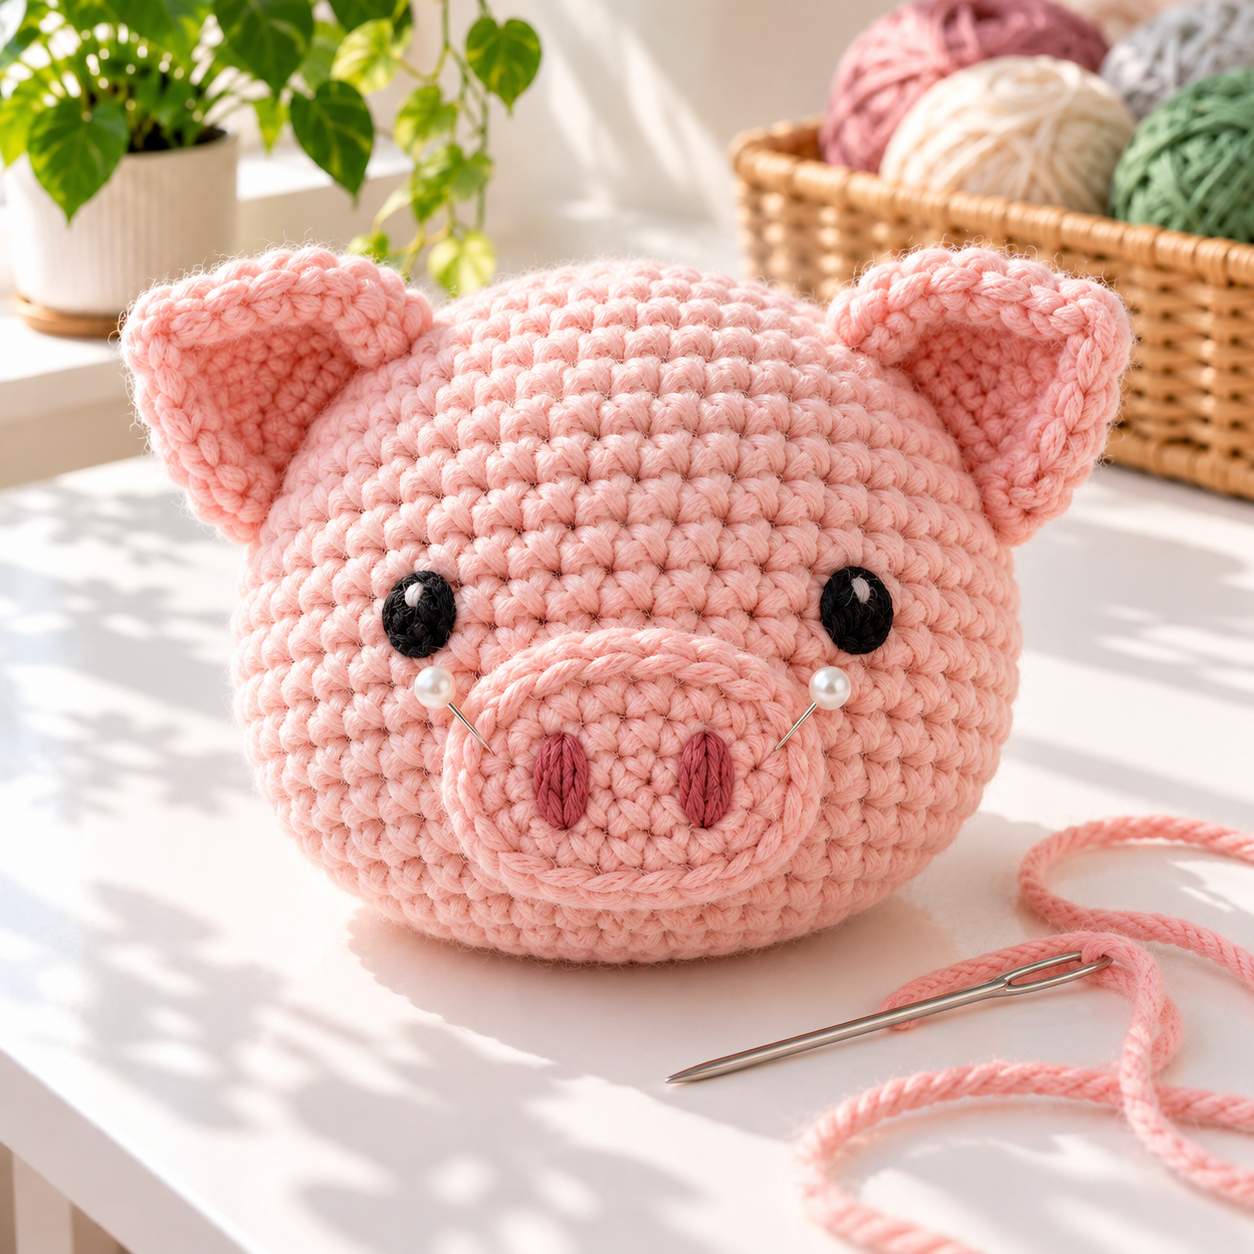
Snout: Work 6 sc in an MR. Inc around for 12 stitches. On Round 3, repeat [sc, inc] six times for 18 stitches. Work Round 4 in the back loops only, then fasten off with a long sewing tail. Embroider two vertical nostrils with dark pink yarn and add a pinch of stuffing.
Ears (make two): Ch 2. Work 2 sc in the second ch from the hook. Ch 1 and turn. Inc in both stitches for 4 stitches. Ch 1, turn, and sc across. Fasten off with a long tail. The small triangles naturally curve when sewn to the head.
Arms, Legs, and Curly Tail
Limbs (make four): Work 6 sc in an MR. Inc around for 12 stitches. Work 4 more rounds of 12 sc. Add a little stuffing to the bottom half only, flatten the top, and fasten off with a long tail. Use two pieces as legs and two as arms.
Tail: Ch 12. Beginning in the second ch from the hook, work 3 sc in each chain. The stitches will twist into a springy curl. Fasten off, leaving enough yarn to attach the tail.
Assemble Your Crochet Animal
Pin every piece before sewing. Attach the head firmly to the top of the body, passing through both pieces on each stitch. Center the snout below the eyes and stitch around its outer edge. Sew the ears between Rounds 3 and 7 of the head, angled slightly outward.
Attach the legs near the lower front of the body so the pig can sit. Sew the arms to the sides one or two rounds below the neck. Finally, secure the curl to the back. Weave every yarn tail through several stitches before trimming.
Easy Ways to Customize the Animal Pattern
Once you understand the basic Animal Pattern, changing the personality is easy. Try cream, brown, or speckled yarn, add a tiny scarf, or embroider a heart-shaped patch. Even simple Tattoo Design Drawings can inspire small flowers or line motifs, but embroider details securely instead of adding loose decorations.
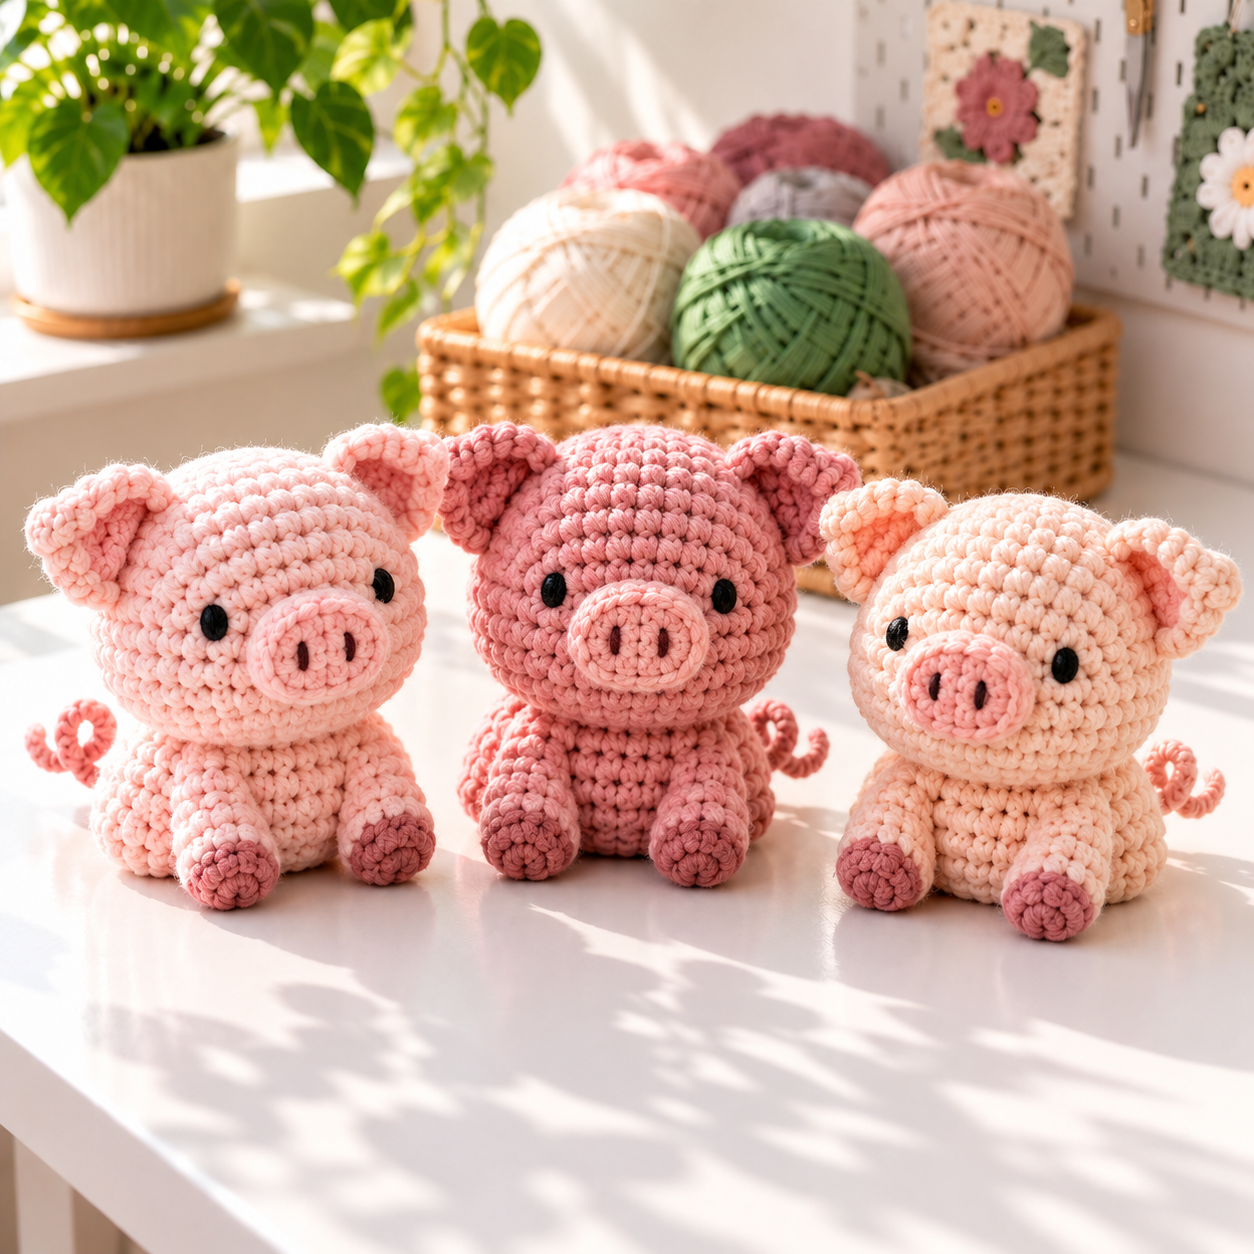
This construction is also a useful starting point for other Crochet Animals. Longer ears suggest a bunny, round ears can become a bear, and a different snout can create a puppy. Keep notes whenever you change a piece so you can repeat your favorite version.
Beginner Amigurumi Tips
- Use the yarn-under method if you want compact, neat stitches.
- Count each round before moving the marker.
- Stuff gradually to prevent lumps.
- Use invisible decreases so gaps stay small.
- Pin paired pieces at the same height before sewing.
Among Stuffed Animal Patterns, a round pig is especially forgiving because the main shapes do not require complicated color changes. This Amigurumi Free Pattern also teaches skills that appear in many Crochet Patterns Amigurumi makers love: working in rounds, shaping with increases, stuffing evenly, and assembling a friendly face.
A Sweet First Crochet Animal
With its basic shapes and clear stitch counts, this little pig makes Crochet Animal Patterns For Beginners feel approachable. Take your time with the face, keep the seams secure, and enjoy watching a few simple circles become a character. Your finished pig can be a desk companion, nursery decoration, or thoughtful handmade gift.